Blog
Cummins ISX Counterbore Shimming Procedure: ATCISX20 .020″ Brass Shim Professional Guide
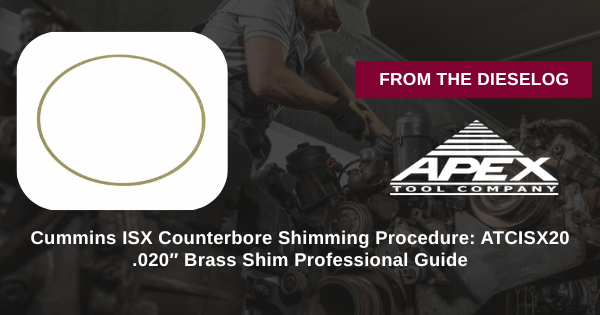
Detailed shimming procedure for Cummins ISX using ATCISX20 .020 brass shim.
This 12-phase procedure uses the ATCISX20 .020″ brass shim to correct counterbore depth in Cummins ISX engines. Ensures proper liner seating and protrusion for leak-free, high-compression performance in heavy-duty rebuilds.

Introduction: Essential Shimming for ISX Rebuilds
Correct counterbore depth in Cummins ISX is vital for liner sealing. The ATCISX20 shim compensates for wear/machining, restoring OEM specs to avoid failures—key for durable rebuilds.
Phase 1-3: Block Preparation & Measurement
- Remove old liner and clean bore – Inspect for cracks
- Measure counterbore depth – Use micrometer; note deviation
- Select .020″ ATCISX20 shim – Verify thickness
- Place shim in counterbore – Center evenly
- Install new liner dry – Check initial protrusion
Phase 4-6: Liner Seating & Protrusion Check
- Seat liner with installer tool – Apply even pressure
- Measure protrusion with gauge – Aim for 0.004–0.006"
- Adjust if needed – Add/remove shim as required
- Verify flush sealing – No gaps around liner
- Repeat for all cylinders – Maintain consistency
- Document depths per bore – For records
Phase 7-9: Assembly & Torque
CRITICAL: ATCISX20 Shim Setup
- Install pistons/rings – Torque rods
- Reassemble head/gasket – Align properly
- Torque headbolts in sequence – To Cummins spec
- Check for compression even – Use tester
- Inspect shim integrity – No deformation
- Prime oil system – Before start
Phase 10-12: Testing & Finalization
- Refill fluids and start engine – Idle leak test
- Road test under load – Monitor temp/pressure
- Re-check protrusion after run-in – Confirm stability
- Update service logs – Note shim used
- Schedule follow-up – At 1,000 miles
Critical Safety Warnings: Shimming Procedure
MUST AVOID THESE FATAL ERRORS:
- ❌ Never skip measurement – Wrong protrusion leaks ($1K+)
- ❌ Never force liner – Cracks shim/block
- ❌ Never dirty bore – Contaminates ($3K+)
- ❌ Never uneven seat – Causes hot spots
- ❌ Never omit gauge – Inaccurate protrusion
- ❌ Never reuse worn shim – Fails sealing
- ❌ Never skip test – Hidden issues
- ❌ Never ignore PPE – Heavy parts injure
Professional Rebuild Documentation
Why ATCISX20 Outperforms Standard Shims
Risky Standard Methods:
- ❌ No shim → Leaks ($1K+)
- ❌ Wrong thickness → Hot spots
- ❌ Steel shim → Poor sealing
- ❌ Uneven install → Contam
- ❌ Manual fix → Rebuilds
ATCISX20 Advantages:
- ✅ .020" precision
- ✅ Brass malleable seal
- ✅ Protrusion restore
- ✅ Leak prevention
- ✅ Protects $7,500–$15,500
- ✅ Corrosion resistant
- ✅ Compression even
- ✅ OEM spec
Shim Professionally. Secure ISX Blocks. Maximize Durability.
Get ATCISX20 – $40.00
overall rating:
my rating:
log in to rate