Blog
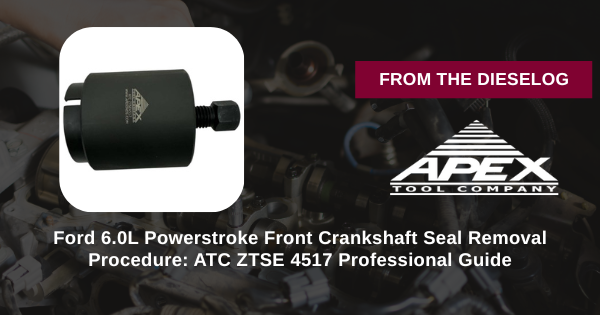
Ford 6.0L Powerstroke Front Crankshaft Seal Removal Procedure: ATC ZTSE 4517 Professional Guide
Detailed guide for Ford 6.0L Powerstroke seal removal using ATC ZTSE 4517 tool.
This 12-phase procedure uses the ATC ZTSE 4517 tool to safely remove front crankshaft seals and wear rings on Ford 6.0L Powerstroke engines. Compatible with E-Series and F-Series models, it prevents damage and ensures precise repairs.
Introduction: Essential Seal Removal for Powerstroke Maintenance
Ford 6.0L Powerstroke seals prevent oil leaks, but wear requires careful removal to avoid crankshaft damage. The ATC ZTSE 4517, equivalent to ZTSE-4517/303-762, enables controlled extraction for 2003–2010 models—ensuring safe, efficient service.
Phase 1-3: Engine Preparation & Access
- Drain engine oil and coolant – Prevent spills; use catch pans
- Remove front accessories (belts, pulley) – Label for reassembly
- Expose crankshaft seal housing – Clean area; inspect for leaks
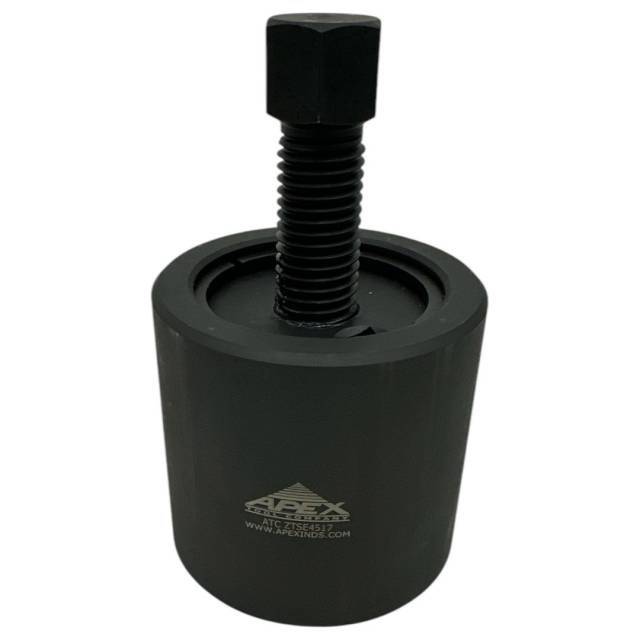
- Gather ATC ZTSE 4517 and safety gear – Verify tool integrity
- Position engine at TDC – Align marks for stability
Phase 4-6: Seal & Wear Ring Loosening
- Apply penetrating oil to seal edges – Soak 10–15 minutes for ease
- Insert ATC ZTSE 4517 into seal groove – Align precisely
- Engage tool with gentle twist – Break initial adhesion
- Apply steady pull force – Avoid jerking to prevent scores
- Extract seal completely – Inspect for fragments
- Repeat for wear ring if present – Use tool's ring adapter
Phase 7-9: Inspection & Cleaning
CRITICAL: Post-Removal Inspection
- Check crankshaft surface for scores – Measure with micrometer
- Clean housing bore thoroughly – Use solvent/brushes; dry completely
- Inspect tool for wear – Replace if damaged
- Prepare new seal/ring – Verify OEM specs
- Lubricate installation surfaces – Use assembly lube
- Align new seal with installer tool – Ensure even seating
Phase 10-12: Reinstallation & Testing
- Install new seal with proper tool – Torque to spec (18–22 ft-lbs)
- Reassemble front accessories – Check belt tension
- Refill oil and coolant – Run engine to check for leaks
- Road test under load – Verify no oil loss or vibrations
- Document procedure – Note tool used for warranty
Critical Safety Warnings: Seal Removal Procedure
MUST AVOID THESE FATAL ERRORS:
- ❌ Never pry seal – Scores crankshaft ($1K+)
- ❌ Never skip cleaning – Debris causes new leaks
- ❌ Never force tool – Cracks housing ($500+)
- ❌ Never ignore specs – Wrong torque fails seals
- ❌ Never omit test – Delayed leaks damage engines
- ❌ Never reuse damaged parts – Repeat failures
- ❌ Never work pressurized – Fluid spray risks
- ❌ Never skip PPE – Oil/chemical exposure
Professional Service Documentation
Why ATC ZTSE 4517 Beats Improper Methods
Risky Traditional Methods:
- ❌ Prying → $1K scoring
- ❌ Hammering → Housing cracks
- ❌ 1–2 hour struggles → Labor losses
- ❌ Debris left → Contamination
- ❌ No tool → Engine fails
ATC ZTSE 4517 Advantages:
- ✅ Zero damage pulls
- ✅ 50% faster service
- ✅ ZTSE-4517 equivalent
- ✅ Broad model fit
- ✅ Protects $7,500–$17,500
- ✅ Durable for pros
- ✅ Leak-free results
- ✅ Repeatable reliability
Remove Professionally. Safeguard 6.0L Engines. Stop Leaks Now.
Get ATC ZTSE 4517 – $200.00
overall rating:
my rating:
log in to rate