Blog
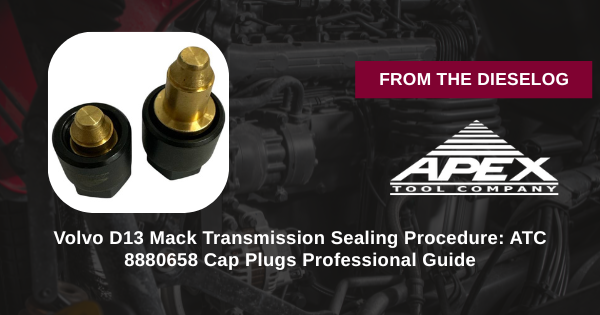
Volvo D13 Mack Transmission Sealing Procedure: ATC 8880658 Cap Plugs Professional Guide
Detailed procedure for Volvo D13 & Mack sealing using ATC 8880658 cap plugs.
Follow this 12-phase procedure using ATC 8880658 plugs to achieve airtight sealing and precise alignment in Volvo D13 and Mack systems. Professional techniques prevent leaks, ensure accurate diagnostics, and minimize downtime in heavy-duty repairs.
Introduction: Essential Sealing for Powertrain Diagnostics
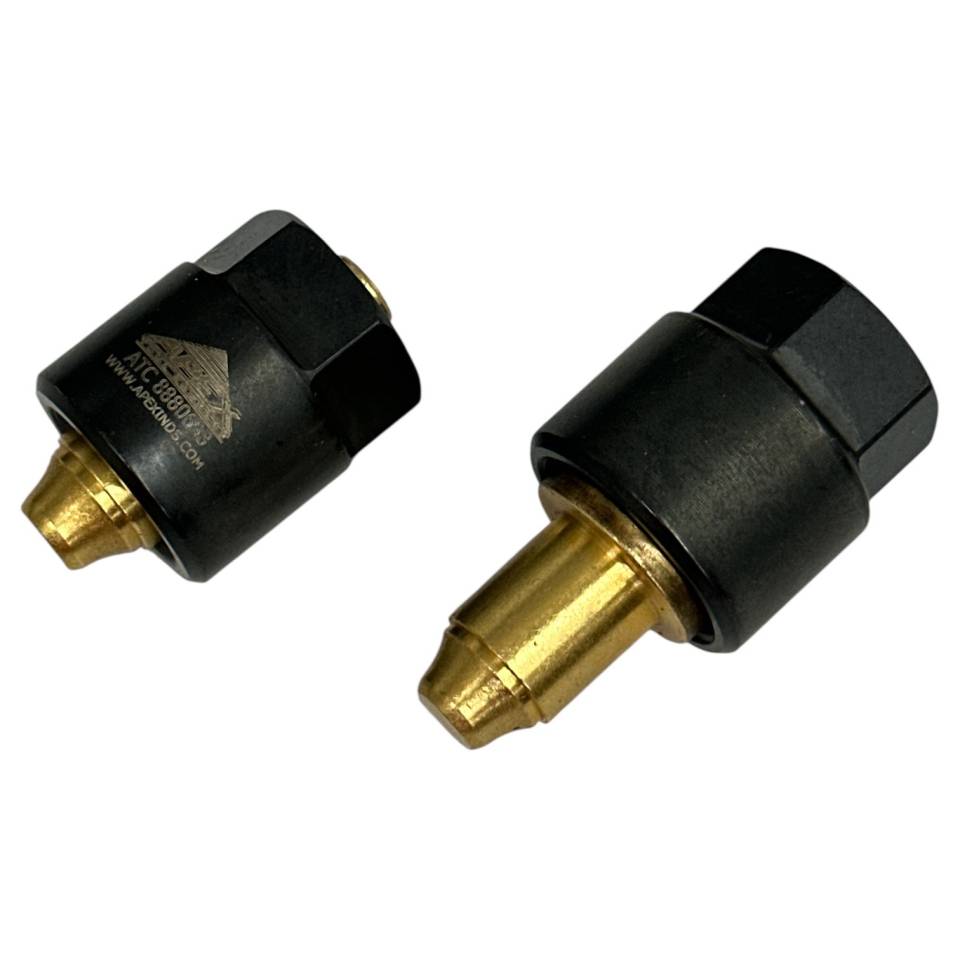
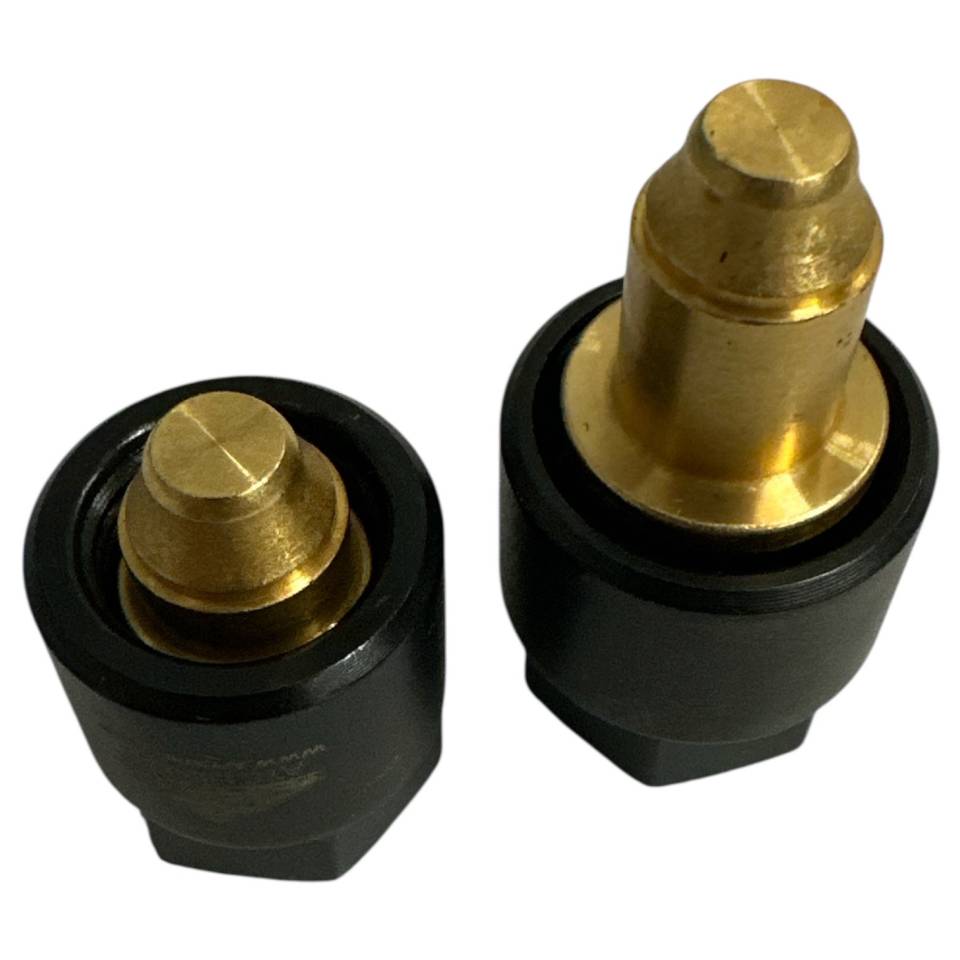
Volvo D13 and Mack fuel/transmission systems require airtight seals during tests to detect leaks accurately. The ATC 8880658 plugs provide OEM-style blocking and guiding, preventing contamination while enabling precise assembly—turning complex diagnostics into reliable processes.
Phase 1-3: Preparation & System Isolation
- Consult service manual and isolate system – Drain fluids; disconnect lines for safety
- Inspect ports for debris or damage – Clean with solvent; note irregularities
- Select appropriate ATC 8880658 plug size – Match to port diameter for snug fit
- Gather tools: plugs, pressure tester, safety gear – Ensure all are calibrated
- Block unrelated ports temporarily – Use tape to prevent accidental contamination
Phase 4-6: Plug Insertion & Sealing
- Insert plug into target port – Twist gently for initial seal; avoid cross-threading
- Apply even pressure to seat plug – Hand-tighten; check for flush alignment
- Verify airtight seal visually – No gaps; test with soapy water for bubbles
- Repeat for all required ports – Sequence per manual to maintain system integrity
- Attach pressure testing equipment – Connect gauges/lines to sealed system
- Pressurize slowly to spec (e.g., 15–30 PSI) – Monitor for drops indicating leaks
Phase 7-9: Diagnostic Testing & Alignment
CRITICAL: ATC 8880658 Diagnostic Setup
- Run leak test for 5–10 minutes – Record pressure stability; identify drops
- Use plugs as alignment guides for housing – Position covers evenly without warping
- Torque assembly bolts in sequence – With plugs in place for precision
- Re-check seals post-torque – Ensure no shifts from alignment
- Document test results and anomalies – Note pressure readings, leak locations
- Depressurize system safely – Vent slowly to avoid fluid spray
Phase 10-12: Plug Removal, Inspection & Finalization
- Remove plugs carefully – Twist counterclockwise; inspect for wear
- Clean ports and plugs thoroughly – Use lint-free cloths to remove residue
- Inspect system for resolved issues – Confirm no leaks post-test
- Reconnect lines and refill fluids – Torque connections to spec
- Run operational test (idle/load) – Verify no codes or performance drops
- Store plugs in protective case – For longevity and readiness
Critical Safety Warnings: Sealing Procedure
MUST AVOID THESE FATAL ERRORS:
- ❌ Never skip port cleaning – Debris causes false leaks ($1,000+ retests)
- ❌ Never over-pressurize – Bursts seals, damages housings ($500+)
- ❌ Never mismatch plug size – Loose fits allow intrusion
- ❌ Never ignore torque sequence – Warps alignments, fails seals
- ❌ Never omit bubble test – Misses micro-leaks in diagnostics
- ❌ Never reuse damaged plugs – Compromises airtight integrity
- ❌ Never skip operational verify – Hidden issues emerge under load
- ❌ Never work without PPE – Fluid spray risks burns/eyes
Professional Diagnostic Documentation
Why ATC 8880658 Outshines Generic Sealing Methods
Outdated Risky Methods:
- ❌ Tape/caps → Leaks ($1K retests)
- ❌ Improper sizes → Contamination ($800+)
- ❌ No guides → Warp ($500+)
- ❌ 1–2 hour delays → $200+ labor
- ❌ Non-OEM → Fines ($1K+)
ATC 8880658 Professional Advantages:
- ✅ Airtight for accurate tests
- ✅ Dual seal/align function
- ✅ OEM fit for Volvo/Mack
- ✅ 50% faster diagnostics
- ✅ Durable for 500+ uses
- ✅ Protects $6,300–$14,000
- ✅ EPA-compliant precision
- ✅ Portable for field work
Seal Professionally. Test Reliably. Maximize Fleet Uptime.
Get ATC 8880658 – $95.00
overall rating:
my rating:
log in to rate