
Blog
John Deere Fuel Injector Removal & Torque Steps
Precision fuel system maintenance and deep-well socket guidelines for agricultural mechanics and John Deere technicians.

Removing or installing fuel injectors on a John Deere 3029, 4045, 6068, 6081, or 6101 diesel engine during a fuel system overhaul or injector replacement? Follow this step-by-step professional workshop procedure to clean head recesses, guide the JDE92 socket flush over retaining nuts, loosen baked-on injectors safely, clean copper washer seats, and torque hardware to OEM specifications.
Why Standard Sockets & Open Wrenches Damage John Deere Injectors
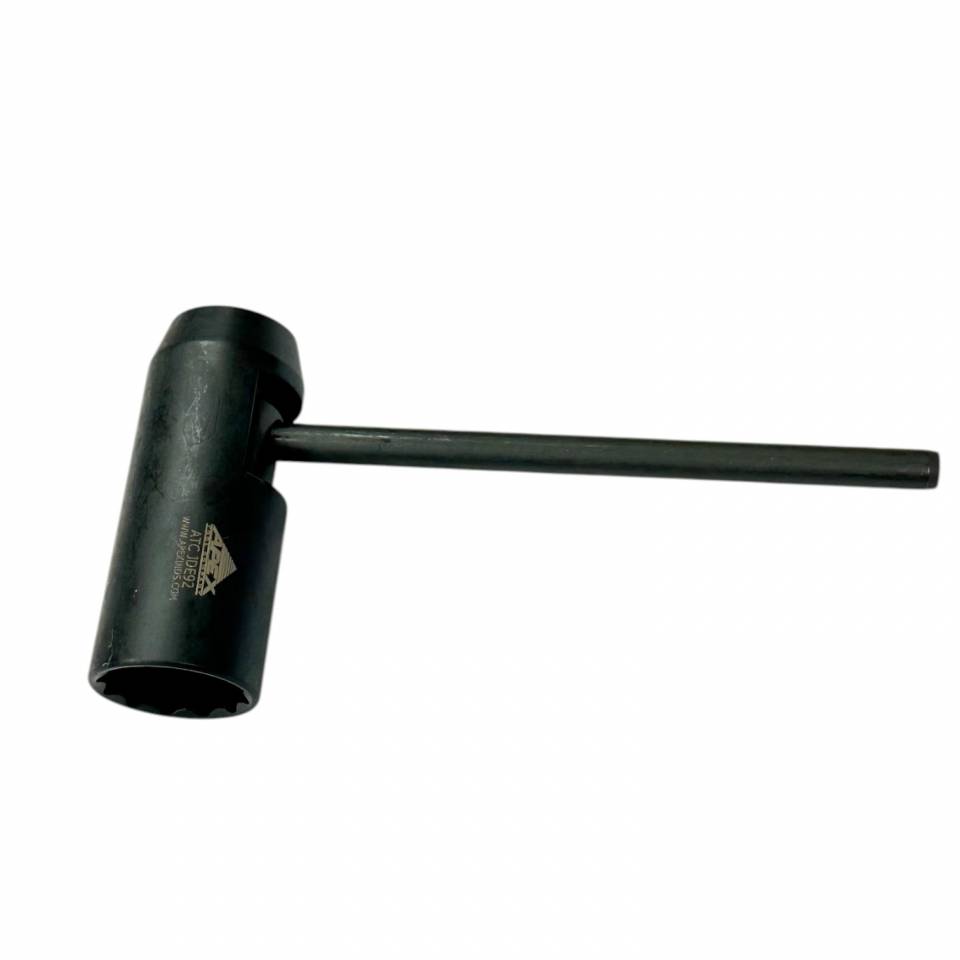
On John Deere PowerTech engines, fuel injectors are recessed deep inside the cylinder head cast structure to locate nozzle tips precisely in the piston combustion bowl. Tight clearance between the injector and cylinder head wall leaves almost no room for standard tools. Technicians who attempt to use standard deep sockets face immediate binding: the socket outer wall wedges against the cast head, or the shallow drive cavity presses hard against the top fuel nipple, bending the injector body or snapping leak-off lines. Using open-end or crowfoot wrenches is equally risky, as open jaws slip under breakout torque, rounding off soft hex corners. A rounded injector nut deep in a head well is nearly impossible to grip, often forcing technicians to pull the cylinder head just to machine off the stuck fitting. Utilizing the 0.60-pound JDE92 Injector Socket (OEM JDE92 Equivalent) completely eliminates service risks. Its thin-wall profile drops straight into the head cavity, engaging all flats 100% flush so mechanics can break loose seized hardware and torque fittings cleanly.
The 5-Step John Deere Fuel Injector Service Protocol
- Clean Head Well & Disconnect Fuel Lines: Disconnect high-pressure fuel lines and return manifolds. Blow dirt, oil, and debris out of the deep cylinder head injector well using shop solvent and compressed air to prevent cylinder contamination.
- Slide JDE92 Socket Flush Over Injector Body: Lower the JDE92 injector socket down through the head well clearance gap, sliding the internal clearance cavity smoothly over upper fuel fittings until the socket engages the retaining hex nut 100% flush.
- Loosen Injector Nut with Steady Hand Torque: Attach a ratchet or breaker bar to the drive square. Apply firm, steady counterclockwise force to break the injector retaining nut loose without tilting or cocking the socket assembly.
- Extract Injector & Clean Copper Washer Seat: Lift the injector straight up out of the head bore. Use a bore cleaning brush and shop solvent to clean carbon scale off the lower copper washer seating surface at the bottom of the cylinder head bore.
- Reinstall Injector & Torque to Factory Specs: Install a new copper sealing washer and O-rings. Lower the injector into the bore. Slide the JDE92 socket over the nut and use a calibrated torque wrench to tighten the retaining fitting to exact John Deere OEM torque specifications.
PRO-TECH SEATING CLEANLINESS & CALIBRATED TORQUE MANDATE:
ALWAYS REPLACE COPPER SEALING WASHERS & CLEAN BORE SEATS! Old carbon residue under the washer WILL cause combustion blow-by and localized head overheating! ALWAYS USE A CALIBRATED TORQUE WRENCH with the JDE92 socket during installation! Over-torqueing deforms the injector nozzle body, causing needle binding and misfires!
0.60 lbs Precision John Deere Injector Socket. Protect Fuel Injection Systems.
Get the JDE92 Socket Now
overall rating:
my rating:
log in to rate