
Blog
International DT466 & DT530 Injector Sleeve Replacement Steps
Precision cylinder head service and brass injector tube replacement guidelines for agricultural mechanics and International technicians.
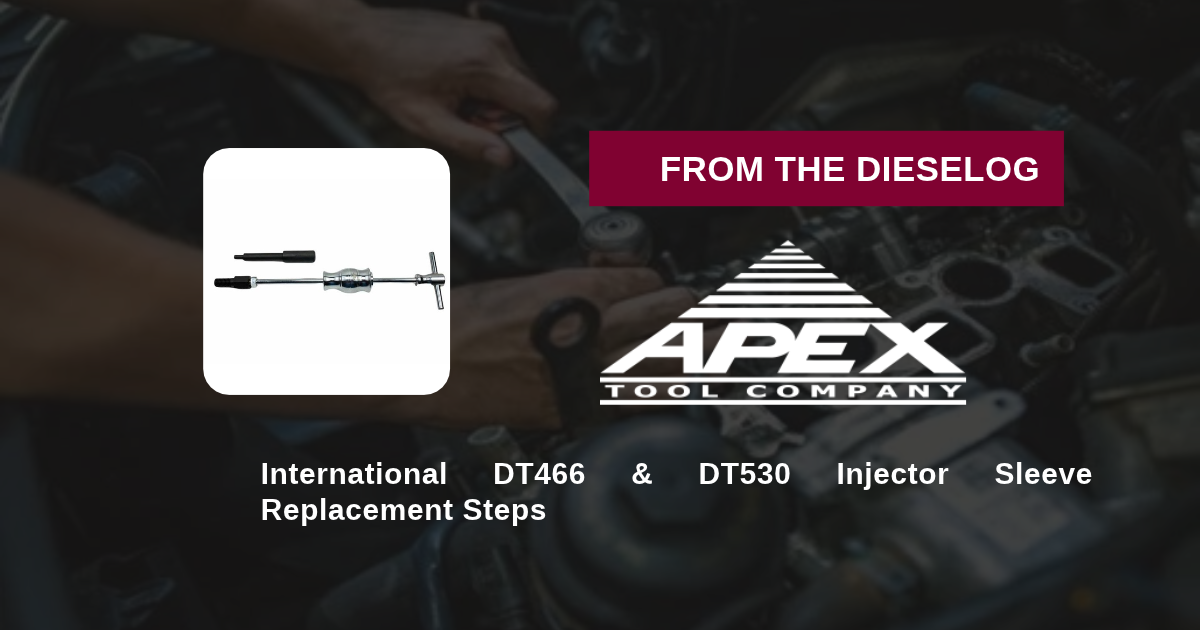
Servicing or replacing leaking brass injector sleeves on an International Navistar DT466, DTA466C, or DT530 mechanical 12-valve engine during an in-frame overhaul or head repair? Follow this step-by-step professional workshop procedure to tap worn brass sleeves, extract old tubes cleanly, clean head bore lands, apply retaining compound, and drive new sleeves to exact factory seating depth.

Why Improvised Taps & Drift Punches Ruin International 12-Valve Heads
On International mechanical 12-valve engines, brass injector sleeves seal engine coolant away from the fuel injector bore. Because these brass tubes are constantly exposed to combustion heat cycles, scale rust, and coolant pressure, they eventually leak coolant past lower sealing lands. Technicians who attempt to remove old brass sleeves using pipe taps, slide hammers, or cold chisels face serious risks. Standard pipe taps cut uneven threads that cock during pulling, driving hardened steel teeth into the delicate cast-iron cylinder head bore. Scored bore lands cannot seal new O-rings or retaining compound, causing permanent coolant leaks into combustion cylinders. Furthermore, driving new brass sleeves in with socket drivers or unguided drift punches buckles the thin brass wall, deforming the internal seating cone and destroying the new lower O-ring seal during installation. Utilizing the 5-pound ATC ZTSE2587C Tool Kit (ZTSE2587C / ZTSE2534A / ZTSE2587A Equivalent) completely eliminates installation hazards. The tool cuts clean threads inside old sleeves to pull them straight out, while the guided driver mandrel seats new brass tubes perfectly flat to exact factory depth.
The 5-Step International Mechanical 12-Valve Injector Sleeve Protocol
- Remove Fuel Injector & Clean Sleeve ID: Drain engine coolant below cylinder head level. Remove the mechanical fuel injector. Clean fuel oil and carbon debris out of the inner diameter of the old brass sleeve using shop solvent.
- Thread Remover Tool into Old Brass Sleeve: Coat the tap threads of the ATC ZTSE2587C remover tool (ZTSE2534A equivalent) with cutting grease to capture metal chips. Thread the tool into the upper rim of the old sleeve by hand using a wrench until fully engaged.
- Extract Old Brass Sleeve Straight Up: Attach the puller bridge and turn the forcing nut clockwise to draw the old brass sleeve straight up out of the cylinder head without touching or scoring cast-iron lands.
- Clean Head Lands & Apply Retaining Compound: Thoroughly wire-brush and clean old scale, sealant, and oil off the cast-iron head bore lands using solvent. Apply new lower O-rings and a uniform bead of approved Loctite retaining compound to the new brass sleeve (Navistar 675442C1 / SBI 240-1024).
- Drive New Sleeve to Exact Factory Depth: Slide the new brass sleeve onto the ATC ZTSE2587C driver mandrel (ZTSE2587A equivalent). Insert the assembly squarely into the head bore and drive the mandrel down until it bottoms firmly against the head stop, setting the sleeve to exact OEM depth.
PRO-TECH ENGINE GOVERNANCE & SEALANT DWELL TIME MANDATE:
ALWAYS VERIFY ENGINE INJECTION TYPE! This ZTSE2587C tool works ONLY on 12-valve MECHANICAL injection engines! DO NOT USE on 12-valve electronic engines (Use ST-182) or 24-valve electronic engines (Use ST-252)! ALWAYS ALLOW RETAINING COMPOUND TO CURE PER MANUFACTURER DWELL TIME before refilling engine coolant!
5.00 lbs Precision International Mechanical 12-Valve Injector Sleeve Remover & Installer Kit. Protect Cylinder Heads.
Get the ATC ZTSE2587C Kit Now
overall rating:
my rating:
log in to rate