
Blog
Caterpillar Heavy-Duty Diesel Compression Testing Protocol
Precision cylinder diagnostic procedures for commercial heavy truck maintenance fleets.
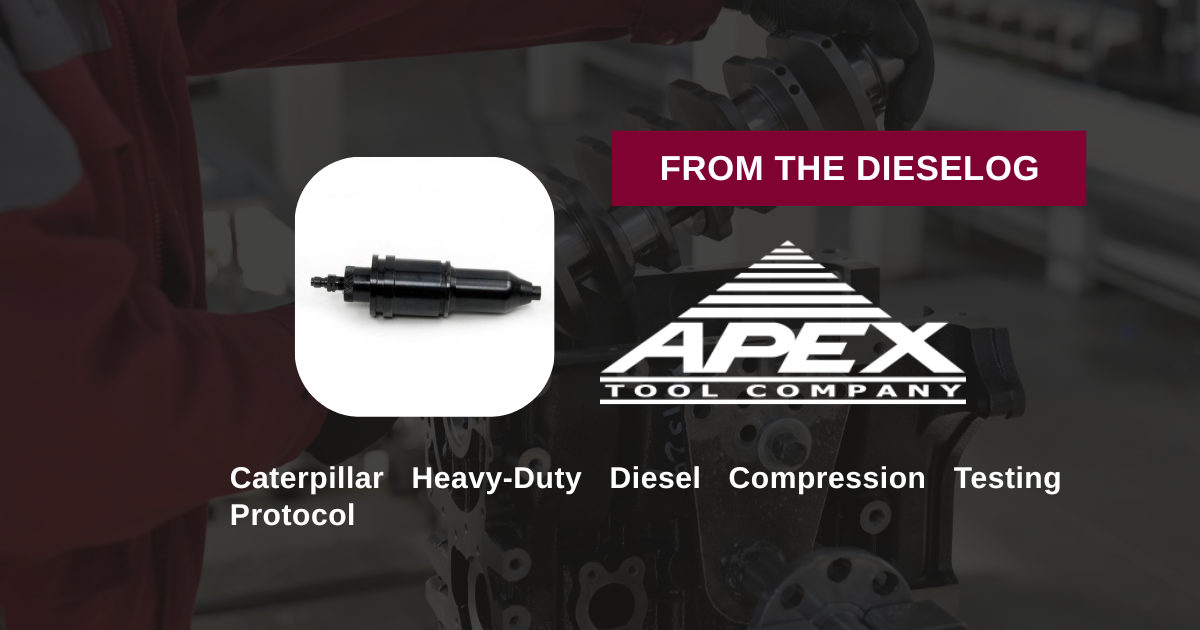
Troubleshooting a rough-running Cat C15 or verifying cylinder health before a major overhaul? Learn the proper technical sequence to hook up the ATCL-TU-15-49 adapter and capture precise cylinder compression data.
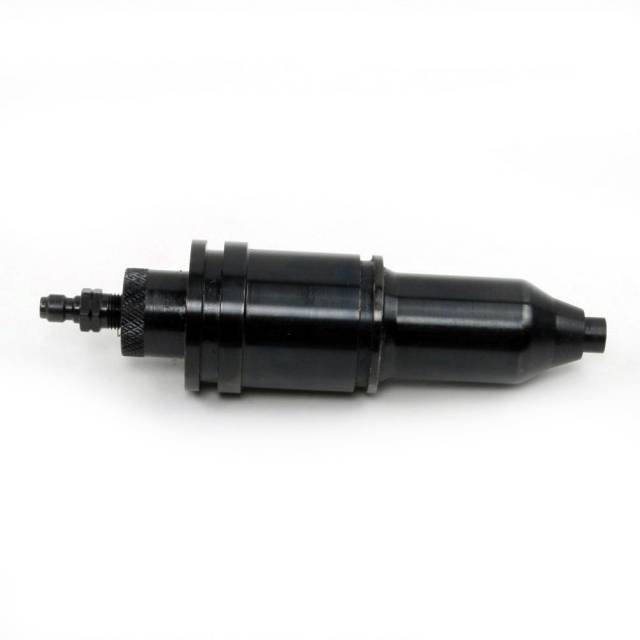
Why Loose Adapter Fits Cause False Low-Compression Diagnostics
Assessing cylinder health on a heavy-duty Caterpillar diesel requires measuring exact cranking compression pressures. When an engine develops a dead cylinder due to burnt valves, stuck compression rings, or a scored cylinder liner, compression drops significantly below baseline specs (typically below 350-400 PSI). However, if a technician uses an unanchored or ill-fitting adapter, high cranking pressure leaks past the adapter base O-rings or copper washer seat into the open head cavity. This artificial pressure drop registers on the diagnostic gauge as low compression—leading mechanics to misdiagnose a sound cylinder block as damaged. Utilizing an application-specific adapter like the ATCL-TU-15-49 replicates the exact dimensions and hold-down geometry of the original Cat unit injector, sealing the copper sleeve completely so that 100% of cylinder pressure enters the gauge loop.
The 5-Step Compression Diagnostic Testing Protocol
- Safety Triage & Engine Preparation: Bring the engine up to operating temperature if possible, then shut it down completely. Disconnect the main electronic fuel injection harness or disable the ECM fuel solenoid to prevent fuel delivery during cranking. Clean around the valve cover and target injector port to prevent dirt from entering the cylinder.
- Extract Injector & Clean the Copper Sleeve: Remove the valve cover and unbolt the factory fuel injector hold-down clamp. Extract the unit injector carefully using an injector puller. Scrape away carbon buildup from the copper sleeve seating face using a soft brass wire brush, and blow out the bore with compressed air.
- Install the ATCL-TU-15-49 Adapter: Inspect the lower sealing O-ring or brass washer on the ATCL-TU-15-49 adapter. Lower the adapter squarely into the clean injector bore until it seats firmly on the sleeve landing. Re-install the OEM injector hold-down clamp over the adapter shoulder and torque the clamp bolt to factory spec.
- Connect Gauge & Execute Cranking Sweep: Snap the quick-disconnect hose of your ATC4451 (or Foster-style) diesel compression gauge onto the quick-connect fitting at the top of the adapter. Crank the engine over for 6 to 8 revolutions (or until the gauge needle peaks and stabilizes). Record the peak PSI reading for that cylinder.
- Evaluate Pressure Data & Move to Next Cylinder: Release pressure using the gauge relief valve, disconnect the quick coupler, unbolt the adapter, and move to the next cylinder port. Compare readings across all cylinders—acceptable variation between the highest and lowest cylinder should not exceed 10–15% according to Caterpillar service standards.
PRO-TECH CRANKING SAFETY MANDATE:
Always double-check that the fuel system is completely disabled before performing a cranking compression test! Never allow an engine to fire with a compression adapter installed, as active combustion pressure (exceeding 1,500+ PSI) can destroy diagnostic gauges, rupture test hoses, or cause severe injury. Always verify the ECM is isolated prior to key-on cranking.
High-Strength Alloy Construction. Fast, Accurate Caterpillar Cylinder Testing.
Get Your ATCL-TU-15-49 Cat Adapter Now
overall rating:
my rating:
log in to rate