Blog
Class 6-8 Truck Manual Slack Adjuster Removal: ATC1694 Safe 5-Minute Procedure
Step-by-step professional slack adjuster removal procedure for Class 6-8 truck brake service.
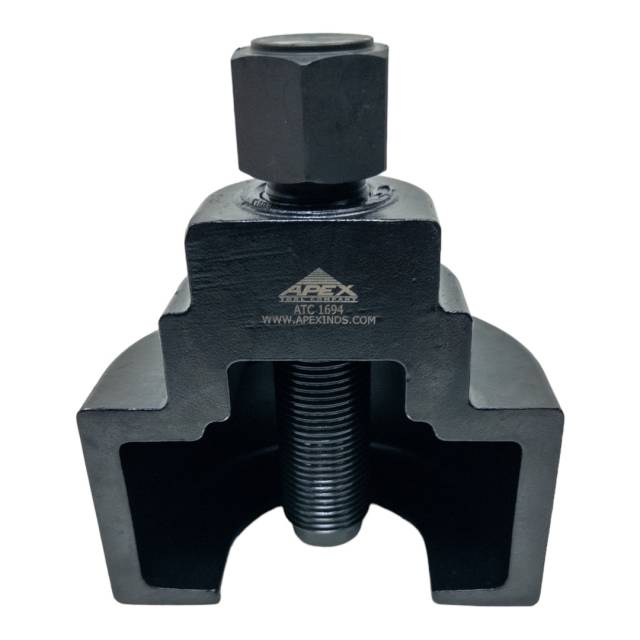
Professional technicians use the ATC1694 Manual Slack Adjuster Puller to safely extract slack adjusters from Kenworth, Peterbilt, Freightliner, Mack, and Volvo brake assemblies in 5 minutes—without hammering, torches, or equipment damage. Follow this exact procedure for safe, repeatable removal.
Phase 1-3: Truck Preparation & Brake Access
- Park truck safely on level ground with air brake system fully applied – Prevent vehicle roll. Engage parking brake and chock wheels if needed
- Let air pressure bleed down for 5 minutes to prevent spring brake engagement during removal – Safety critical: Compressed air can deploy spring brakes during service
- Remove wheel assembly to access manual slack adjuster – Use impact wrench for lug nut removal. Keep lugs organized for reinstallation
- Inspect brake drum for leakage or damage before removal – Document condition (note any cracks, fluid saturation, wear)
- Remove brake drum by tapping gently around circumference with soft mallet – Never use hammering force on slack adjuster itself
- Locate manual slack adjuster and verify it's properly accessible – Clear away any shields, wires, or brake hose routing
Phase 4-6: ATC1694 Puller Setup & Attachment
CRITICAL: ATC1694 Attachment Procedure for Proper Pull
- Inspect ATC1694 puller jaws for wear or damage – Verify teeth grip adjuster securely without slipping
- Position ATC1694 jaw assembly over manual slack adjuster shaft – Align jaws to grip flat sides of adjuster hex (do not grip round body)
- Tighten ATC1694 jaw assembly hand-tight around adjuster shaft – Ensure secure grip without crushing adjuster housing
- Install ATC1694 pulling wrench attachment on jaw assembly – Verify wrench fits securely and can rotate freely
- Attach 1/2" impact wrench to ATC1694 pulling assembly – Use controlled trigger (low-medium speed, NOT high-speed)
- Position your body for safe mechanical advantage – Stand to side of adjuster, not directly behind pulling direction (in case sudden release)
Phase 7-9: Controlled Extraction & Separation
- Apply steady low-speed impact wrench pressure to ATC1694 – Do NOT use high-speed impact (builds excessive force). Controlled pulling force only
- Watch slack adjuster shaft during pulling – Shaft should slide out smoothly and steadily (watch for signs of seized adjuster)
- If adjuster is severely stuck, apply penetrating oil and wait 10 minutes before re-attempting pull – Rust/corrosion may require soak time
- Continue controlled wrench pressure until adjuster separates completely from shaft – Typically 2–3 minutes of steady pulling force
- Remove ATC1694 from extracted slack adjuster once separated – Verify adjuster is free and not hanging from any brake lines or connections
Phase 10-12: Component Inspection & Service Preparation
- Inspect extracted slack adjuster for damage, wear, or corrosion – Assess condition and determine if repair, service, or replacement is needed
- Clean brake drum shaft (where adjuster was seated) thoroughly – Remove rust, debris, and old grease using wire brush and cleaner
- Verify brake drum shaft is smooth and undamaged – Check for cracks, scoring, or wear that could prevent proper new adjuster seating
- Prepare replacement slack adjuster if required – Verify new adjuster is correct model for truck (check part number against service manual)
- Apply thin coat of anti-seize compound to drum shaft – Facilitates future removal (do not over-apply; excess can prevent proper seating)
Phase 13-15: New Slack Adjuster Installation & Brake Reassembly
- Position new (or refurbished) slack adjuster onto clean brake drum shaft – Align adjuster hex with shaft, push firmly by hand initially
- Fully seat new adjuster onto shaft using hand pressure – Adjuster should be tight and show no lateral movement when pushed
- Reinstall brake drum and verify brake shoes are properly positioned – Brake assembly should have correct clearance and free spinning
- Reinstall wheel assembly and torque lug nuts to specification (140–160 ft-lbs typical) – Use star pattern for even clamping
- Apply air pressure to truck and test brake operation – Verify air builds pressure and brake pedal feels normal
Critical Safety Warnings: Slack Adjuster Removal
MUST AVOID THESE FATAL ERRORS:
- ❌ Never use hammering force on slack adjuster – Causes injury, crushes adjuster housing, damages brake drum
- ❌ Never use cutting torch near fuel tank or brake lines – Fire hazard and potential component damage/explosion
- ❌ Never apply high-speed impact force with ATC1694 – Controlled low-speed pulling only (prevents sudden force release)
- ❌ Never operate without air pressure bled down – Spring brake could deploy and crush hand/arm during removal
- ❌ Never grip slack adjuster body (round part) – Always grip flat hex surfaces of adjuster shaft (prevents crushing)
- ❌ Never skip brake drum inspection before reassembly – Damage must be identified and corrected before reinstallation
- ❌ Never position yourself directly behind pulling direction – Sudden release of pressure could cause injury (stand to side)
- ❌ Never reuse corroded or damaged brake drum shaft – Must be cleaned, inspected, and verified smooth
Why ATC1694 Eliminates Dangerous Traditional Methods
Traditional Hammering Method Problems:
- Hand/wrist injuries from missed strikes (1–3 per week in busy shops)
- Repetitive strain injuries from hours of hammering
- Slack adjuster housing damage (requires $800+ replacement)
- Brake drum thread damage (requires drum replacement)
- 2–4 hours labor per removal (vs. 5 minutes with ATC1694)
Cutting Torch Method Problems:
- Fire hazard near fuel tank and flammable brake fluids
- Severe slack adjuster damage from heat exposure
- Brake drum distortion from localized heating
- No fuel accountability for torches (OSHA violation)
- $5,000–$25,000 OSHA facility fines for unsafe practices
ATC1694 Controlled Pulling Advantages:
- ✅ Zero technician injury risk (mechanical advantage, not striking)
- ✅ Zero slack adjuster damage (clean extraction)
- ✅ Zero brake drum damage (no prying force)
- ✅ 5-minute removal vs. 2–4 hours struggle
- ✅ Repeatable, safe procedure every time
- ✅ OSHA compliant, professional equipment standard
Professional Slack Adjuster Service Checklist
Safe Slack Adjuster Service. Eliminate Dangerous Methods. Protect Your Team.
Get ATC1694 Puller – $225.00
overall rating:
my rating:
log in to rate