
Blog
Cummins ISX Injector Removal & Installation Steps
Precision fuel system maintenance and injector seating guidelines for commercial diesel mechanics and fleet technicians.
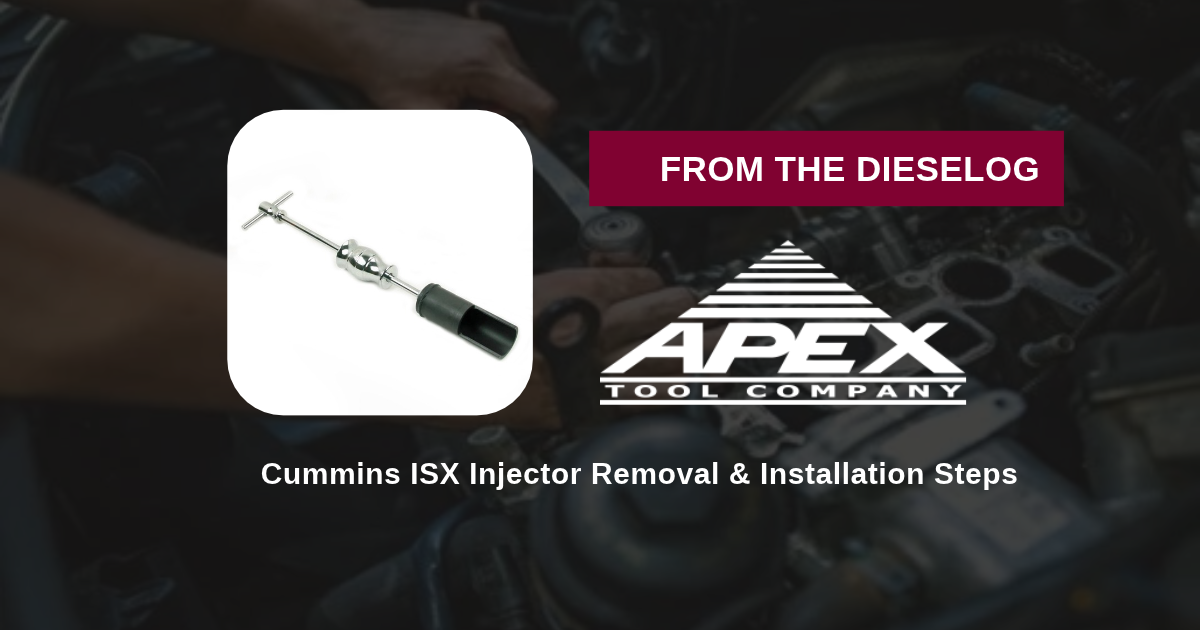
Removing carbon-locked fuel injectors or installing replacement injectors on a Cummins ISX or ISX15 engine during an in-frame overhaul or fuel system repair? Follow this step-by-step professional workshop procedure to engage the ATC 3163483 puller, extract stubborn rear injectors safely, clean injector bores, lubricate new O-rings, and seat new injectors squarely before tightening hold-down clamps.
Why Prying & Clamp-Bolt Pulling Ruin Cummins ISX Injectors
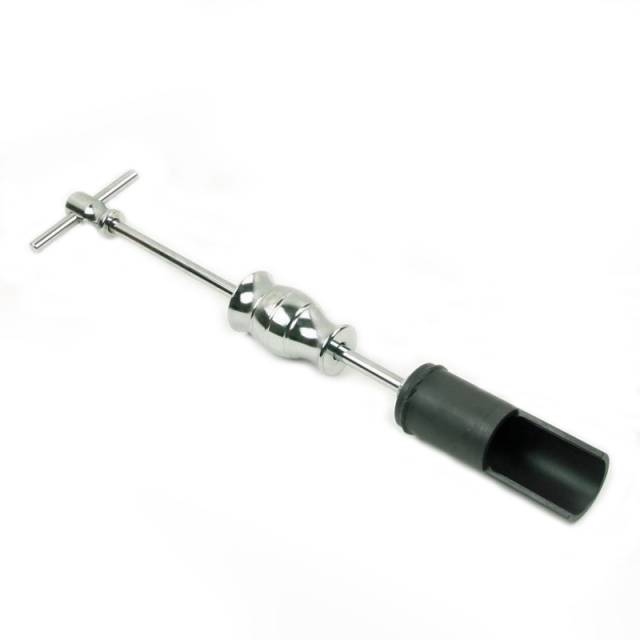
On Cummins ISX engines, fuel injectors fit tightly inside cylinder head bores, with #5 and #6 cylinders tucked closely beneath the cab firewall. Technicians who try to pry stuck injectors loose with heel bars risk snapping fragile injector solenoids, cracking aluminum rocker housings, or scoring soft copper injector sleeves. Equally destructive is installing a new injector by sliding it partway into the bore and tightening the hold-down clamp bolt to pull it down. Clamp bolts apply uneven, off-center leverage—cocking the injector and slicing its new Viton O-rings against sharp bore edges. A cut O-ring causes fuel to leak directly into engine crankcase oil, leading to catastrophic bearing failure. Utilizing the 5.00-pound ATC 3163483 Puller & Installer (OEM 3163483 Equivalent) completely eliminates both hazards by pulling injectors vertically out and pressing new injectors dead-flat to the bottom of the bore prior to clamp torqueing.
The 5-Step Cummins ISX Injector Service Protocol
- Relieve Fuel Pressure & Remove Hold-Down Clamp: Disconnect batteries, relieve fuel rail pressure, disconnect injector wiring harnesses, and remove the injector hold-down clamp and bolt.
- Engage ATC 3163483 Puller & Extract Old Injector: Position the ATC 3163483 tool squarely over the injector body and anchor it to the head deck. Operate the tool smoothly to draw the carbon-locked injector straight up out of the bore without prying or side-loading.
- Clean Cylinder Head Bore & Copper Sleeve Seat: Vacuum out loose carbon debris from the injector bore. Use approved Cummins bore brushes and lint-free swabs to clean the lower copper sleeve seating face and O-ring sealing walls.
- Install New O-Rings & Seat Injector with ATC 3163483: Install fresh O-rings and a new lower combustion washer on the replacement injector. Lubricate O-rings with clean engine oil, insert the injector into the bore, and use the ATC 3163483 installer driver to press the injector squarely until it bottoms completely against the sleeve seat.
- Install Hold-Down Clamp & Torque to OEM Specs: Once the injector is fully bottomed by the tool, remove the ATC 3163483, install the hold-down clamp, and torque the clamp bolt to exact Cummins ISX factory specifications.
PRO-TECH PRE-TORQUE SEATING & O-RING LUBE MANDATE:
ALWAYS BOTTOM THE INJECTOR COMPLETELY IN THE BORE USING THE ATC 3163483 DRIVER BEFORE TIGHTENING THE HOLD-DOWN CLAMP! Never use the hold-down clamp bolt to draw an injector into the bore—doing so WILL cut O-rings and cause fuel-in-oil dilution! ALWAYS LUBRICATE NEW O-RINGS WITH CLEAN ENGINE OIL prior to installation!
5.00 lbs Precision Cummins ISX Fuel Injector Puller & Installer Tool. Protect Injectors & O-Rings.
Get the ATC 3163483 Tool Now
overall rating:
my rating:
log in to rate