
Blog
Cummins M11, L10 & ISM Piston Ring Compression & Installation Steps
Precision short-block assembly and piston ring installation guidelines for commercial diesel mechanics and engine rebuilders.
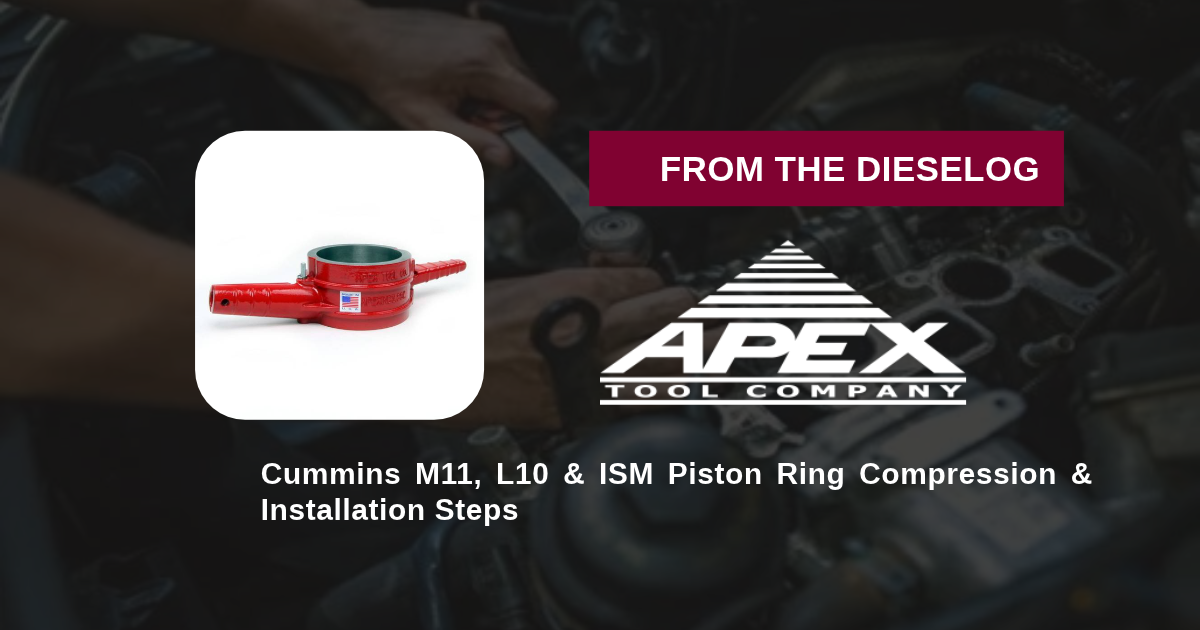
Installing piston and connecting rod assemblies during an in-frame overhaul or short-block rebuild on a Cummins M11, L10, or ISM engine? Follow this step-by-step professional workshop procedure to stagger piston ring end-gaps, lubricate piston skirts and liner walls, seat the USA-made ATC-7013 4.92″ tapered ring compressor flat against the liner deck, and guide pistons smoothly into the bore.

Why Spring-Band Compressors Fail on Heavy-Duty Cummins 4.92″ Pistons
On Cummins M11, L10, and ISM commercial diesel engines, piston ring packs feature thick, high-tension keystone top rings and heavy-duty oil control rings designed to withstand extreme turbo boost and peak cylinder firing pressures. Technicians who attempt to compress these heavy rings using universal adjustable band-type ring compressors encounter frequent installation failures: sheet-metal bands flex outward under high ring tension, allowing ring ends to catch on the top edge of the 4.92-inch cylinder liner. Attempting to force a hung-up piston downward snaps brittle cast-iron/ductile rings, bends ring lands, or gouges deep vertical scores into brand-new cylinder liners. Utilizing the 10.00-pound USA-made ATC-7013 Ring Compressor (Direct PT-7013 Replacement) eliminates ring hang-ups completely. Its rigid, seamless 4.92″ (125 mm) internal taper compresses every ring uniformly around 360 degrees, guiding pistons smoothly straight into the cylinder bore.
The 5-Step Cummins M11, L10 & ISM Piston Installation Protocol
- Clean Cylinder Liner Bore & Stagger Ring End-Gaps: Wipe the 4.92″ cylinder liner bore clean with lint-free towels. Verify piston ring end-gaps in the bore, install rings onto the piston per Cummins orientation marks, and stagger ring end-gaps 120 degrees apart (away from piston pin bores and thrust faces).
- Lubricate Piston Skirts, Rings & ATC-7013 Taper Bore: Coat the cylinder liner wall, piston skirts, ring grooves, and the smooth internal tapered bore of the ATC-7013 ring compressor generously with clean 15W-40 heavy-duty diesel engine oil.
- Load Piston Assembly into ATC-7013 Sleeve: Insert the connecting rod and piston assembly into the wide top opening of the ATC-7013 compressor, guiding the piston down until the rings are compressed within the tapered bore and the piston skirt protrudes slightly from the bottom exit rim.
- Seat ATC-7013 Flat on Liner Flange & Align Rod Journal: Guide the connecting rod down through the cylinder liner toward the crankshaft journal (install rod bolt protectors to prevent crank journal scratches). Hold the bottom rim of the ATC-7013 compressor dead-flat and concentric against the top flange of the cylinder liner.
- Tap Piston Crown Smoothly into Cylinder Liner: While holding firm downward pressure on the ATC-7013 sleeve so it cannot lift off the liner deck, tap the center of the piston crown smoothly and steadily using the wooden handle of a dead-blow hammer until the piston slides completely into the cylinder liner.
PRO-TECH FLAT DECK HOLD & WOODEN HANDLE MANDATE:
ALWAYS HOLD THE ATC-7013 SLEEVE DEAD-FLAT AGAINST THE LINER FLANGE WHILE TAPPING THE PISTON IN! If the sleeve lifts even slightly, a ring can pop into the gap and snap! ALWAYS TAP PISTONS DOWN USING A WOODEN OR SOFT PLASTIC MALLET HANDLE—never strike piston crowns with metal hammers or steel bars!
10.00 lbs USA-Made 4.92″ Solid Tapered Ring Compressor for Cummins M11, L10 & ISM. Protect Pistons & Liners.
Get the ATC-7013 Ring Compressor Now
overall rating:
my rating:
log in to rate