Blog
Tech Guide: Detroit 60 Series 14L Piston Installation
Precision powertrain component reconditioning guidelines for freight vehicle transport.
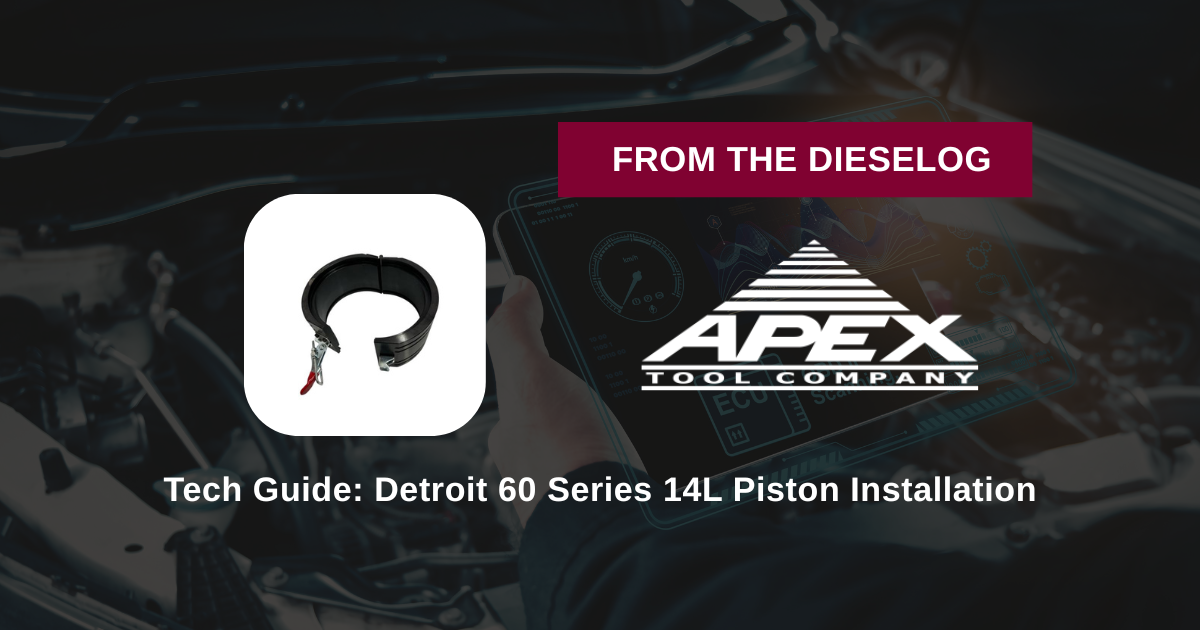
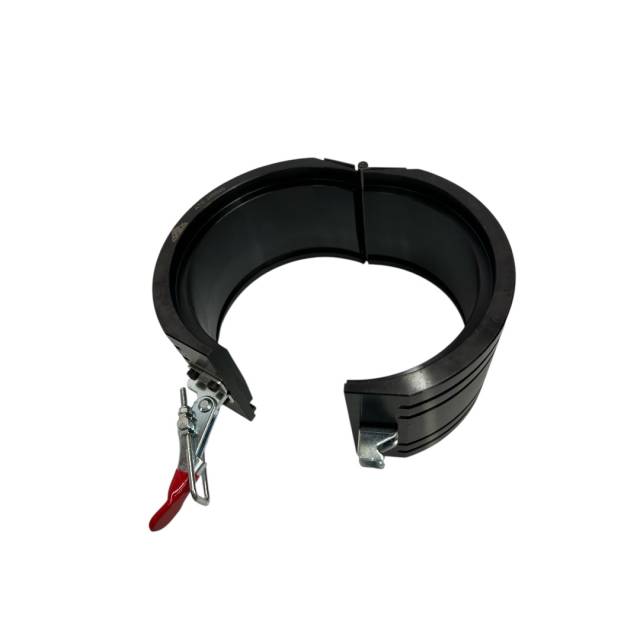
Snapping a high-tension oil control ring mid-stroke ruins your flat-rate time and risks scratching a new cylinder liner. Master the exact technical sequence using the ATC J46929 tapered compressor.
Why Loose Band Clamps Fail on High-Tension Ring Packs
The 14L Detroit Diesel EGR engine demands absolute perfection from its ring pack to prevent high blow-by and oil contamination. When a mechanic tries to use a standard universal multi-band clamp on these large-bore pistons, the thin spring steel struggles to exert uniform force across the gaps. As the piston is driven down, the high-tension rings can force the adjustable band to tilt, creating a microscopic gap where a ring can pop loose and jam against the liner flange. Tapping past this bind will instantly twist or shatter the ring, forcing you to pull the piston back out, clean up the metal chips, and source an entirely new ring pack. Utilizing a dedicated solid-wall tapered sleeve like the ATC J46929 guarantees that the ring pack undergoes perfect radial compression, easing smoothly into the liner with zero binding.
The 5-Step 14L Piston Insertion Protocol
- Liner Bore and Crankshaft Inspection: Clean the cylinder liner wall thoroughly with a clean, lint-free cloth and coat the surface with clean engine lube. Ensure the crankshaft journal is positioned at absolute bottom dead center (BDC) to provide maximum clearance for the incoming connecting rod.
- Clock and Lubricate the Ring Pack: Clean your Detroit piston assembly. Rotate and clock the piston ring gaps strictly according to factory service specs (typically offsetting gaps by 120 or 180 degrees to maximize path resistance). Generously coat the crown, skirt, and ring grooves with clean engine oil.
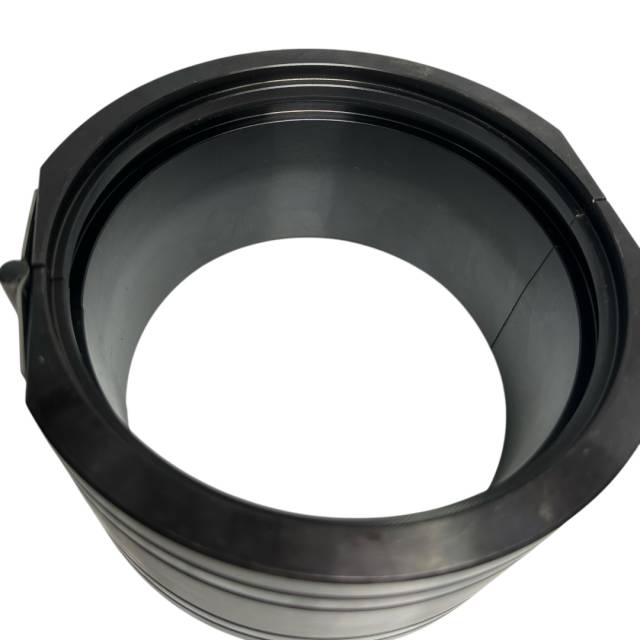
- Seat the ATC J46929 Compressor Sleeve: Slide the tapered ATC J46929 compressor sleeve directly over the piston skirt. Push the tool upward over the ring lands. The precision-machined inner taper will compress the high-tension rings firmly and evenly into their grooves as it slides over them.
- Index the Assembly Over the Cylinder Deck: Lift the piston and tool assembly over the open cylinder liner. Position the flat base of the 11.00 lb tool perfectly flush against the clean top block deck surface. Reach below to guide the connecting rod safely down the center of the liner bore, avoiding any contact with the cooling nozzles.
- Execute the Controlled Mechanical Press: Hold the compressor tool firmly down against the block deck to maintain alignment. Using a heavy dead-blow mallet or a clean wooden hammer handle, strike the center of the piston crown with smooth, solid downward blows. The piston will slide out of the tapered sleeve and straight into the liner smoothly.
PRO-TECH BLOCK ALIGNMENT MANDATE:
Always ensure the bottom face of the ATC J46929 tool and the engine block deck are completely free of dirt, carbon particles, or old gasket grit. Any tiny piece of debris trapped under the tool will cause it to sit slightly cocked, introducing an uneven angle that can cause the piston rings to clip the edge of the liner and bind.
Visual Verification Reference: Check out our detailed component layouts below to see how the inner tapered guide wall aligns perfectly with the engine block to form a smooth entry bridge.

Fleet Assembly Precision. Zero Broken Ring Risk.
Get the Detroit 14L Master Compressor Sleeve
overall rating:
my rating:
log in to rate