Blog
Tech Guide: Cummins ISX & QSX Front Main Seal Replacement
Precision gear housing re-sealing guidelines for heavy transport mechanics.
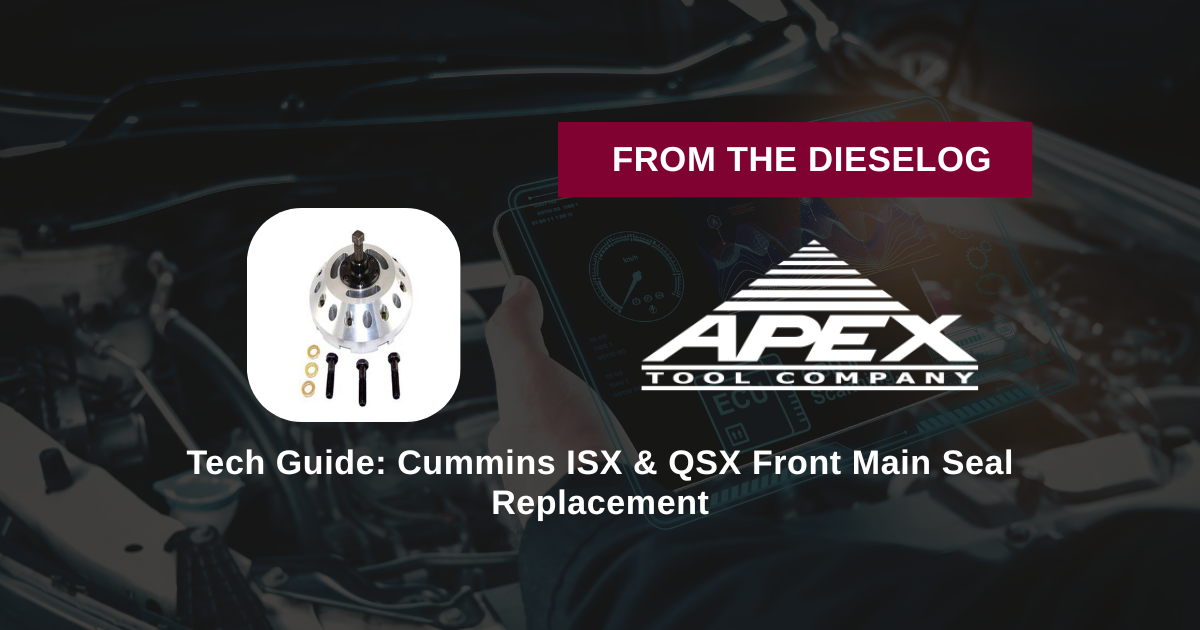
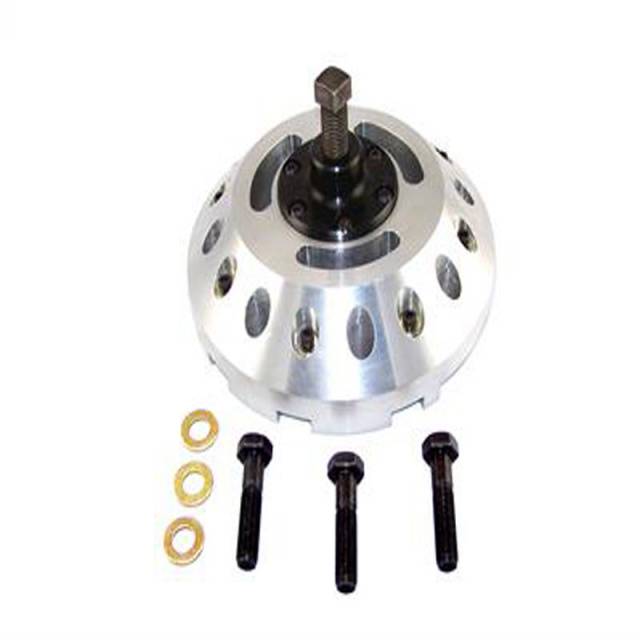
Prepping an intermediate Cummins block for a fresh front crankshaft oil seal? Learn the professional technical sequence to pull and press assemblies cleanly with the M20146 fixture.
Why Asymmetrical Driver Impacts Ruin Dry-Install Spindle Lips
The front cover housing on a Cummins ISX engine is an intricate casting that seals vital timing gears. When a technician attempts to force a fresh front oil seal home by tapping around its perimeter with a hammer or improvised punch sleeve, the striking energy travels unevenly. This uneven shifting forces the stiff metal casing to warp or tilt inside the bore, introducing microscopic tracking gaps. Even worse, modern dry-install PTFE seals require a completely parallel initialization path; any slight wobble during entry will flip or crease the stiff plastic lip, rendering the seal useless before the engine even turns over. Utilizing a threaded, pilot-supported driver fixture like the M20146 applies balanced, uniform axial force to press the assembly home completely flat and square.
The 5-Step Front Main Sealing Protocol
- Gear Cover Access & Shaft Audit: Remove the cooling fan, dampener pulley, and accessory belts. Clean the front crankshaft snout and gear cover bore aggressively with solvent to strip away varnished oil residue, road scale, and grease accumulation.
- Mount the Extraction Hardware: Thread the M20146 kit extraction plate securely onto the worn front seal face. Turn the primary center force bolt clockwise against the crankshaft pilot plug. The balanced mechanical pulling tension will break the old seal bond and draw the casing straight out of the housing bore.
- Journal Surface Triage: Inspect the crankshaft journal surface closely for fine grooving left by the old seal. Ensure the entire area is 100% clean and bone dry—never grease or oil a dry-spec PTFE seal lip or crankshaft journal, as fluid contamination prevents the plastic from memory-shrinking onto the shaft!
- Bolt Down the Pilot Guide Hub: Secure the central M20146 pilot guide hub tightly directly onto the crankshaft hub flange face using the kit's mounting bolts. This forms a parallel, concentric tracking path that bridges the lip gap perfectly.
- Execute Controlled Mechanical Pressing: Slide the fresh front seal over the pilot guide sleeve. Position the outer driver cup assembly over the central force bolt screw. Turn the primary drive nut clockwise slowly using a manual wrench or high-leverage breaker bar until the tool's precision shoulder flat-bottoms against the gear cover face.
PRO-TECH MATERIAL RELAXATION MANDATE:
After installing a fresh PTFE front crankshaft seal with the M20146 tool, you must allow the engine block to rest completely stationary for a minimum of 2 to 4 hours before starting it up or turning the crankshaft. This critical relaxation window is required to let the expanded plastic lip naturally memory-shrink tightly around the steel journal axis to lock in a permanent, drip-free running seal.
Dealership Flat-Rate Speeds. Absolute Sealing Authority.
Get the Cummins Front Seal Tool Set
overall rating:
my rating:
log in to rate