Blog
Tech Guide: Installing Rockwell & Meritor Hub Seals
Precision drivetrain component reconditioning guidelines for fleet maintenance mechanics.
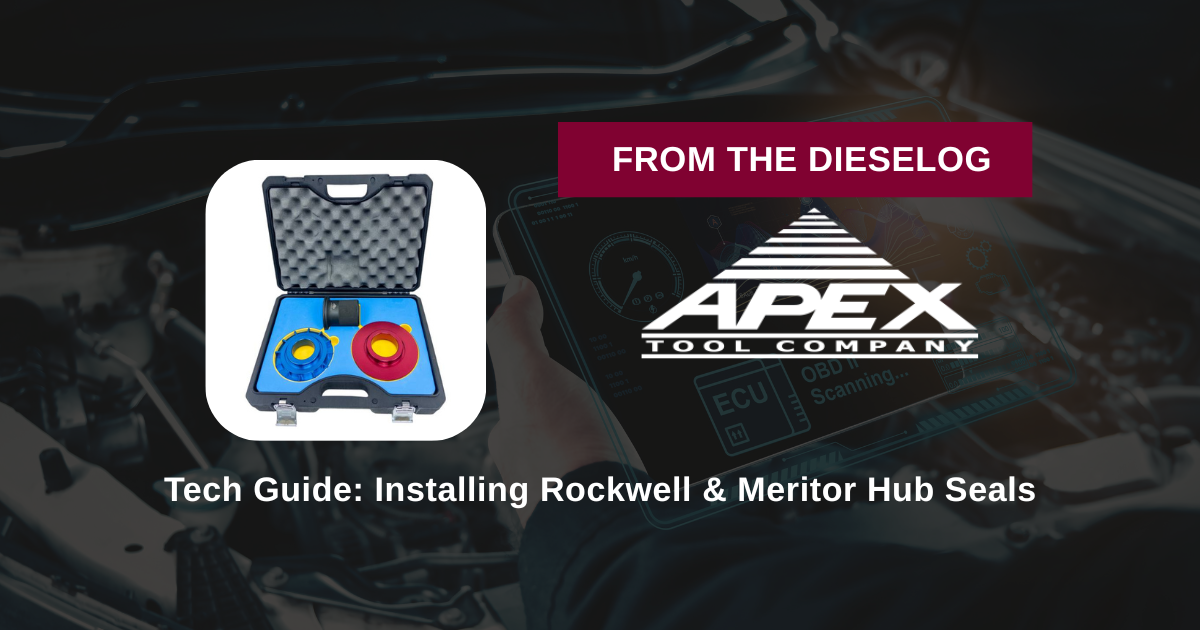
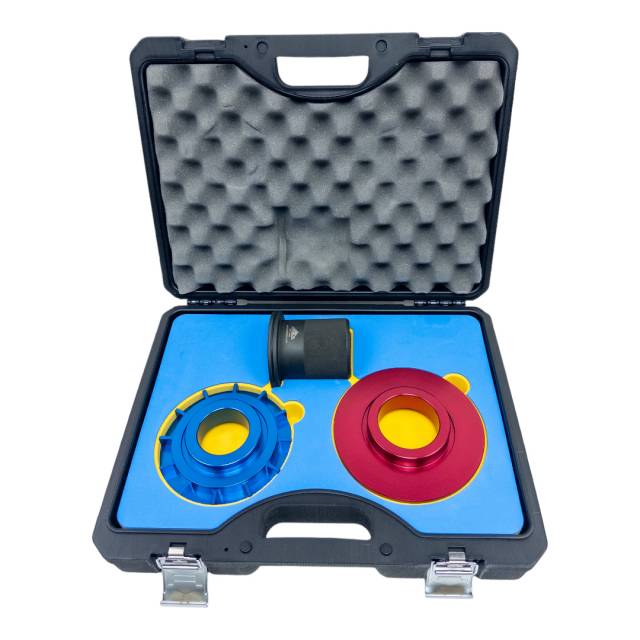
Pulling a massive wheel hub back apart because a pinion or spindle seal is weeping oil destroys your flat-rate time. Master the proper mechanical sequence using the ATC4454 driver kit.
Why Improvised Hammering Distorts the Metal Seal Shell
The modern oil seals used on commercial Meritor axle shafts look rugged, but their internal engineering is exceptionally precise. Underneath the primary rubber edge sits a fine steel garter spring that keeps the lip holding tight against the spinning spindle shaft. When a technician tries to seat this seal by tapping around the edges with a ball-peen hammer or flat block, the uneven shocks bend the outer steel shell casing. This localized flexing distorts the round geometry of the seal and often pops the internal garter spring clean out of its track. Unaware that the seal is now ruined internally, the tech re-bolts the hub—resulting in a truck that saturates its new brake linings with gear oil within a few weeks. Utilizing a dedicated concentric driver set like the ATC4454 guarantees that your hammer force spreads perfectly flat, pressing the entire shell home squarely with zero distortion.
The 5-Step Wheel-End Re-Sealing Sequence
- 场地Execute Hub Cleanout and Bore Audit: Remove the axle shaft, lock nuts, outer bearings, and pull the massive wheel hub assembly. Extract the spent seal completely. Clean out the internal hub receiver bore aggressively with solvent to remove all hardened grease crust, metal dust, and old sealant.
- Match the Specific ATC4454 Driver Adapter: Select the correct application-specific driver from your ATC4454 kit matching your target Rockwell or Meritor spindle diameter. Slide the tool onto your master driver handle assembly.
- Lubricate Sealing Interfaces: Coat the outer perimeter of the new seal shell casting with a light, thin layer of high-quality liquid gasket or non-hardening sealant to stop oil from weeping past the hub bore. Wipe a clean film of fresh gear lube onto the inner rubber sealing lips.
- Drive the Seal to Home Seat: Settle the seal perfectly straight into the hub opening well. Settle your ATC4454 driver mandrel completely flat over the casing rim. Using a heavy dead-blow hammer, strike the center driver handle squarely with steady, solid blows until the tool flange hits the machined mechanical shoulder stop.
- Inspect Balance and Complete Build: Remove the driver and verify that the seal face sits completely flush and square within the bore. Carefully slide the wheel hub assembly back over the spindle shaft, replace the bearings, and torque the axle lock nuts to strict factory clearance codes before buttoning up the axle.
PRO-TECH DRIVETRAIN DRIVER DIRECTION:
Always maintain the striking face of your driver handles free of deep metal burrs. Cold-mushroomed steel from old sledge strikes can alter the path of your dead-blow mallet, tilting your driver slightly off-axis and causing the new seal to seat unevenly. Clean up your tools regularly to preserve flat, accurate hits!
Class 8 Fleet Wheel Integrity. Zero Un-Parallel Seating Risk.
Get the ATC4454 Master Driver Kit
overall rating:
my rating:
log in to rate