Tech Guide: Installing Meritor Multi-Lip Axle and Yoke Seals
Pulling a heavy commercial truck carrier back apart just to fix a pinched pinion seal is a massive waste of labor. Master the exact installation sequence to seat Meritor seals flawlessly using the ATC9093 tool set.
Why Improvised Hammering Blows Pop Internal Garter Springs
The modern multiple-lip seal used by Meritor is an incredible piece of fluid engineering, but it is highly vulnerable during installation. Inside the primary rubber sealing lip sits a small coiled steel garter spring that maintains constant tension against the spinning yoke shaft. When an installer attempts to tap the seal into the carrier housing using an unguided punch, uneven hammer blows tilt the thin metal shell. This sharp rocking motion creates an instantaneous shock wave that frequently throws the garter spring completely out of its rubber channel. Unaware that the spring has dropped to the bottom of the bore, the tech reassembles the yoke—resulting in a differential that begins leaking fluid within a few hundred miles. Using the specialized ATC9093 driver cage keeps the striking force perfectly parallel to the shaft center, driving the entire circumference of the seal in smoothly and protecting the internal spring.
The 5-Step Axle Yoke Re-Sealing Protocol
- Housing Cleanup & Shaft Inspection: Impact off the yoke nut, pull the yoke hub assembly, and extract the old worn seal. Clean out the carrier bore aggressively using brake cleaner and a wire brush to remove rust and old sealant residue. Inspect the yoke shaft for grooves or scoring that could bypass a new seal.
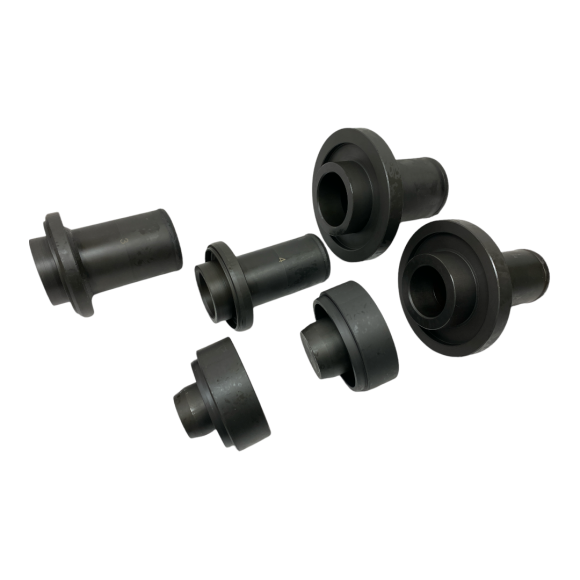
- Identify the Matching ATC9093 Driver Component: Match your specific axle position to the corresponding tool from the 6-piece driver set. Select the dedicated forward-rear input, output, or rear-rear input configuration depending on your repair job.
- Apply Secondary Sealing Protection: Apply a light film of clean gear oil to the inner rubber lips of the new multi-lip seal. Coat the outer metal shoulder of the seal with a high-quality liquid gasket or non-hardening sealant to prevent fluid from weeping past the housing bore.
- Drive the Seal and Sleeve Home: Set the seal square into the carrier bore opening. Place the matching ATC9093 driver flat against the face of the seal casing. Using a heavy dead-blow hammer, strike the center driver handle squarely. Drive the seal home with solid, rhythmic blows until the tool bottoms out firmly against the housing shoulder.
- Verify Seat Depth and Re-Torque: Run your fingers around the entire perimeter of the newly installed seal to verify that it is fully bottomed out and perfectly flush with the housing. Slide the yoke hub back over the splines, replace the shaft washer, and torque the primary yoke nut back to factory heavy-tonnage specifications.
PRO-TECH MECHANICAL COMPLIANCE DISCLOSURE:
Always clean any dirt, metal dust, or rust scale off the striking surface of the ATC9093 driver mandrels before every job. Debris trapped between your hammer face and the driver transfers concentrated force unevenly, which can mar the tool's surface or cause it to strike the seal crookedly.
Professional Fleet Drivetrain Service. Zero Improvised Tool Risk.
Secure Your ATC9093 Tool Set