Blog
Tech Guide: Navistar Pitman Arm Extraction Procedures
Precision steering component reconditioning guidelines for fleet service mechanics.
Dealing with a rock-solid steering arm on a heavy Navistar chassis? Learn the professional technical sequence for using the ZTSE4439 tool to pull pitman arms safely.
Why Impact Shock Destroys Sector Shaft Bearings
The sector shaft inside a Sheppard M-Series steering box is supported by precision-toleranced roller or needle bearings. When a line mechanic attempts to "beat" a pitman arm off using a sledgehammer, the high-velocity shock waves travel directly through the splines and into these bearings. This often flat-spots the rollers or scores the bearing races, leading to steering "dead spots" or gear binding after the truck leaves the shop. Utilizing an unyielding mechanical draw fixture like the ZTSE4439 ensures that only constant, smooth tension is applied, preserving the internal integrity of the steering box while snapping the corrosion seal of the splines.
The 5-Step Steering Separation Protocol
- Tear Down & Access Port Prep: Lock the steering wheel in the center position. Remove the primary sector shaft nut and the drag link connection. Clean the spline interface area thoroughly with a wire brush and soak the taper with a high-quality penetrating oil for 15 minutes to reduce breakaway friction.
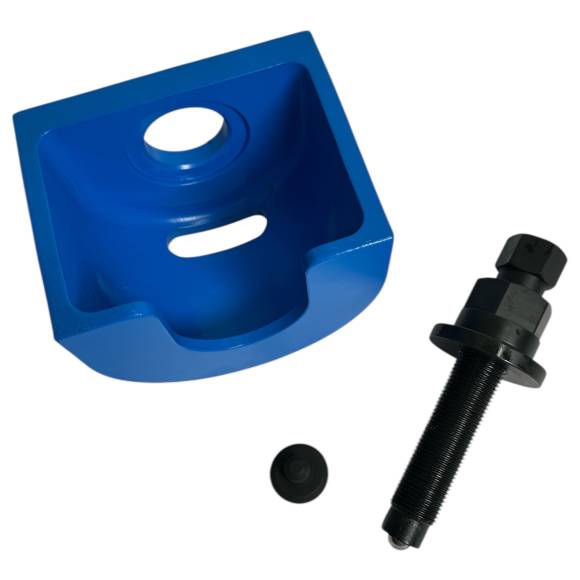
- Position the ZTSE4439 Puller Cage: Slide the heavy-duty puller jaws securely behind the pitman arm shoulder. Ensure the tool's cage is perfectly centered and that the "jaws" are fully engaged with the widest part of the arm's structural base.
- Protect the Shaft Centerline: Lubricate the primary force screw threads of the ZTSE4439 with extreme-pressure grease. Position the force screw tip so it sits flatly centered in the sector shaft's machined dimple. This prevents the tool from walking or scoring the shaft threads.
- Execute Controlled Pulling Force: Wrench the drive screw clockwise using a manual high-leverage breaker bar or heavy-duty ratchet. Apply steady, increasing torque. You will often hear a distinct metallic "crack" as the splined taper releases its structural bond. Continue turning until the arm slides cleanly off the shaft.
- Audit the Sector Splines: Once removed, vacuum away all loose rust scale. Inspect the sector shaft splines for twisting or fracture marks. Clean the shaft and the new arm with solvent before reassembling to factory torque specifications to ensure a flawless future interface.
CRITICAL COMPONENT ADVISORY:
Never use an air impact gun to drive the central force screw of the ZTSE4439 puller during a "frozen" extraction. The sudden, violent torque of an impact gun can gall the tool's threads or even snap the hardened steel jaws if the arm is truly bottomed out. Always use manual hand tools to maintain the "feel" of the extraction and prevent tool overload.
Class 8 Steering Precision. Eliminate Shop Hammer Hazards.
Get the ZTSE4439 Pitman Puller
overall rating:
my rating:
log in to rate