Blog
Diesel Engine Wet Liner Removal: Complete Professional Workflow Using ATC6400 Puller
Professional wet liner removal workflow for diesel engine rebuilds using ATC6400 puller
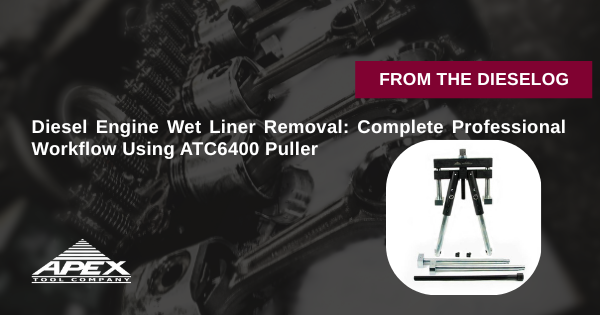
Diesel Engine Wet Liner Removal: Complete Professional Workflow Using ATC6400 Puller
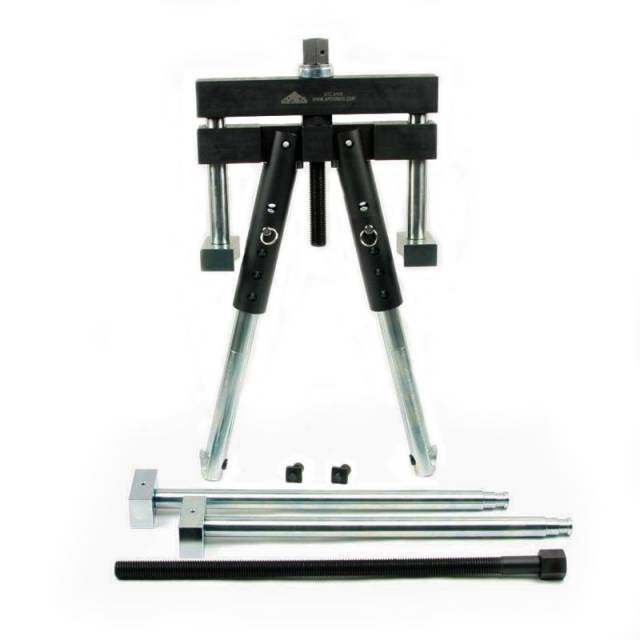
Wet liner removal is the most critical step in any diesel engine rebuild. Get it wrong, and you're looking at cracked blocks, damaged seal surfaces, and expensive comebacks. This professional workflow guide covers complete liner extraction on Caterpillar, Cummins, Mack, Detroit, Volvo, and International engines using the ATC6400 Universal Cylinder Liner Puller—the PT-6400-C replacement trusted by diesel shops worldwide.
GET ATC6400 LINER PULLER NOW
4″–6¼″ Bore • Complete Workflow Coverage
Phase 1: Pre-Removal Preparation
- Drain coolant system completely – Open all drain plugs; capture coolant for disposal.
- Remove cylinder head(s) – Follow OEM torque sequence in reverse; store bolts in order.
- Remove pistons and rods – Rotate crank; push out each piston assembly.
- Apply penetrating oil – Spray liner-to-block interface; wait 24 hours for stuck liners.
- Clean liner tops – Remove carbon ridge, rust, and debris from liner lip.
- Inspect for cracks – Check liner flange and block deck for visible damage.
Phase 2: ATC6400 Setup & Extraction
- Select correct leg length – Use long support legs for deep liners (up to 15″).
- Insert ATC6400 into bore – Lower puller until spring arms contact liner wall.
- Verify arm engagement – Ensure both arms grip liner evenly; adjust if needed.
- Position support legs on deck – Legs must rest flat on block surface.
- Install thin feet – Use thin feet for tight clearances around deck bolts.
- Attach 1-1/8″ impact wrench – Connect to hex drive screw.
- Apply extraction force – Run impact wrench; liner lifts smoothly from block.
- Remove liner – Lift liner out of bore; set aside for inspection.
Professional Extraction = Zero Block Damage
ORDER ATC6400 NOW →Phase 3: Block Inspection & Prep
- Inspect counterbore – Check for cracks, erosion, or out-of-round condition.
- Measure bore diameter – Verify within OEM tolerance using bore gauge.
- Check seal surfaces – Inspect O-ring grooves and sealing areas for damage.
- Clean all surfaces – Remove rust, scale, and old sealant from block.
- Measure liner protrusion height – Verify new liners will seat to correct height.
- Document condition – Photo record for warranty and quality assurance.
Phase 4: New Liner Installation
- Install new O-rings – Lubricate with clean coolant or assembly lube.
- Position new liner – Align liner with bore; ensure O-rings don't twist.
- Press liner into bore – Use liner installation tool; never hammer directly.
- Verify protrusion – Measure liner height above deck; compare to OEM spec.
- Install remaining liners – Repeat for all cylinders.
- Final inspection – Verify all liners seated correctly before head installation.
Every Diesel Rebuild Needs the ATC6400
ADD TO CART • ATC6400Shop Efficiency: Time Comparison
| Task | Without ATC6400 | With ATC6400 |
|---|---|---|
| Single liner removal | 45–90 minutes | 5–10 minutes |
| 6-cylinder engine | 4–8 hours | 30–60 minutes |
| Block damage risk | High (20%+) | Near zero |
Professional Liner Removal = Profitable Rebuilds
The Universal Liner Puller for Every Diesel Engine
BUY ATC6400 NOW → $750
✅ 4″–6¼″ Bore • 15″ Depth
✅ Spring-Loaded Arms • Impact Compatible
✅ Replaces PT-6400-C • Made in USA
✅ Spring-Loaded Arms • Impact Compatible
✅ Replaces PT-6400-C • Made in USA
overall rating:
my rating:
log in to rate