
Blog
Paccar MX13 Front and Rear Main Seal Replacement Sequence
Precision crankshaft oil sealing guidelines for commercial truck maintenance fleets.
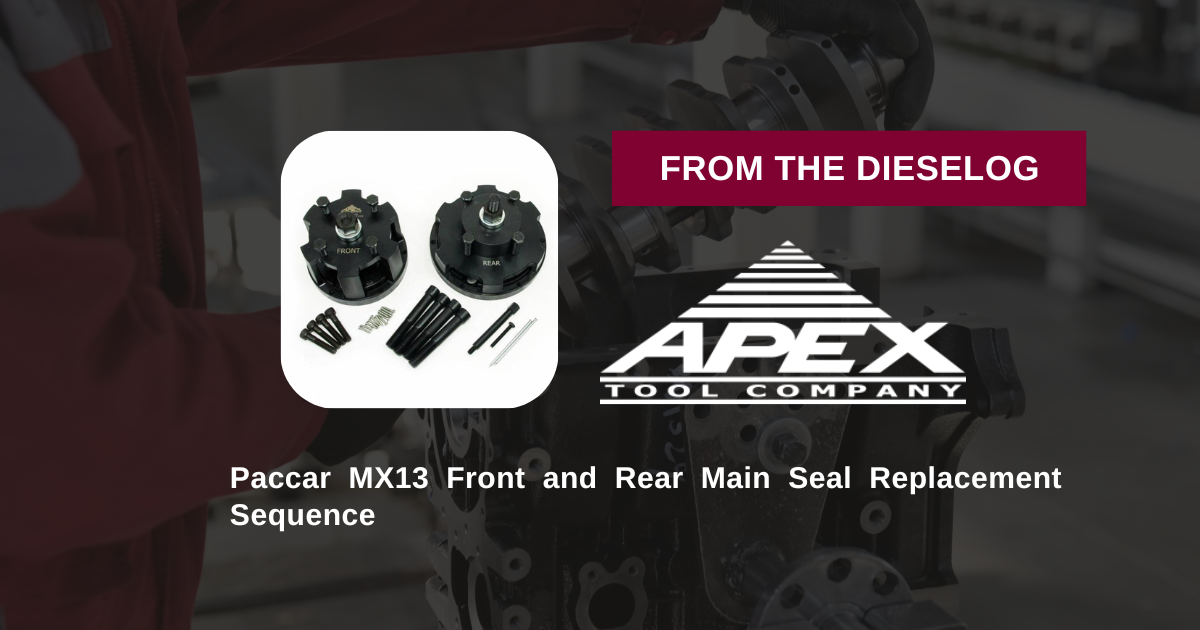
Facing a leaking main seal on a Kenworth or Peterbilt Class 8 tractor? Follow this professional workshop procedure to safely extract old seals and install fresh elements without damaging crankshaft surfaces using the ATC 1453185 master kit.
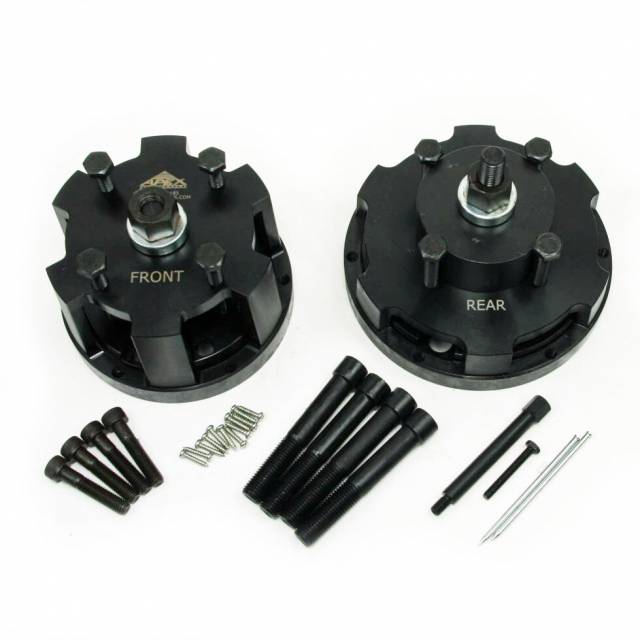
Why Asymmetrical Forces Ruin Crankshaft Wear Sleeves
The front and rear main seals on Paccar MX13 engines seat over precision-ground journals or dedicated wear sleeves. During extraction or installation, applying unguided lateral pressure with screwdrivers, heel bars, or unevenly struck drivers creates severe localized stress. This asymmetrical force easily scratches the hardened steel wear sleeve or gouges the surrounding cast housing. Once a journal surface is grooved, a brand-new seal will fail almost immediately because oil will weep under the damaged sealing lip. Using an application-specific kit like the 37-pound ATC 1453185 anchors all extraction and press forces perfectly parallel to the crankshaft axis, ensuring zero metal-to-metal contact with critical sealing areas.
The 5-Step Paccar MX13 Crankshaft Seal Service Sequence
- Teardown & Surface Preparation: Remove surrounding obstacles—such as the vibration damper for front seal access, or the flywheel and housing elements for rear seal access. Clean all grease, carbon buildup, and old oil film off the crankshaft snout and housing bore using quick-drying solvent.
- Mount the ATC 1453185 Removal Assembly: Attach the kit's dedicated removal plate to the face of the worn seal casing. Secure the puller bolts into the extraction slots, ensuring the tool is mounted flush and centered with the crankshaft snout.
- Extract the Worn Seal Coaxially: Turn the central forcing screw clockwise using a manual breaker bar. The steady, linear mechanical draw will pull the old seal straight out of its housing bore without cocking, protecting the underlying journal or wear sleeve.
- Inspect & Stage the Replacement Seal: Thoroughly inspect the crankshaft journal surface for scratches or burrs. Ensure the sealing area is clean and dry per manufacturer guidelines. Stage the new seal on the ATC 1453185 installer mandrel plate.
- Press the New Seal to Factory Depth: Bolt the installer guide sleeve squarely to the crankshaft end. Turn the drive nut smoothly until the driver plate bottoms out against the depth stop shoulder. This seats the seal completely square and at the exact factory depth limit. Remove the tool and reassemble the engine accessories.
PRO-TECH IMPACT TOOL ADVISORY:
Always operate the forcing screws and drive nuts of the ATC 1453185 tool using manual hand tools! High-speed pneumatic air or electric impact wrenches generate high-frequency hammering vibrations that can gall fine tool threads, tilt the driver plate off-axis, or cause the seal housing to bind inside the engine bore. Turn all components smoothly by hand.
Invest in OEM-Level Rigidity. Eliminate Seal Installation Rework.
Order the Paccar MX13 Seal Tool Kit Now
overall rating:
my rating:
log in to rate