
Blog
Caterpillar Heavy-Duty Exhaust Stud Repair Sequence
Precision emissions and manifold component reconditioning guidelines for logistics fleets.
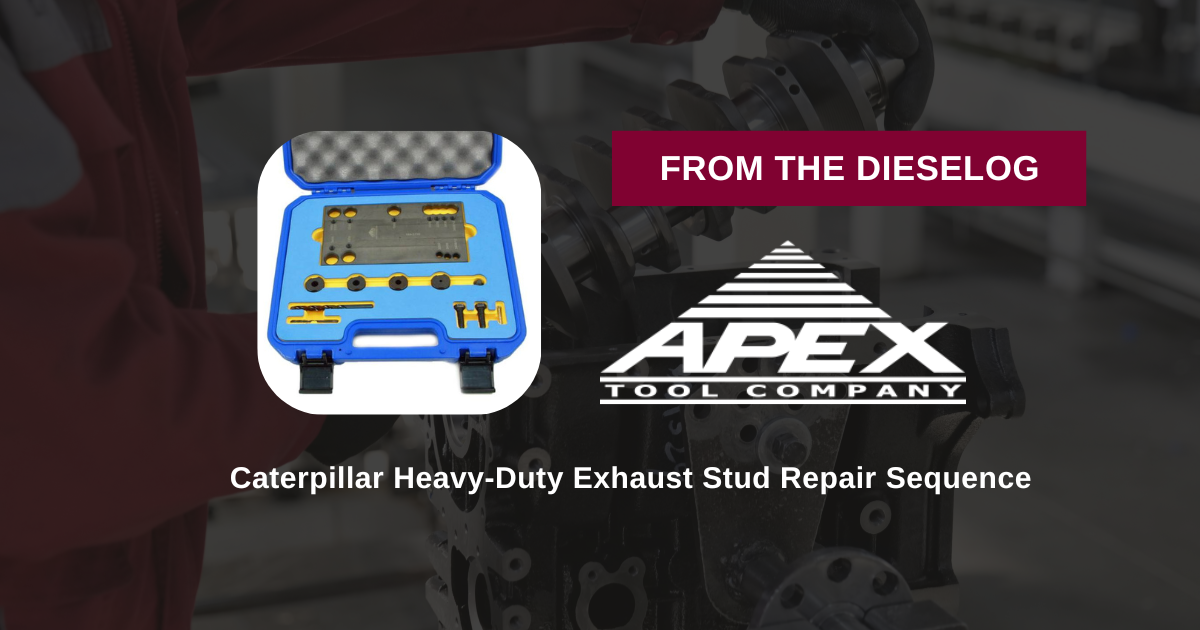
Dealing with an annoying exhaust tick or a failed emissions inspection because a manifold stud snapped inside the head face? Learn the proper professional sequence to drill and extract caked bolts safely using the 6V-9050 fixture group.
Why High-Speed Freehand Walking Scraps Cast-Iron Thread Tracks
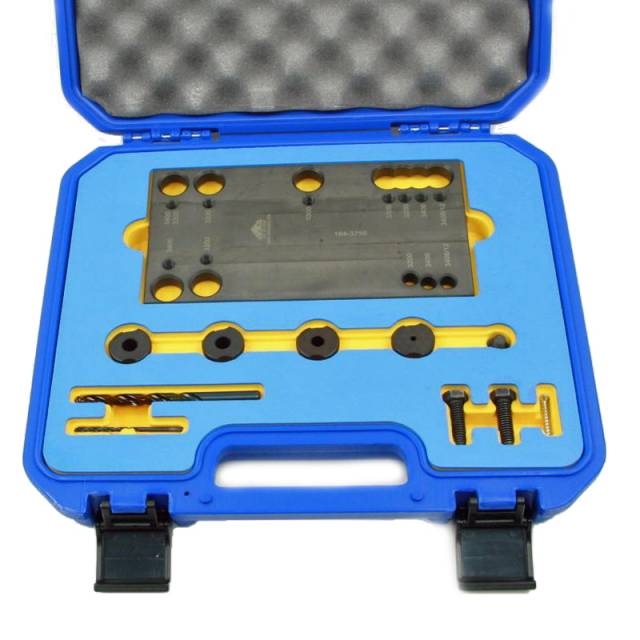
The exhaust port mounting tracks on a large-bore Caterpillar cylinder head require absolute structural integrity to maintain gas seals. When an extraction tech attempts to remove a heat-seized broken stud by centering a punch and drilling freehand, the drilling axis inevitably shifts under physical strain. The drill bit quickly slides off the uneven, rock-hard fractured steel surface and eats straight into the softer internal threads of the cast iron head. This off-angle track completely rips out the anchoring metal loops, rendering the hole useless and ensuring that any replacement hardware will loosen and leak under load. Utilizing a rigid, plate-anchored guide plate system like the 8-pound ATC 6V-9050 forces the drill bit to track completely parallel and dead-centered, safely coring out the frozen bolt center so the remaining thread coil can collapse out cleanly by hand.
The 5-Step Concentric Stud Boring Protocol
- Manifold Teardown and Port Triage: Pull away the hot turbos and exhaust manifold shields. Unbolt the manifold assembly. Wire-brush the targeted broken bolt face clean of caked soot, rust crust, and carbon scale down to bright structural metal.
- Bolt down the 6V-9050 Drill Guide Flange: Position the thick steel drill plate of your 6V-9050 kit flat over the open exhaust port. Thread the kit's high-strength alignment studs through the plate slots and deep into adjacent, undamaged manifold hole tracks, tightening them snugly to anchor the plate rigid.
- Lock In the Hardened Guide Bushing: Select the correct application-matched hardened drill bushing from the tool kit divider. Slide it into the plate aperture located directly over your snapped stud, and engage the mechanical locking collar pin to stop any rotational vibration play.
- Execute Controlled Low-Speed Boring: Lube your precision kit drill bit with high-quality cutting oil or drilling wax. Insert it straight through the hardened guide bushing sleeve. Operate your shop hand drill or air feed at low RPM with steady, continuous forward leverage. *CRITICAL PASS: The template blocks any drill bit walk, forcing it to drill a clean pilot well dead-center through the hardened stud core.*
- Extract the Core Wall and Chase the Threads: Drive the core deep into the stud body, then swap to the kit’s larger step bit or an aggressive extractor tool. Turn counter-clockwise to collapse the thin outer steel shell and draw the frozen hardware out smoothly. Back out your 6V-9050 template plate, blow out internal debris, and run a thread tap lightly to finish a flawless factory-grade repair path.
PRO-TECH HIGH-SPEED IMPACT DRILLING BAN:
Never pull the trigger on high-speed pneumatic air die grinders or run your drilling passes at frantic high RPM speeds during a stud extraction cycle! High-speed drilling generates extreme localized friction heat spikes that will instantly dull the specialized tool steel drill bits, gall the fine alignment guide bushings, or friction-fuse the tool bit solid inside the broken stud core—ruining your specialty toolkit hardware. Always bore slowly and feed cutting oil continuously.
8 lbs of Hardened Shop-Grade Tool Armor. Speed Up Large-Bore Cat Shop Velocity.
Get Your 6V-9050 Extraction Kit Group Now
overall rating:
my rating:
log in to rate