
Blog
Cummins ISX12 Engine Top Dead Center Pinning Steps
Precision lower-block structural powertrain reconditioning guidelines for logistics fleets.

Running a top-end tune-up or reassembling an overhead rocker shaft array after an intensive engine overhaul? Learn the proper professional sequence to mount the M20192 timing pin and protect valvetrain boundaries.
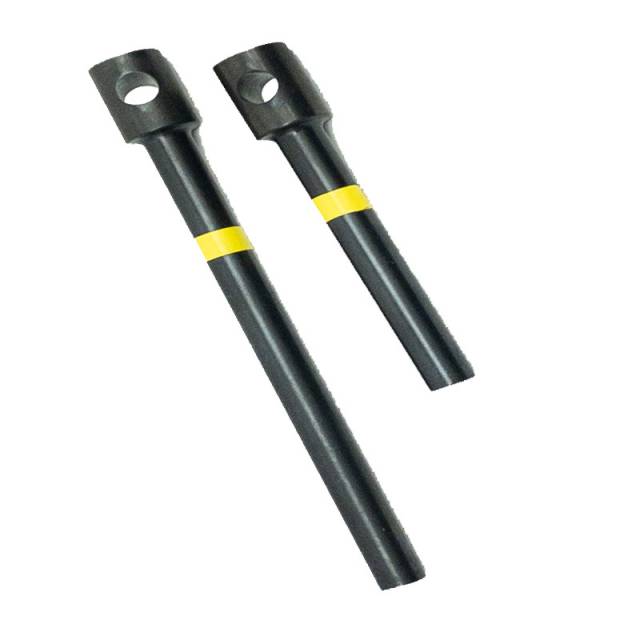
Why Drifting Shafter Backlash Destroys Fine Valve-to-Piston Overlap Clearances
The mechanical clearances on a Cummins ISX12 engine block leave absolute zero room for rotational geometry drift. When a shop line technician attempts to tighten down the heavy cam gear mounting bolts using a loose, undersized placeholder pin rather than a precision tool, the torque of the wrench forces the crankshaft to advance or retard slightly within the housing play. This minor movement shifts the gear train back-lash out of index relative to the cylinder pistons. Once the timing shifts even a single hair out of flat bounds, the pistons will aggressively chase the valve heads at high RPM. This causes micro-hammering impact shocks that will snap valve stems, distort pushrod columns, or crack the soft aluminum cylinder head castings. Utilizing a dedicated application timing pin like the 1-pound M20130 fills the factory registration port with absolute concentric precision, anchoring your engine components rock-still throughout the timing pass.
The 5-Step Engine Axis Registration Sequence
- Port Access and Block De-Griting: Disconnect the primary vehicle battery lines. Locate the factory crankshaft timing port well situated along the side of the engine block near the flywheel housing shroud. Clean out all caked grease, road grit, and paint scale from the port track aggressively with solvent and a small wire chaser brush.
- Bar Engine to Top Dead Center: Back out the factory access port plug seal. Slide a manual engine barring tool into the flywheel gear track and smoothly rotate the crankshaft clockwise until the internal gear timing slot indexes square under the mapping port channel.
- Insert the M20192 Timing Pin: Lubricate the alignment tip of your M20192 pin tool lightly with engine oil. Slide it straight and level into the open port bore, threading the tool sleeve down evenly by hand. *Note: Ensure the pin snout engages the flywheel timing slot completely flush with zero rocking wobble play.*
- Lock Valvetrain Gears and Torque to Spec: With the crankshaft securely blocked flatly along its vertical centerline axis by the steel pin tool, execute your overhead camshaft adjustments, gear meshing passes, or valve lash indexing safely. The unyielding tool body completely stops any accidental rotational drifting under high wrench torques.
- Extract Tool and Cap the Gallery Channel: Once all gear train and overhead components are torqued down tightly to strict manufacturer parameters, back out the M20192 timing pin smoothly along its axis. Inspect the tool tip for any wear scars, return it to the kit tray, and bolt the factory access port plug tightly back down to finish the timing pass cleanly.
PRO-TECH FORBIDDEN BARRING WRENCH REMINDER:
Never, under any circumstances, pull the trigger on a pneumatic impact wrench to turn the engine barring tool or attempt to force rotate the crankshaft while the M20192 timing pin is locked flat inside the flywheel slot! Applying raw power to a pinned engine generates extreme shear stresses that will bend the alignment pin, fracture the brittle aluminum flywheel housing shroud casing, or permanently warp the engine block tracking ports. Turn all rotation passes smoothly by hand.
Hardened Tool-Steel Forging. Secure Complete Powertrain Alignment Security.
Get Your Cummins M20192 Pin Now
overall rating:
my rating:
log in to rate