
Blog
Cummins 6 in-lb Injector Preload & Overhead Adjustment Steps
Precision overhead valve and injector preload calibration guidelines for commercial Cummins mechanics.
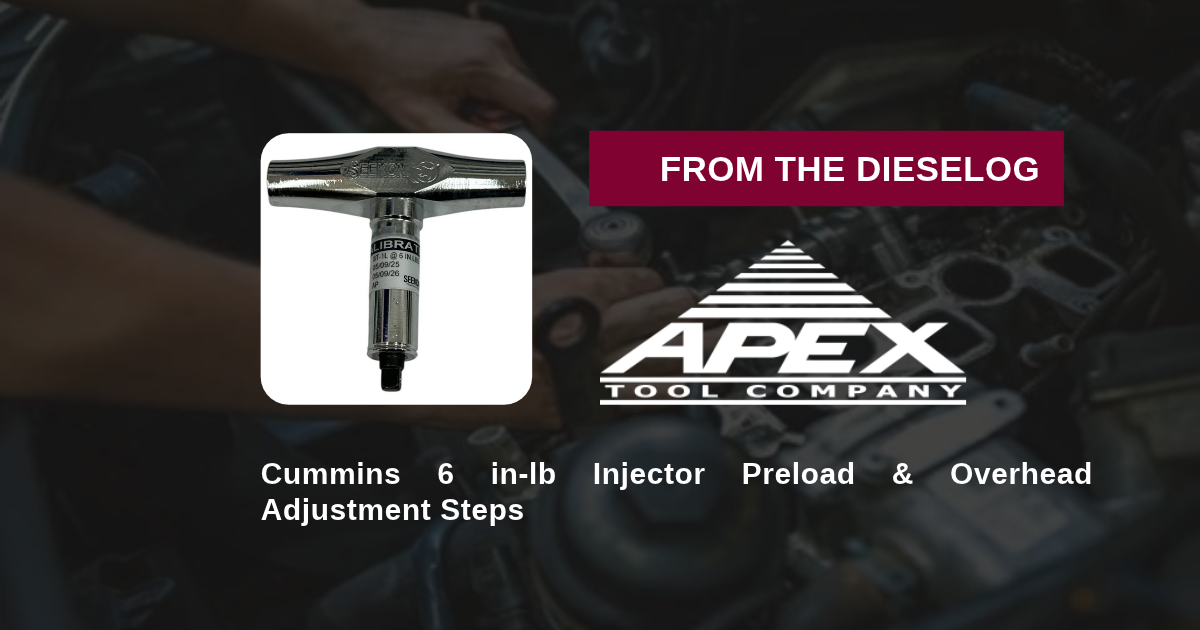
Setting injector plunger preload during a periodic overhead adjustment, injector replacement, or engine rebuild on a Cummins N14, M11, L10, or ISM engine? Follow this step-by-step professional workshop procedure to align Outer Base Circle (OBC) timing marks, seat the injector plunger with the ATC20126-A 6 in-lb T-handle torque wrench, back off per Cummins spec, and torque jam nuts accurately.
Why Standard Ratchet Torque Wrenches Over-Torque Cummins Injectors
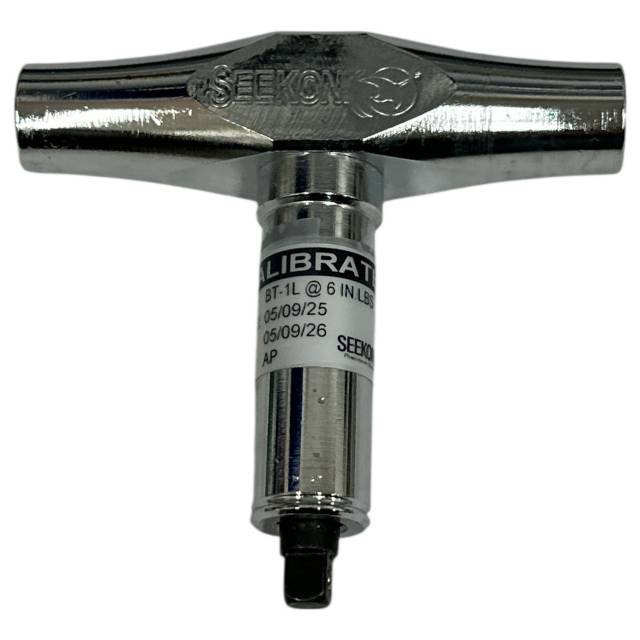
On Cummins cam-actuated injector engines (such as N14, M11, L10, and ISM), 6 inch-pounds is a delicate, exact preload value—roughly equivalent to turning a small screwdriver with two fingers. Technicians who attempt to set 6 in-lb using a conventional 1/4-inch drive click-type torque wrench encounter immediate calibration failure: standard click wrenches are notoriously inaccurate below 20% of their full scale, and the heavy head mass alone often exceeds 6 in-lb before the wrench ever clicks. Over-tightening the adjusting screw bottoms the injector plunger mechanically in the cup—resulting in bent pushrods, broken rocker arms, or cracked injector cups when the camshaft rotates onto peak lift. Utilizing the 1.00-pound ATC20126-A Injector Setting Torque Wrench (Cummins 3376592 Equivalent) eliminates over-torque risk completely by releasing cleanly at exactly 6 in-lb.
The 5-Step Cummins 6 in-lb Injector Preload Adjustment Protocol
- Align Crankshaft to Outer Base Circle (OBC) Timing Mark: Remove valve covers and bar the engine over in the direction of rotation until the designated cylinder's Outer Base Circle (OBC) timing mark aligns on the accessory drive pulley/damper per the Cummins engine firing sequence.
- Loosen Injector Adjusting Screw Jam Nut & Back Off Screw: Loosen the locknut on the injector rocker lever adjusting screw and back the adjusting screw out several turns until clear lash exists between the rocker lever socket and injector pushrod/plunger link.
- Seat Injector Plunger Twice Using ATC20126-A (6 in-lb): Engage the ATC20126-A T-handle torque wrench onto the injector adjusting screw, turn clockwise smoothly until the wrench clicks/releases at 6 in-lb (squeezing oil film out of the cup), back off one turn, and re-torque cleanly to 6 in-lb.
- Back Off Adjusting Screw (If Specified by Engine Model) & Hold Stationary: For Cummins engine models specifying a precise back-off angle after reaching 6 in-lb preload (refer to your specific Cummins CPL/service manual), back the screw out the exact specified flats/degrees, then hold the adjusting screw completely stationary with a screwdriver.
- Torque Adjusting Screw Locknut & Verify Sequence: While holding the adjusting screw stationary so preload cannot shift, torque the locknut to Cummins specification using a calibrated crowfoot/torque wrench, then repeat across all remaining cylinders in firing order.
PRO-TECH DOUBLE-SEAT OIL SQUEEZE & CPL SPEC MANDATE:
ALWAYS TORQUE TO 6 IN-LB TWICE TO SQUEEZE TRAPPED OIL FILM OUT OF THE INJECTOR CUP! Trapped heavy 15W-40 oil beneath the plunger WILL cause a false 6 in-lb click and excessive injector lash once the engine warms up! ALWAYS CHECK YOUR SPECIFIC CUMMINS ENGINE MANUAL for exact back-off specs after seating at 6 in-lb!
1.00 lb Precision 6 in-lb T-Handle Injector Setting Torque Wrench (Cummins 3376592). Calibrate Preload Exactly.
Get the ATC20126-A Torque Wrench Now
overall rating:
my rating:
log in to rate