Blog
Professional Injector Leak Testing: Complete Cummins ISX Procedure Using ATC3164001
Injector Leak Test Procedure | Cummins ISX Complete Guide
Professional Injector Leak Testing: Complete Cummins ISX Procedure Using ATC3164001
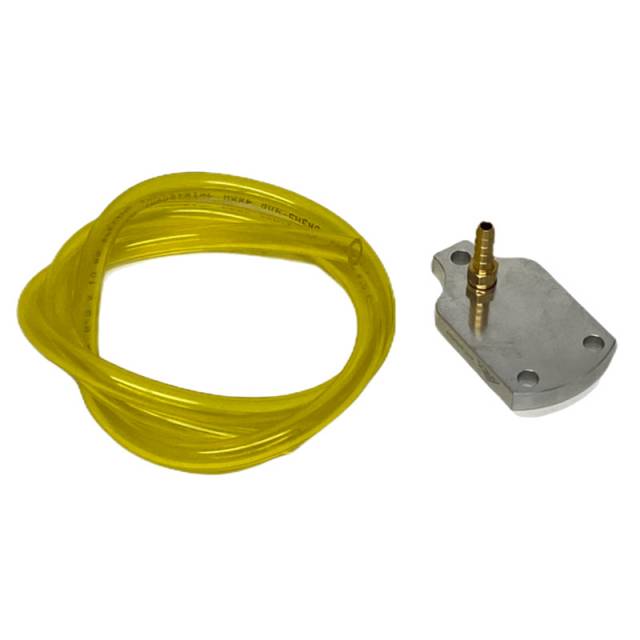
Cummins ISX injector leak testing requires precision, proper procedure, and accurate documentation. This complete workflow guide covers the ATC3164001 Cummins ISX Injector Leak Test Kit (Cummins part # 3164001 equivalent) for professional diesel shops. From symptom verification through leak confirmation and documentation, follow these steps for accurate diagnosis every time—eliminating guesswork and protecting your shop from costly comeback claims.
GET LEAK TEST KIT NOW
Complete Testing Procedure • Cummins ISX Professional Diagnostics
Phase 1: Customer Complaint Verification & Initial Inspection
- Interview customer about symptoms – Record specific complaints: rough idle, black smoke, fuel smell, poor economy.
- Verify complaint repeatability – Ask if symptoms occur consistently or intermittently (consistency indicates leak).
- Check service history – Recent work, fuel filter changes, injector replacements, or known issues?
- Inspect exhaust for black smoke – Visual indicator of excess fuel (misfire or leaking injector).
- Smell fuel odor at tailpipe – Raw fuel = injector leak; burning smell = normal combustion.
- Check oil level and condition – Low oil or fuel smell in oil = fuel dilution from leaking injector.
Phase 2: Diagnostic Code Scanning & Documentation
- Connect diagnostic scanner – Scan for active and stored diagnostic trouble codes (DTCs).
- Document code results – Record exact code numbers, frequency, and freeze frame data.
- Interpret codes correctly – Misfire codes (P0300–P0308) suggest fuel delivery issue or compression loss.
- Take baseline fuel pressure reading – Measure at low idle and 2,000 RPM; compare to OEM specification.
- Check injector pulse width – Scan for fuel trim corrections (positive/negative trim indicates compensating for leak).
- Document all readings – Create diagnostic report with baseline data for comparison.
Confirm Leak Source = Zero Warranty Risk
ORDER ATC3164001 NOWPhase 3: ATC3164001 Leak Test Setup & Preparation
- Gather ATC3164001 kit components – Verify all adapters and test apparatus are present.
- Clean engine exterior around injectors – Remove dirt, oil, and debris to ensure clear visibility during testing.
- Allow engine to cool slightly – Warm engine (not hot) for accurate testing and safety.
- Identify fuel supply line connection point – Verify fuel supply inlet on each injector for proper adapter fit.
- Prepare test rig on workbench – Layout clean rags and collection container (fuel will drip during testing).
- Review OEM leak specifications – Consult service manual for acceptable leak rate (typically 0–50 cc/min).
Phase 4: Individual Injector Leak Testing Procedure
- Select first injector to test – Start with suspected problem cylinder or test all 6 systematically.
- Disconnect fuel line from injector – Slowly loosen connection to release pressure; catch spilled fuel in rag.
- Attach ATC3164001 test apparatus – Connect securely to injector fuel inlet; verify no loose connections.
- Position collection container below test apparatus – Capture all fuel dripping during test for volume measurement.
- Pressurize fuel system to OEM specification – Typically 26–28 PSI for ISX idle test; follow service manual.
- Observe fuel dripping from test apparatus – No dripping = good injector; steady dripping = leaking injector.
- Measure leak volume over time – Collect fuel in graduated container; measure drops/cc per minute.
- Record pressure and leak rate – Document exact readings; compare to OEM maximum acceptable leak rate.
- Remove test apparatus carefully – Depressurize fuel system before disconnecting kit from injector.
- Reconnect fuel line to injector – Torque connection finger-tight plus 1/4 turn (verify no leaks at connection).
Phase 5: Leak Test Analysis & Interpretation
- Compile all injector test results – Create table showing pressure, leak rate, and pass/fail for each injector.
- Identify leaking injector(s) – Any injector exceeding OEM maximum leak rate is condemned (must replace).
- Cross-reference with symptom complaints – Leaking injector in cylinder matching customer complaint confirms diagnosis.
- Check for multiple leaking injectors – If more than one injector leaks, consider systemic fuel contamination issue.
- Evaluate fuel quality – Contaminated fuel can damage multiple injectors; recommend fuel system flush if needed.
- Create diagnostic report for customer – Include test results, leaking injector(s), recommended replacement/repair.
Every Injector Diagnosis Needs Proper Equipment
ADD TO CART • ATC3164001Critical Warnings: Avoid These Testing Mistakes
- ❌ NEVER pressurize system above OEM specification – Over-pressure damages good injectors during testing
- ❌ NEVER test on hot engine – High temperature affects fuel viscosity and test accuracy
- ❌ NEVER use wrong adapters – Loose connections spray fuel; tight connections damage injector seat
- ❌ NEVER skip visual inspection – Internal damage (carbon buildup) may require injector rebuild
- ❌ NEVER ignore multiple leaking injectors – Indicates contaminated fuel; flush entire system or damage repeats
- ❌ NEVER replace injector without confirming leak – Wastes customer money; doesn't fix root cause
- ❌ NEVER discharge fuel carelessly – Catch all fuel during testing; follow environmental disposal procedures
OEM Cummins ISX Leak Specifications
Professional Testing = Customer Confidence
The Diagnostic Tool Every Cummins ISX Shop Needs
BUY ATC3164001 NOW
✅ Cummins ISX • OEM Equivalent 3164001
✅ 5-Minute Per-Injector Testing • Accurate Results
✅ Professional Diagnostics • Zero Comebacks
✅ 5-Minute Per-Injector Testing • Accurate Results
✅ Professional Diagnostics • Zero Comebacks
overall rating:
my rating:
log in to rate