
Blog
Heavy-Duty Truck Universal Joint Removal Procedure
Precision driveline maintenance guidelines for heavy diesel rebuilders and fleet mechanics.
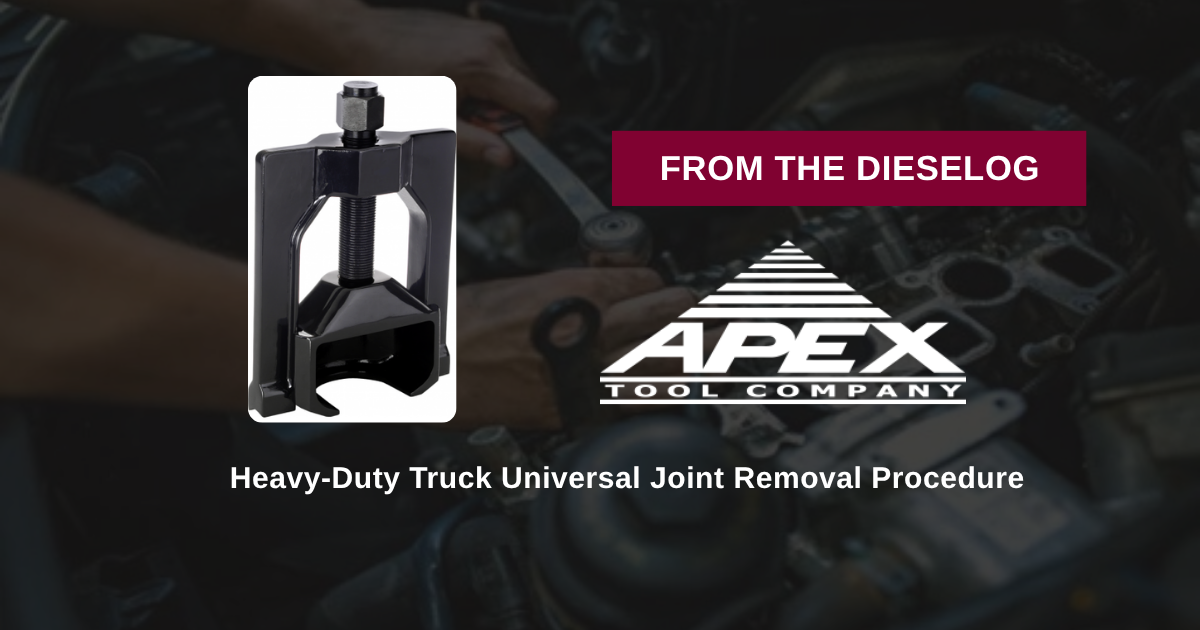
Servicing worn universal joints, replacing driveshaft center bearings, or overhauling driveline yokes on Spicer, Rockwell, or Meritor equipped Class 7 & 8 trucks? Follow this step-by-step professional workshop procedure to remove retaining snap rings, position the 7-ton ATCJ7058 puller legs behind yoke ears, apply centered impact force, and press out frozen bearing cups safely.

Why Improvised Sledgehammers & Torches Cause Catastrophic Driveline Failure
On commercial heavy-duty trucks, universal joints transmit rotational energy under heavy engine torque and severe shock loads. Over thousands of highway miles, road moisture and salt seep into bearing cup bores, creating dense galvanic corrosion that locks the steel cup to the yoke ear. When technicians attempt to dislodge these cups using sledgehammers, brass drifts, or sockets, impact force flexes the un-supported yoke ear. A sprung or bent yoke ear destroys bore concentricity, causing new bearing cups to bind during installation and creating severe driveline vibration. Furthermore, heating the yoke with a torch anneals the forged steel, weakening its structural integrity and melting internal rubber dust seals on companion flanges. Utilizing the 13-pound ATCJ7058 7-Ton Universal Joint Puller completely eliminates these overhaul risks. The heavy steel puller body bridges across the yoke ear, distributing reactive loads evenly across the forging. As the forcing screw advances against the center cross spider, it pushes the bearing cup straight out of the bore in a smooth, continuous mechanical movement with zero impact shock or thermal distortion.
The 5-Step Commercial Truck U-Joint Extraction Protocol
- Secure Driveshaft & Remove Retaining Hardware: Safely support the driveshaft on a workshop workbench or transmission jack. Remove all bearing cup retaining snap rings, strap bolts, or lock plates from the target yoke assembly.
- Clean Yoke Bore Scale & Apply Penetrating Oil: Wire-brush exposed bearing cup edges and surrounding yoke ears to remove rust scale and dirt buildup. Apply high-grade penetrating oil liberally around the bearing cup bore interface.
- Position ATCJ7058 Puller Legs Behind Yoke Ear: Slide the pulling legs of the ATCJ7058 tool over the driveshaft yoke ear so the lower foot ledges hook firmly behind the inner yoke casting. *Verify the tool sits 100% perpendicular to the bearing cup face.*
- Align Forcing Screw & Apply 1/2" Impact Force: Hand-thread the forcing screw down until the hardened tip seats squarely against the center of the bearing cup or trunnion end. Attach a 1/2" drive impact wrench or breaker bar and rotate clockwise to apply pressing force.
- Press Bearing Cup Out & Clean Yoke Bore: Advance the forcing screw to push the bearing cup completely out of the yoke ear. Rotate the driveshaft 180 degrees and repeat the process for the opposite cup. Clean yoke bores with a honing tool before installing fresh universal joints.
PRO-TECH SNAP RING REMOVAL & YOKE BORE HONING MANDATE:
ALWAYS REMOVE ALL SNAP RINGS before applying pressing force! Forcing a bearing cup against a hidden snap ring WILL fracture the yoke ear! ALWAYS hone and coat internal yoke bores with anti-seize lubricant before pressing in new bearing cups!
13.00 lbs 7-Ton Capacity Heavy-Duty Driveline Master Puller. Protect Driveshafts.
Get the ATCJ7058 Puller Now
overall rating:
my rating:
log in to rate