
Blog
Commercial Truck Rockwell Slack Adjuster Removal Steps
Precision air brake maintenance guidelines for heavy diesel rebuilders and fleet mechanics.
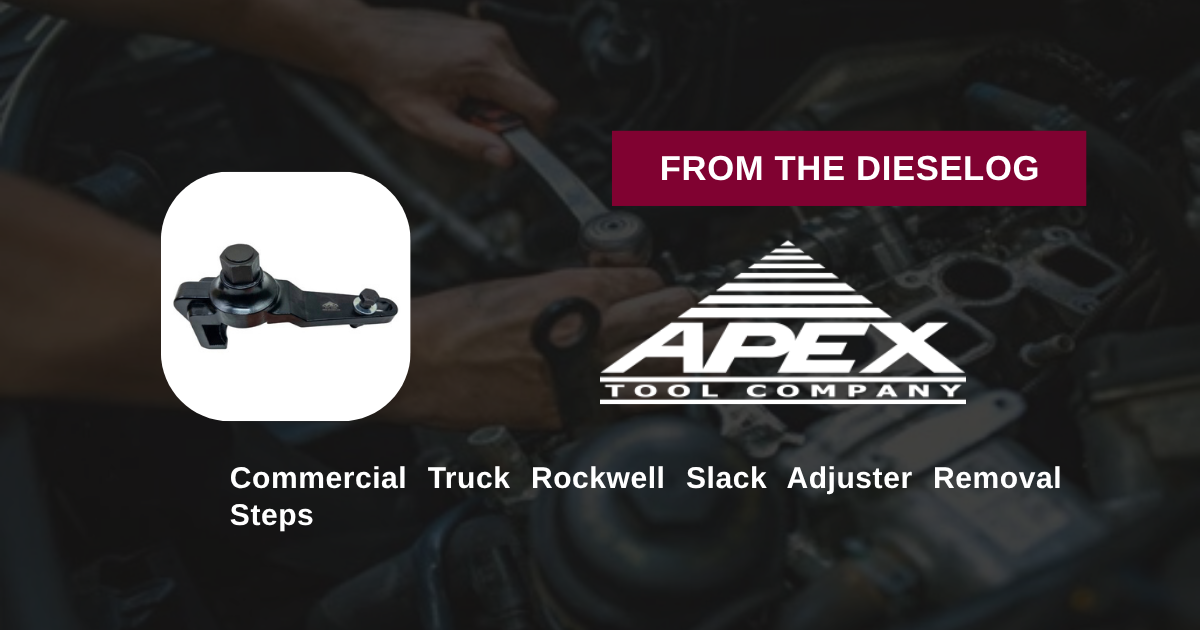
Replacing worn brake shoes, servicing S-cam shafts, or replacing failed automatic slack adjusters on Class 6, 7, or 8 commercial vehicles? Follow this step-by-step professional workshop procedure to cage brake chambers, disconnect clevis pins, position the ATC1695 puller, and extract frozen Rockwell slack adjusters safely without damaging S-cam splines.
Why Improvised Sledgehammers & Torches Ruin Heavy-Duty Air Brake Components
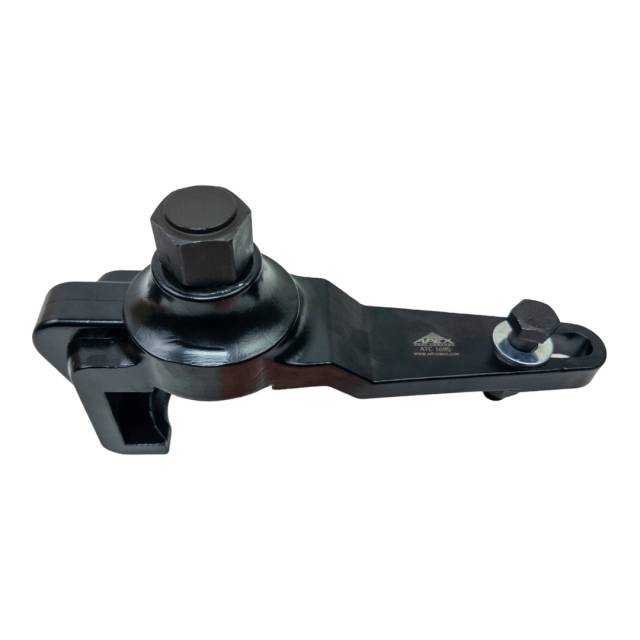
On commercial air-braked trucks and trailers, automatic slack adjusters are mounted tightly onto the splined end of the S-cam shaft inside the wheel-end assembly. Because these components endure constant road spray, mud, and de-icing chemicals, severe galvanic corrosion locks the slack adjuster casting onto the steel cam shaft splines over time. Technicians who attempt to remove stuck slack adjusters using heavy hammers, pry bars, or heating torches face severe repair risks. Hitting the slack adjuster with a sledgehammer flares or mushrooms the end of the S-cam shaft. Once the spline end is mushroomed, the slack adjuster cannot slide off, and the damaged camshaft must be cut out with a torch and completely replaced. Furthermore, applying an open flame to heat the slack adjuster transfers intense heat down the S-cam shaft, melting the internal rubber grease seals and burning out the camshaft bushings inside the spider plate. Utilizing the 6-pound ATC1695 Rockwell Slack Adjuster Puller eliminates these destructive risks completely. The tool casting hooks solidly around the Rockwell slack adjuster body, while the central forcing screw aligns perfectly with the camshaft center. Turning the forcing screw with a 1/2" impact wrench applies smooth, immense axial pulling force, sliding the slack adjuster off the splines in seconds without heat, hammers, or damaged hardware.
The 5-Step Rockwell Slack Adjuster Removal Protocol
- Chock Wheels & Cage Brake Chamber: Safely chock all vehicle wheels on flat ground. Cage the spring brake chamber using the manufacturer's caging bolt to relieve all mechanical spring tension on the push-rod.
- Remove Clevis Pins & Snap Ring: Remove the cotter pins and clevis pins connecting the slack adjuster arm to the brake chamber push-rod yoke. Remove the retaining snap ring and washer from the outer end of the S-cam shaft spline stub.
- Position ATC1695 Puller Body over Slack Adjuster: Slide the ATC1695 puller frame over the body of the Rockwell automatic slack adjuster. *Verify the puller legs seat firmly behind the slack adjuster housing.*
- Align Forcing Screw & Apply Axial Impact Force: Hand-thread the forcing screw down until the hardened tip seats squarely against the center dimple of the S-cam shaft. Attach a 1/2" drive impact wrench or breaker bar and apply clockwise rotation.
- Pop Slack Adjuster Free & Clean S-Cam Splines: Advance the forcing screw until the Rockwell slack adjuster slides completely off the S-cam splines. Clean the camshaft splines with a wire brush and apply anti-seize lubricant before installing fresh brake components.
PRO-TECH BRAKE CAGING & ANTI-SEIZE REASSEMBLY MANDATE:
ALWAYS CAGE SPRING BRAKES before servicing slack adjusters! Removing pins under spring brake pressure can cause severe personal injury! ALWAYS apply heavy-duty anti-seize compound to S-cam splines before installing the new slack adjuster to ensure effortless future maintenance!
6.00 lbs High-Tensile Forged Alloy Steel Extraction Puller. Protect Air Brake Systems.
Get the ATC1695 Puller Now
overall rating:
my rating:
log in to rate