
Blog
Commercial Diesel & Hydraulic Line Fastener Service Steps
Precision fluid line maintenance guidelines for heavy diesel rebuilders and fleet mechanics.
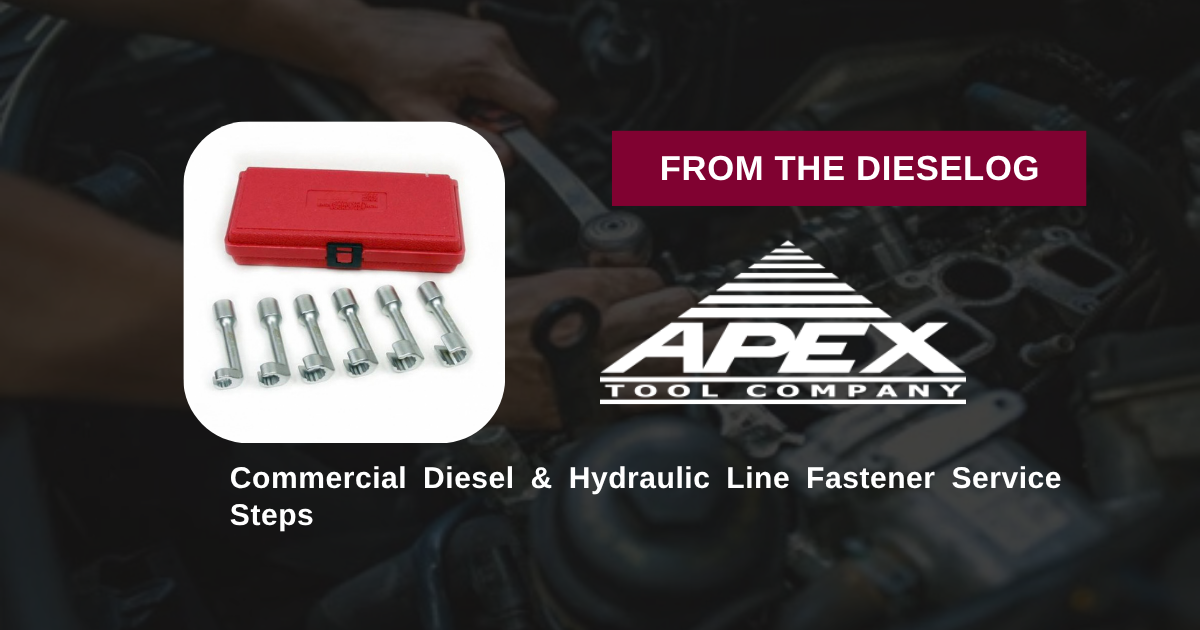
Replacing fuel injectors, servicing hydraulic control valves, or replacing sensors in tight engine bays on commercial diesel equipment? Follow this step-by-step professional workshop procedure to clean line fittings, select the matching metric L-type open ring socket, align the positive stop shoulder, and torque line nuts safely without stripping hardware.
Why Open-End Wrenches & Improvised Crowsfeet Strip Recessed Line Fittings
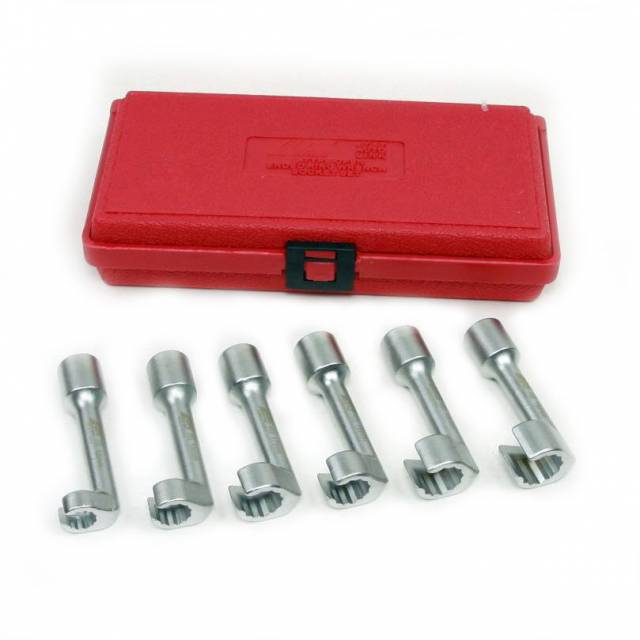
On commercial diesel engines and heavy machinery, fluid lines carry high-pressure fuel, hydraulic oil, and coolant through cramped engine compartments. Because these lines utilize flare nut connections, reaching fittings tucked behind manifolds or turbochargers is extremely challenging. Technicians who attempt to service these 12mm to 19mm line nuts using standard open-end wrenches or offset crowsfeet encounter severe repair obstacles. Open-end wrenches slip off narrow hex heads, rounding off corners and rounding soft metal flare nuts. Crowsfeet used with long extensions apply severe side-loading forces that twist the rigid fluid line, cracking flare joints and causing high-pressure leaks. Utilizing the 2-pound 6PC L-Type Metric Open End Ring Line Wrench Set eliminates these service failures completely. Each L-type socket features an open side slot that slips over the rigid line, dropping straight onto the hex nut. The built-in positive stop shoulder catches the top face of the nut, holding the tool at a perfect 90-degree angle. Attaching a 1/2" drive torque wrench applies smooth, centered rotational torque directly to the fitting, ensuring exact OEM torque application with zero line twist or hardware rounding.
The 5-Step Metric Line Fastener Service Protocol
- Depressurize Fluid System & Clean Fitting: Ensure the engine or hydraulic system is shut down and pressure is fully bled off. Wire-brush line nut threads and surrounding area to remove grit, scale, and carbon buildup.
- Select Matching Metric L-Type Socket: Choose the correct size from the 6-piece set (12mm, 14mm, 16mm, 17mm, 18mm, or 19mm). *Verify the 12-point open ring socket fits snugly over the target flare nut.*
- Slide Socket Slot Over Line & Engage Positive Stop: Align the open side slot of the L-type socket with the rigid steel or copper line. Slide the socket onto the line and lower it onto the nut until the internal positive stop shoulder rests firmly against the nut top face.
- Attach 1/2" Drive Extension & Apply Torque: Connect a 1/2" drive extension and torque wrench directly into the top drive tang. Apply smooth, continuous rotational force until the line nut breaks loose or reaches factory torque specification.
- Inspect Flare Joint & Verify Zero Leaks: Remove the socket by sliding it up and off the line. Reconnect fluid pressure, run the system, and inspect the fitting visually to confirm a 100% leak-free seal.
- Inspect Alignment & Reassemble: Verify that the surrounding line clearance remains un-marred and free of structural distortion before returning the equipment to service.
PRO-TECH POSITIVE STOP ENGAGEMENT & CALIBRATED TORQUE MANDATE:
ALWAYS ENSURE THE POSITIVE STOP SHOULDER SEATS FLUSH on the nut! Operating the tool partially off the nut face will round hex corners! ALWAYS use a calibrated torque wrench when securing high-pressure fuel lines to prevent over-tightening and cracked flare seats!
2.00 lbs Complete 6-Piece Metric 1/2" Drive L-Type Line Wrench Master Set.
Get the L-Type Line Wrench Set Now
overall rating:
my rating:
log in to rate