Blog
John Deere Clutch Adjustment: A Step-by-Step JDE61 Guide
Precision procedures for classic John Deere equipment technicians.

Accurate clutch adjustment is the difference between a smooth harvest and a sidelined tractor. Follow this guide to correctly set your release mechanism using the JDE61 tool.
Why Specialized Tooling is Non-Negotiable
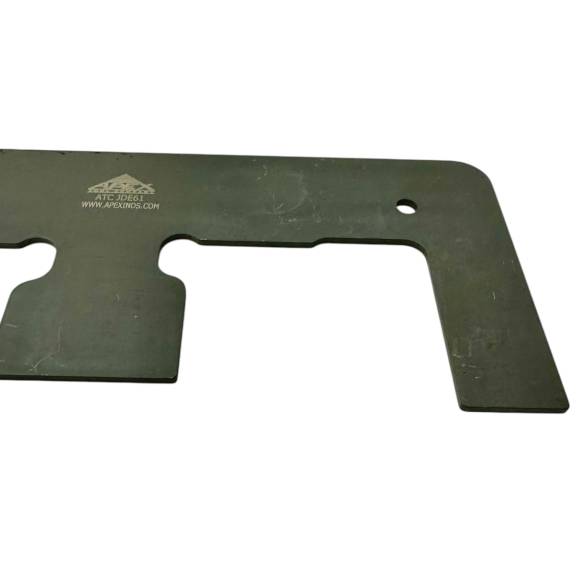
The clutch fingers on a John Deere 3020 or 4020 are designed to travel a specific arc. If they are unevenly adjusted, the pressure plate will tilt upon release, causing the tractor to "creep" while the pedal is depressed or making it impossible to shift into gear without a loud "clash." The JDE61 is designed to reach into the inspection port or interface with the assembly on the bench for perfect indexing.
The Adjustment Procedure Checklist
- Inspection: Open the clutch inspection cover and check for excessive oil or heat-discolored springs.
- Initial Setup: Ensure the release bearing is in the fully retracted position.
- Tool Engagement: Use the JDE61 to engage the adjusting nuts on the pressure plate fingers.
- Measuring Height: Adjust each finger to the height specified in your JD service manual. Consistency across all fingers is critical.
- Locking Down: Secure the locknuts, ensuring the JDE61 maintains the bolt position during the process.
- Testing: Check pedal free play and verify that the tractor disengages completely in all gears.
Critical Shop Warnings
CLUTCH SERVICE HAZARDS:
- ❌ Improper Finger Height: Uneven fingers will cause the throwout bearing to wear out in weeks, necessitating another tractor split.
- ❌ Over-Torquing: Do not over-tighten the adjusters beyond the mechanical stop; you risk cracking the pressure plate casting.
- ❌ Skipping the Free-Play Check: Adjusting the fingers is only half the job. Always reset your external pedal linkage afterward.
Professional Precision. Shop the JDE61 Online.
Buy JDE61 Now
overall rating:
my rating:
log in to rate