Blog
Step-by-Step Rockwell Slack Adjuster Removal: ATC1695 Professional Procedure for Class 6-8 Trucks
Detailed procedure for safe Rockwell slack adjuster extraction using ATC1695 on heavy-duty trucks.

Follow this 12-phase guide using the ATC1695 puller to safely extract Rockwell self-adjusting slack adjusters on Kenworth, Freightliner, and other heavy-duty trucks. Professional techniques prevent damage, ensure DOT compliance, and minimize downtime.
Introduction: Essential Slack Adjuster Service
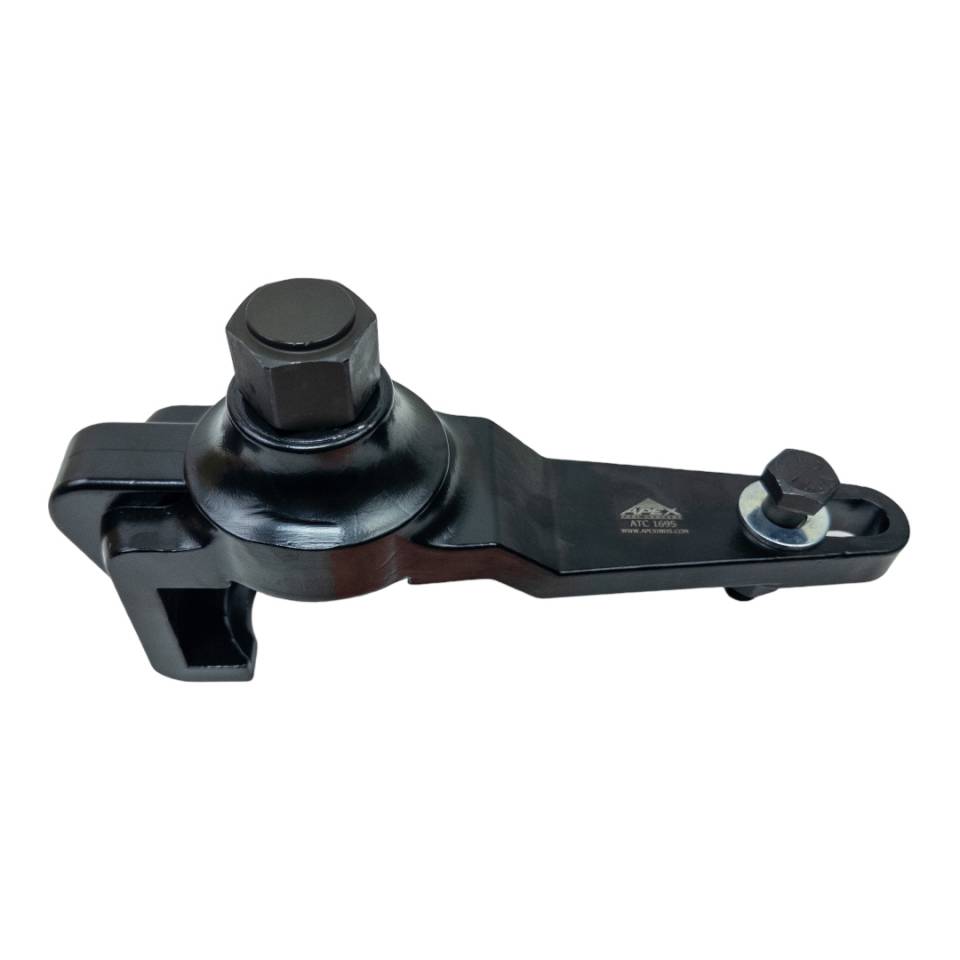
Rockwell self-adjusting slack adjusters in class 6-8 trucks automatically maintain brake clearance, but seizure or wear demands precise removal to avoid system contamination or failure. The ATC1695 puller, a TG 10407 replacement, integrates with 1/2″ impact tools for controlled extractions that protect rods, housings, and S-cams—ensuring safe, compliant brake maintenance.
Phase 1-3: Preparation & Brake System Depressurization
- Park truck on level surface and chock wheels securely – Prevent movement; engage parking brake and release air pressure
- Depressurize air brake system fully – Exhaust air reservoirs to 0 PSI; verify no residual pressure with gauge
- Inspect slack adjuster for seizure signs – Check for rust, binding, or uneven shoe wear; document for service records
- Gather tools: ATC1695, 1/2″ impact wrench, penetrating oil, safety gear – Ensure all components are in good condition
- Disconnect air lines and clevis pins – Cap lines to prevent contamination; remove pins with appropriate pliers
Phase 4-6: Adjuster Access & Initial Loosening
- Remove brake chamber pushrod clevis if attached – Use socket set; inspect for wear or damage
- Apply penetrating oil to adjuster threads and joints – Allow 5–10 minutes soak for seized components
- Loosen slack adjuster locknut with wrench – Turn counterclockwise; do not force to avoid stripping
- Back off adjustment screw fully – Rotate until slack shoes are loose; note turns for reinstallation
- Clean exposed adjuster body – Wipe away grease and debris for clear tool engagement
- Verify clearance around S-cam and housing – Ensure no obstructions for puller insertion
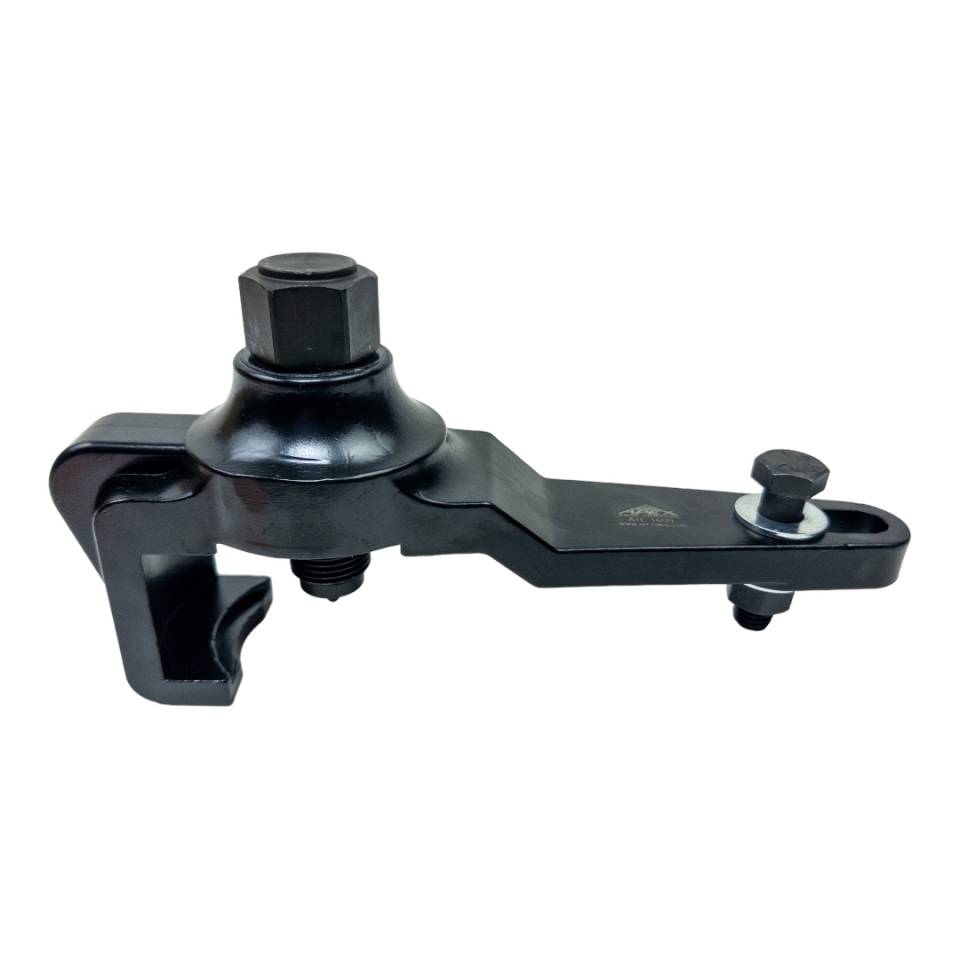
Phase 7-9: ATC1695 Puller Setup & Engagement
CRITICAL: ATC1695 Setup for Safe Extraction
- Inspect ATC1695 jaws and body for damage – Confirm high-strength steel integrity
- Position jaws around slack adjuster body – Align with flat surfaces; avoid cylindrical sections
- Secure jaws hand-tight – Ensure firm grip without deforming adjuster
- Attach 1/2″ impact tool extension if needed – Verify secure connection for powered pull
- Center puller over adjuster axis – Check alignment to prevent side-loading on S-cam
- Apply initial manual torque – Rotate slowly to break initial seizure without impact
Phase 10-12: Powered Extraction, Inspection & Reassembly Prep
- Engage 1/2″ impact tool for controlled pull – Use low RPM bursts; monitor for resistance
- If seized, reapply oil and wait 5 minutes – Alternate with short pulls; never exceed 200 ft-lbs
- Extract adjuster fully and remove ATC1695 – Inspect for thread damage or wear
- Clean S-cam and housing bore – Use wire brush and solvent; remove all corrosion
- Measure bore for new adjuster fit – Ensure within OEM tolerances (0.001–0.003″ clearance)
- Inspect extracted adjuster – Check gears, worm shaft; replace if non-serviceable
Post-Extraction: Reinstallation & Brake Testing
- Install new or serviced slack adjuster – Thread into housing hand-tight; torque to spec (50–70 ft-lbs)
- Reattach clevis and air lines – Secure with new pins; bleed air system
- Adjust slack to OEM specs – Aim for 1/2–3/4″ pushrod travel; lock nut securely
- Reinstall wheel and torque lug nuts – Follow manufacturer sequence
- Repressurize brakes and static test – Check for leaks; apply brakes 5–10 times
- Road test under load – Verify even braking, no pull, and proper adjustment
Critical Safety Warnings: Slack Adjuster Procedure
MUST AVOID THESE FATAL ERRORS:
- ❌ Never skip air depressurization – Residual pressure can whip components, causing severe injury
- ❌ Never hammer adjuster – Risks $500–$2,000 housing cracks and brake failure
- ❌ Never use torches near brakes – Ignites grease/oil, leading to fire and $15,000 fines
- ❌ Never over-torque puller – Damages threads, causes misalignment
- ❌ Never ignore bore cleaning – Debris prevents sealing, leads to premature wear
- ❌ Never use non-Rockwell compatible tools – Mismatches cause incomplete extractions
- ❌ Never skip road testing – Hidden issues emerge under load, risking accidents
- ❌ Never operate without PPE – Gloves, goggles essential for debris protection
Professional Service Documentation
Why ATC1695 Outperforms Traditional Methods
Outdated Risky Methods:
- ❌ Hammering → $500–$2,000 housing damage
- ❌ Torches → Fire risks and $15,000 fines
- ❌ Manual pulls → 1–2 hour delays, fatigue
- ❌ Incompatible tools → Incomplete removals
- ❌ No compliance → DOT failures
ATC1695 Professional Advantages:
- ✅ Zero damage with precision jaws
- ✅ 1/2″ impact for 70% faster service
- ✅ Universal for Rockwell on all fleets
- ✅ TG 10407 direct replacement
- ✅ 15-minute extractions vs. hours
- ✅ FMCSA/DOT compliant safety
- ✅ Protects against $11,700–$67,500 losses
- ✅ Durable steel for 5,000+ uses
Extract Professionally. Ensure Brake Safety. Maximize Uptime.
Get ATC1695 – $225.00
overall rating:
my rating:
log in to rate