Blog
Tech Guide: Volvo D11 & Mack MP7 Timing Cover Alignment
Precision overhead component reconditioning guidelines for fleet service centers.
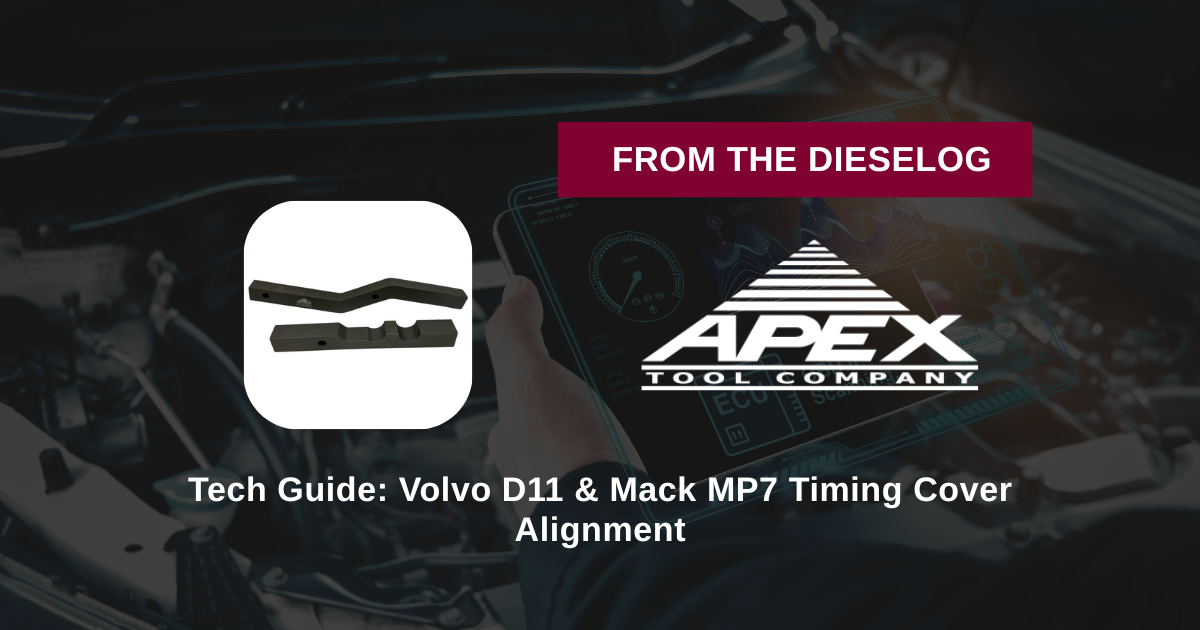
Pulling a heavy Class 8 transmission back out just to clear up a leaking engine timing cover gasket destroys shop turnaround speeds. Master the proper mechanical sequence using the ATC 85109051 dual fixture.
Why Freehand Bolting Tears Liquid Gasket compound Paths
The rear gear housing cover on a Volvo D11 engine is a complex, thin-walled aluminum casting. When applying a fresh bead of silicone sealant or liquid gasket to this cover, the chemical needs to compress completely evenly to form a reliable hydraulic block. If a line mechanic tries to torque the timing cover bolts without a parallel index tool, the cover will naturally rotate or shift slightly off-axis as the fasteners grab. This slight twisting motion stretches or tears the wet sealant bead before it can cure, leaving tiny gaps. Even worse, if the cover sits higher than the cylinder head deck by just a hair, it will pinch the upper rocker cover gasket, causing a perpetual oil weep. Utilizing the ATC 85109051 block arms physically anchors the cover edges flat to the head deck, ensuring the liquid gasket cures under perfect, parallel compression.
The 5-Step Timing Cover Alignment Sequence
- Mating Surface Preparation: Scrape away all old silicone and sealant residue from the back of the cylinder head and engine block decks. Scrub the surfaces thoroughly with a quick-drying solvent until completely free of grease and oil down to bare metal.
- Apply Precision Sealant Bead: Apply a continuous, uniform 2mm bead of factory-specified liquid sealant onto the timing gear cover flange path, ensuring you loop completely around all fastener holes to stop internal tracking leaks.
- Position the Cover and Hand-Tighten: Carefully lift and set the timing gear cover assembly onto its locating pins against the back of the engine block. Thread all the factory housing bolts in by hand until they are just snug—do not torque them yet!
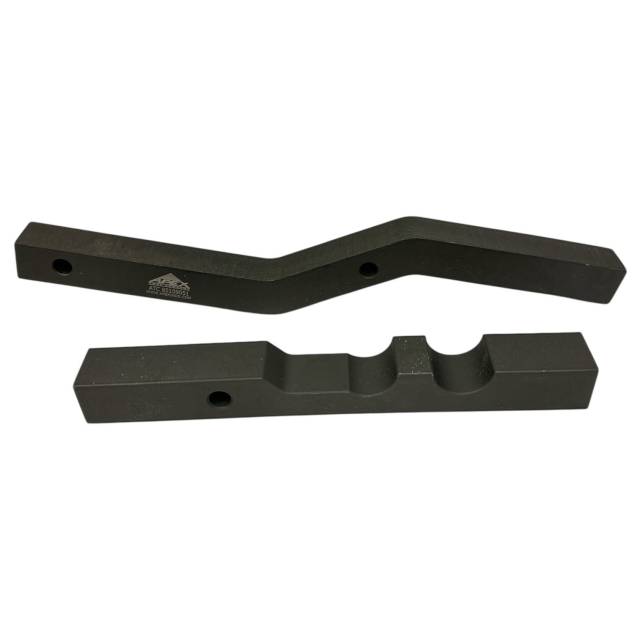
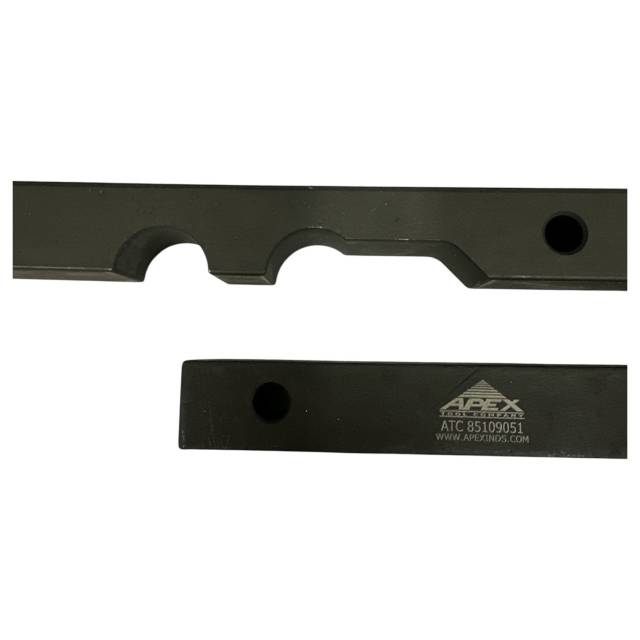
- Bolt Down the ATC 85109051 Fixtures: Position the **85109051-A** and **85109051-B** alignment tool arms squarely across the left and right upper corner margins where the cover meets the cylinder head casting. Bolt the tools firmly into the cylinder head threads. This mechanically forces the timing cover completely flush and level with the head deck.
- Execute Final Torque Sequence: With the alignment fixture securely holding the cover flat, torque all the timing gear housing fasteners in a star pattern to exact factory specifications. Once locked, unbolt and remove the ATC tools from the block. Let the sealant cure fully before running the engine.
PRO-TECH ENGINE DECK ALIGNMENT DISCLOSURE:
Always ensure the underside alignment surfaces of the 85109051-A and B blocks are entirely clear of old silicone dust or grit before mounting. Any tiny piece of dirt trapped under the tool arms will throw off the alignment plane, resulting in an uneven cover installation that will cause an oil leak.
Visual Calibration Guide: Review our product profiles below to trace exactly how the alignment block profile locks the flange edge true.
Class 8 Rear Geartrain Precision. Eradicate Post-Overhaul Comebacks.
Get the 85109051 Alignment Tool Kit
overall rating:
my rating:
log in to rate