Blog
Cadillac Northstar & Olds Aurora Water Pump Core Removal
Precision cooling system component maintenance guidelines for classic luxury vehicles.
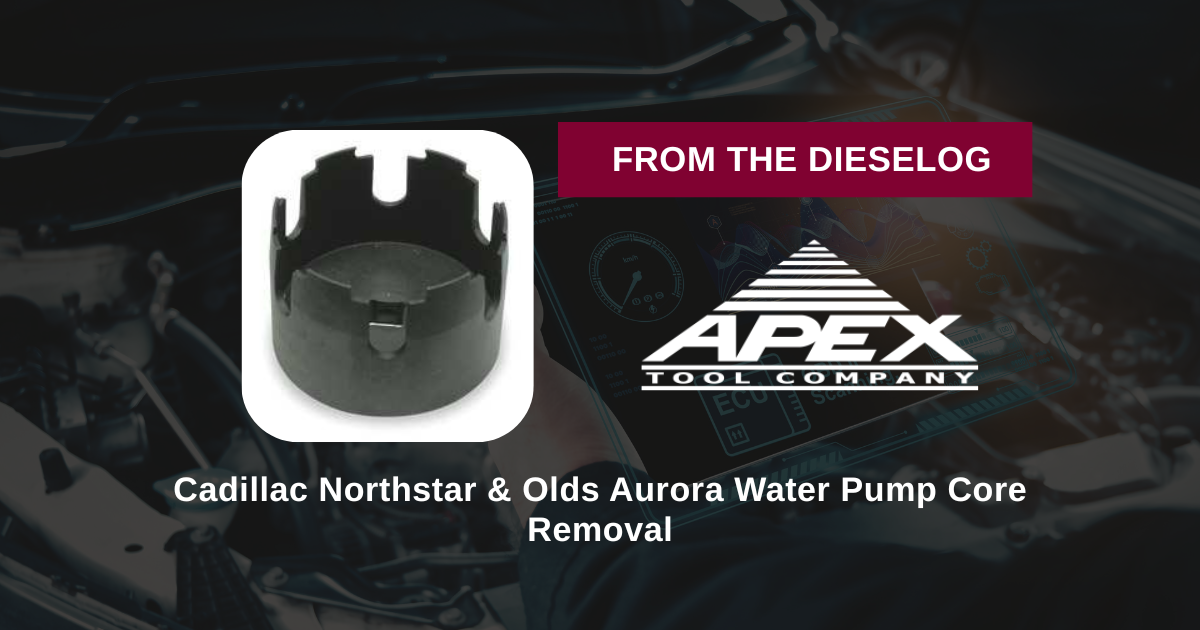
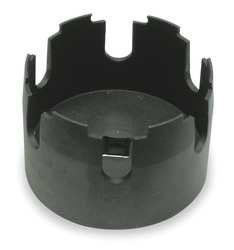
Dealing with an engine overheat fault or a leaking weep port down behind the block? Learn the proper technical sequence to unseat and install recessed pump cores safely using the Westward 1YMH5 socket.
Why Asymmetrical Prying Shatters Internal Casing Seal Rings
The rear-mounted water pump core on a Cadillac Northstar engine block is sealed by an O-ring configuration pressed into a round counterbore cavity. Over thousands of heating and cooling cycles, minerals and chemical scale from the engine coolant pack behind this ring, gluing the cartridge solid into its seat. When a technician attempts to wrench or pry the core loose using single-sided jaw tools or hammer drifts, the extraction energy hits at an angle. This asymmetrical twisting wedges the round pump body hard inside its cylinder track, bending the thin casing wall. This deformation can crack the brittle internal composite water passages. Utilizing a dedicated multi-tooth socket like the Westward 1YMH5 distributes your wrench rotation completely symmetrically around the full 3 3/8-inch rim circumference, letting the cartridge pop out smoothly with zero binding.
The 5-Step Water Pump Cartridge Renovation Sequence
- 场地Execute Cooling Loop Evacuation: Disconnect the vehicle batteries. Allow the engine to cool down fully. Drain the radiator and engine cooling loops completely, managing any remaining fluid with drop pans to establish a dry work environment.
- Seat the Westward 1YMH5 Array: Clear away any obstructing coolant hoses or wire harnesses near the rear engine crossover housing. Slide your 3 3/8-inch Westward 1YMH5 water pump socket straight over the internal pump cartridge face, ensuring all integrated tool teeth align cleanly and lock deep inside the pump lug slots.
- Unseat the Frozen Cartridge: Snap a high-leverage 1/2-inch drive manual ratchet or breaker bar straight into the square drive well of the socket. Apply firm, steady counter-clockwise force. The socket will turn the entire cartridge assembly evenly, breaking the calcified seal bond and spinning the pump out of its locking block rails.
- Scrub and Audit the Internal Housing: Extract the spent water pump cartridge core. Remove the degraded rubber O-ring seal completely. Use solvent and a soft nylon brush to clean the inner casing walls, removing all caked rust scale, corrosion scale, and old grease down to a bright, smooth finish.
- Lubricate and Drive the Fresh Pump Core: Fit a fresh rubber seal onto your replacement pump cartridge and lightly coat the ring surface with clean coolant or rubber grease to stop tearing. Position the pump core straight into the block slots. Re-mount your Westward 1YMH5 socket, snap on your torque wrench, and spin clockwise to lock the fresh cartridge to exact factory specification limits.
PRO-TECH O-RING DRY Tearing DISCLOSURE:
Never force a new water pump cartridge into the crossover housing completely dry! A dry seal will bunch up, pinch, or split as the Westward socket drives the pump core down into its final locking track. This damage will cause a hard-to-reach leak that forces an immediate teardown. Always apply a film of fresh coolant lube to verify a smooth entry path.
Concentric Multi-Lug Security. Faster Flat-Rate Cooling Overhauls.
Get Your Westward 1YMH5 Tool Set Now
overall rating:
my rating:
log in to rate