
Blog
Caterpillar 3406 & 3408 Broken Exhaust Stud Removal Steps
Precision engine exhaust repair and cylinder head stud extraction guidelines for commercial diesel mechanics and fleet technicians.
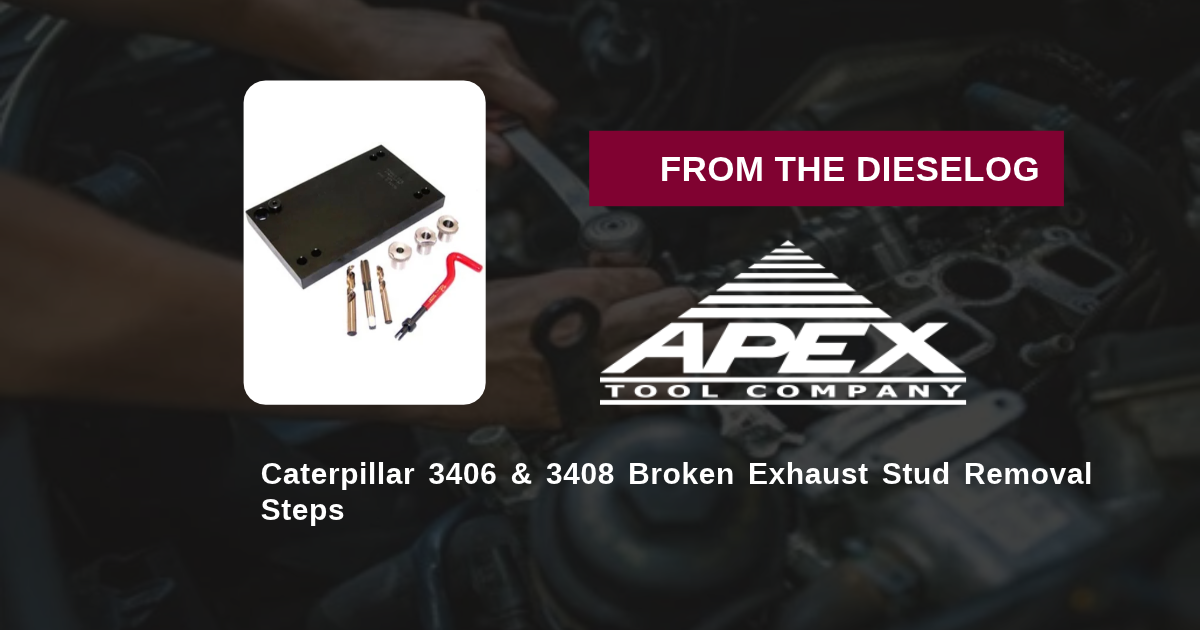
Extracting broken exhaust manifold studs on a Caterpillar 3406 or 3408 engine without pulling the cylinder head? Follow this step-by-step professional workshop procedure to mount the M10130 alignment template, select drill guide bushings, bore concentric pilot holes, and turn out seized stud shanks without damaging factory cylinder head threads.
Why "Freehand Drilling & Torch Melting" Destroys CAT Cylinder Heads
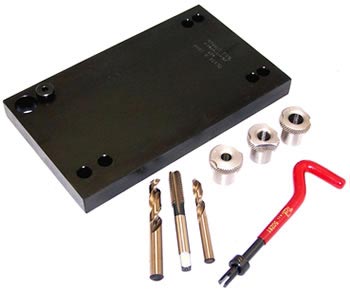
On Caterpillar heavy-duty diesel engines, exhaust manifold studs undergo extreme heat cycles ranging from ambient cold to over 1,200°F. This thermal stress causes the steel studs to corrode, seize, and eventually snap off flush with or below the cylinder head deck face. Technicians who attempt to extract broken studs using freehand drills or oxy-acetylene torches risk irreversible engine damage. Freehand drill bits skid off the jagged surface of a broken hard steel stud and chew into the softer cast-iron cylinder head casting. This off-center drilling ruins the threaded hole geometry, making it impossible to install a new OEM stud straight. Attempting to blow studs out with a torch distorts the precision ground manifold mating face or melts into internal water jackets, causing coolant leaks. Utilizing the 10-pound M10130 Caterpillar Stud Removal Kit completely eliminates freehand risks. By clamping a rigid guide template firmly to adjacent head bolt holes, drill bits are held 100% perpendicular, drilling dead-center through the broken stud to preserve factory threads every time.
The 5-Step Caterpillar Broken Stud Extraction Protocol
- Clean Head Face & Mount M10130 Base Plate: Remove the exhaust manifold. Clean rust and carbon scale off the cylinder head face. Bolt the M10130 base template securely to adjacent intact stud holes on the head face.
- Insert Hardened Pilot Drill Bushing: Select the correct hardened steel pilot drill bushing from the M10130 kit and slide it into the template hole directly over the broken stud. Lock the bushing in place.
- Drill Concentric Pilot Hole Through Broken Stud: Insert the designated pilot drill bit through the hardened bushing. Drill squarely into the center of the broken stud shank, applying steady pressure and cutting fluid until the bit passes through the stud length.
- Step Up to Main Extraction Drill Size: Replace the pilot bushing with the larger extraction drill bushing. Drill through the pilot hole with the larger bit to thin out the outer wall of the broken stud shank and relieve thread tension.
- Extract Broken Stud Shank & Chase Threads: Insert the matching extractor tool or tap into the bored stud shell. Turn the extractor counterclockwise with a hand wrench to back the stud remnant out smoothly. Chase the threads with an OEM tap before installing a new Caterpillar stud.
PRO-TECH CUTTING FLUID & LOW DRILL SPEED MANDATE:
ALWAYS USE HIGH-QUALITY CUTTING FLUID WHEN DRILLING HARDENED EXHAUST STUDS! Run drill motors at LOW RPM with steady, firm feed pressure! High drill speeds WILL dull drill bits instantly and harden the steel stud! ALWAYS TURN EXTRACTORS BY HAND—never use air impact tools on screw extractors!
10.00 lbs Guided Heavy Steel Broken Stud Extraction System. Protect CAT Heads.
Get the M10130 Extraction Kit Now
overall rating:
my rating:
log in to rate