Blog
Extracting Broken Caterpillar Manifold Studs
Precision structural manifold component reconditioning guidelines for fleet service centers.
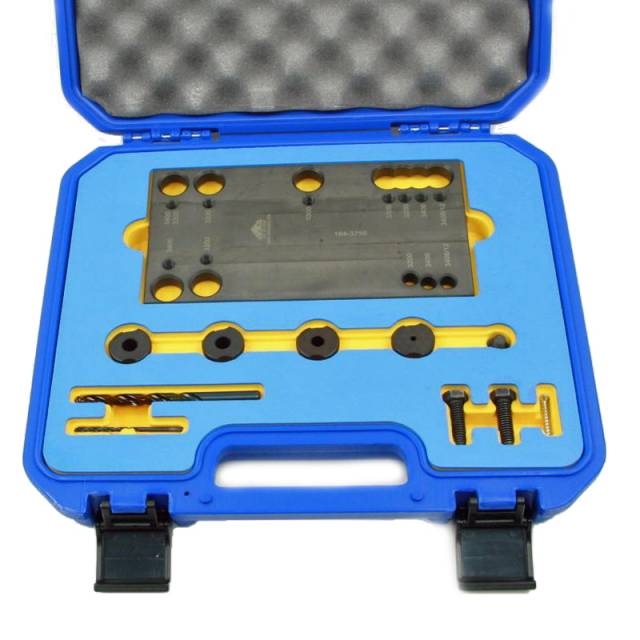
Dealing with a flush-snapped exhaust bolt deep on a Caterpillar C15 cylinder block? Learn the professional technical sequence for deploying the ATC 6V-9050 drill fixture guide to protect casting paths.
Why Freehand Drift Holes Damage Parent Engine Castings
When an exhaust stud breaks on a Caterpillar engine, it usually snaps below the surface of the cylinder head manifold flange. If a mechanic attempts to drill out the center of that hardened bolt without a solid pilot fixture, the drill bit will walk off the crowned center immediately. Within seconds, the spin cuts into the surrounding internal threads of the cast iron head. Once those threads are ovalized or drilled out off-axis, a standard replacement stud will never torque correctly, leading to persistent manifold exhaust leaks or forcing you to install an oversized thread insert. Utilizing a rigid, surface-anchored template frame like the ATC 6V-9050 forces the drill bit to maintain absolute perpendicular alignment, keeping the core hole centered perfectly within the frozen bolt shank.
The 5-Step Concentric Stud Drilling Protocol
- Exhaust Port and Flange Triage: Remove the exhaust manifold sections to access the broken bolt. Clean the surface of the cylinder head surrounding the broken stud with a wire wheel to remove loose scale, rust, and carbon buildup.
- Mount the 6V-9050 Base Fixture: Position the heavy-duty template plate over the affected exhaust port. Secure the fixture firmly to the head deck by threading kit mounting bolts into the nearest un-broken manifold holes, anchoring the plate completely flat and stable.
- Insert the Alignment and Drill Bushings: Slide the designated alignment sleeve into the fixture port directly centered over the broken stud. Insert the hardened drill bushing into the channel to form a tight, zero-play guide path for your drill bit.
- Execute Controlled Low-Speed Drilling: Mount the premium high-speed bit into your drill. Apply a few drops of cutting lubricant to the drill bushing. Run the drill at a steady, controlled low speed with uniform forward pressure. The bit will glide through the guide and cut directly down the dead center of the broken stud shank.
- Extract the Core and Verify Threads: Once the stud center is drilled through to the correct depth, remove the drilling guide. Insert a high-quality screw extractor into the newly cut pilot channel to twist the remaining hollow steel shell out, then clear the original internal head threads with a chaser tap.
PRO-TECH DRILLING DEPTH MANDATE:
Always measure the depth of an open, un-broken stud hole before you begin drilling into a broken one. Mark that depth clearly on your drill bit with tape or a collar stop. Drilling past the factory bottom depth limit of the stud port will punch directly through the inner casting wall into the internal cooling jacket, instantly ruining the entire cylinder head block!
Precision Pilot Guidance. Save Your Heavy Caterpillar Engine Heads.
Secure Your 6V-9050 Tool Group Now
overall rating:
my rating:
log in to rate