
Blog
Ford Powerstroke 6.0L & 6.4L Rear Main Seal Service Steps
Precision rear crankshaft reconditioning guidelines for commercial fleet and Super Duty mechanics.
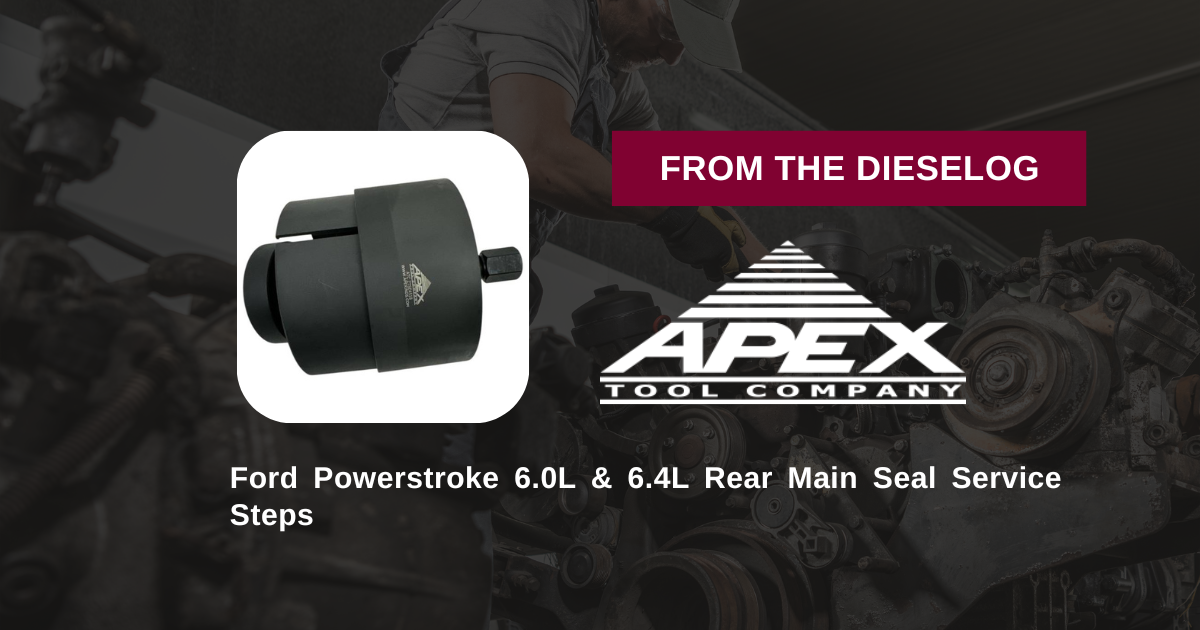
Performing an engine rebuild, transmission separation, or rear main oil leak repair on a Ford Super Duty or E-Series 6.0L / 6.4L Powerstroke truck? Follow this step-by-step professional workshop procedure to clean the crankshaft flange, stage unitized seal assemblies, and press seal and wear ring home cleanly using the ATCZTSE4518 installer.
Why Off-Angle Seal Driver Striking Destroys Powerstroke Rear Seals
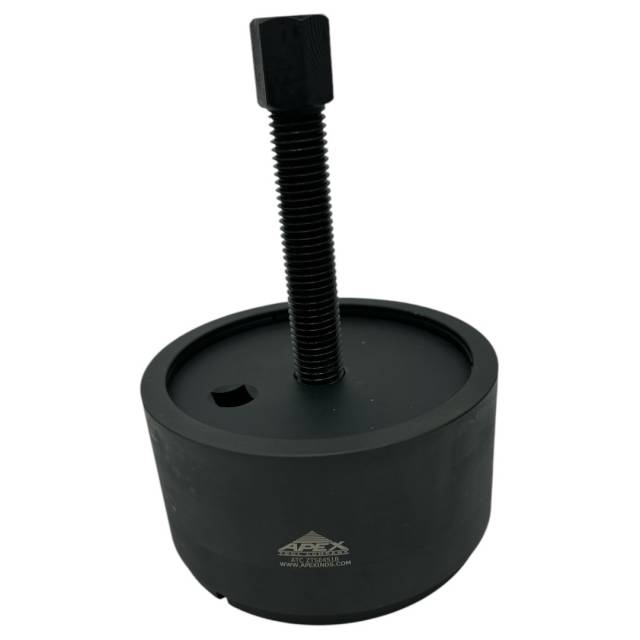
The rear main crankshaft seal on Ford 6.0L and 6.4L Powerstroke engines handles intense heat, high rotational speeds, and crankcase pressures. When a technician attempts to install the replacement unitized seal and wear ring assembly using loose blocks, sockets, or unguided hammer blows, driving force is applied unevenly. The thin steel wear sleeve cocks in the entrance chamfer, buckling the cylindrical wall or flaring the delicate PTFE seal lip. Once the transmission and flywheel are reinstalled and the engine is fired up, the distorted seal lip fails to seal against the wear sleeve—letting engine oil stream down into the bellhousing. Utilizing a bolt-on guided installer like the 9-pound ATCZTSE4518 anchors driving force squarely against the crankshaft flange, forcing the seal and wear ring down a 100% parallel axis using smooth screw thread pressure to set exact OEM depth without buckling the metal.
The 5-Step Powerstroke Rear Seal Installation Protocol
- Teardown & Surface Triage: Remove the transmission, flexplate/flywheel, and old rear main seal/wear ring assembly. Thoroughly clean old oil glaze, rust scale, and burrs off the rear crankshaft flange journal and rear engine cover bore using solvent and a non-abrasive pad. Ensure the journal is bone-dry and clean.
- Mount Tool Base & Guide Studs: Thread the guide studs from the ATCZTSE4518 kit into the rear crankshaft flange bolt pattern until finger-tight. Slide the inner guide hub of the tool over the studs until it seats flat against the crank flange face.
- Stage Unitized Seal & Wear Ring Assembly: Position the fresh unitized rear main seal and wear ring assembly squarely over the guide studs and entrance chamfer. *CRITICAL: Ensure the seal orientation matches OEM service manual directives; do NOT lubricate dry PTFE sealing lips unless specified by the seal manufacturer.*
- Execute Controlled Mechanical Pressing: Slide the ATCZTSE4518 driver plate over the guide studs against the seal casing. Thread the central forcing nut onto the center mandrel shaft. Using a manual hand socket or breaker bar, turn the forcing nut clockwise smoothly to advance the driver plate. The tool will press both the wear ring onto the crank journal and the seal casing into the engine cover simultaneously until the tool plate bottoms out solidly against the housing face.
- Inspect Depth & Reassemble Drivetrain: Remove the forcing nut, driver plate, and guide studs. Visually inspect the installed rear main seal and wear ring to verify 360-degree flat seating, zero wall buckling, and clean lip geometry. Reinstall the flywheel/flexplate, torque hardware to factory specs, re-couple the transmission, and check for leak-free operation.
PRO-TECH MANUAL SCREW ADVANCE DIRECTIVE:
Always use hand tools on the central forcing nut of the ATCZTSE4518 installer! Never use high-speed air or electric impact wrenches to turn the central forcing nut. Excessive impact speeds can cock the wear sleeve on the journal chamfer, stripping tool threads or tearing the delicate Teflon (PTFE) seal lip inside the unitized assembly!
Precision Machined Steel Driver Kit. Protect Powerstroke 6.0L & 6.4L Rear Main Seals.
Get the ATCZTSE4518 Installer Now – $190.00
overall rating:
my rating:
log in to rate