
Blog
Cummins NT & NH Front Gear Case Bushing Service Steps
Precision front-end maintenance guidelines for heavy diesel rebuilders and fleet mechanics.
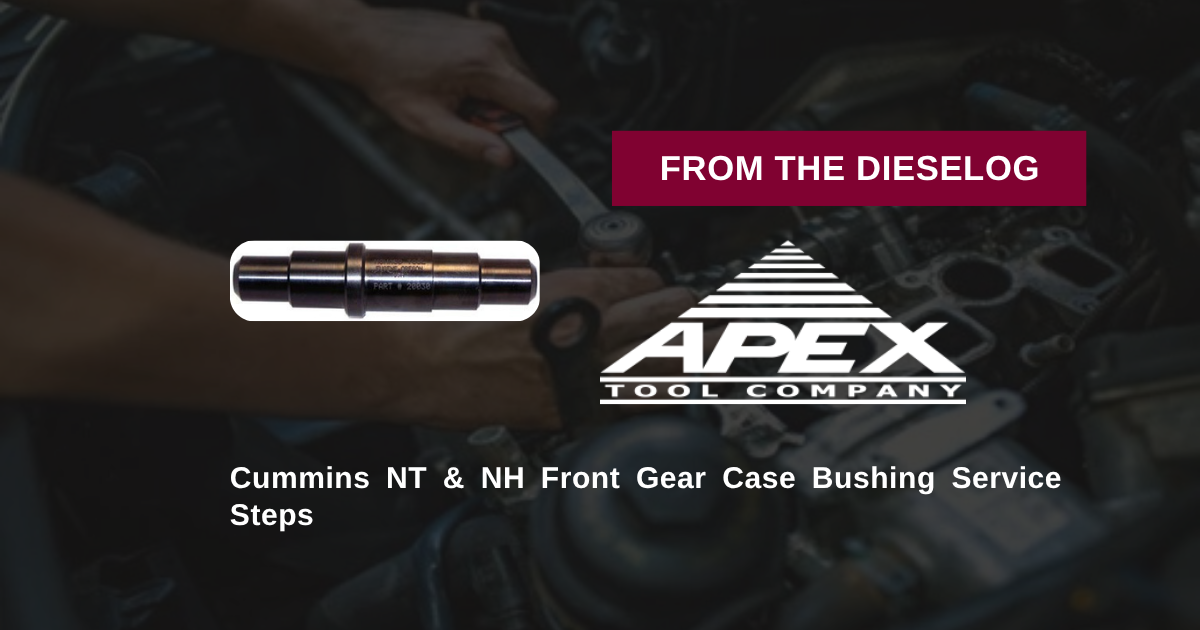
Extracting a worn accessory drive bushing and pressing a fresh replacement during a front cover service or engine overhaul on a Cummins NT or NH engine? Follow this step-by-step professional workshop procedure to set up the M20030 puller arbor, extract old bushings cleanly, clean the housing bore, and press fresh bushings to exact factory depth without distortion.

Why Improvised Punch & Socket Drivers Cause Fatal Gear Housing Distortion
On Cummins NT855 and NH series diesel engines, the front accessory drive powers critical fuel pump, air compressor, and generator drives. Because the accessory drive shaft rotates inside a precision housing bore supported by a thin bronze bushing, proper bushing alignment is vital. When technicians attempt to drive out old bushings using brass drifts, screwdrivers, or sockets, off-center impact forces gouge the cast housing wall. Worse, driving a new bushing in with improvised hammers cocks the sleeve against the bore entrance, causing the thin metal wall to crush or flare. A distorted bushing creates high spots along the inner diameter, causing immediate shaft binding, oil starvation, and rapid gear failure upon engine startup. Utilizing the 11-pound M20030 guided pull-and-press service kit completely eliminates these service hazards. The tool’s threaded arbor and piloted drive cup anchor securely against the front gear case housing, providing 100% parallel axial motion. Turning the forcing nut extracts old bushings cleanly without touching bore walls and draws new bushings into place smoothly until the tool seats firmly against the OEM shoulder stop.
The 5-Step Cummins NT/NH Accessory Drive Bushing Protocol
- Mount M20030 Extractor & Remove Worn Bushing: Remove the accessory drive shaft. Position the M20030 puller cup behind the worn bushing and insert the threaded arbor through the housing bore. Turn the forcing nut clockwise to pull the old bushing straight out of the housing cleanly.
- Clean & Inspect Front Gear Case Housing Bore: Clean the cast housing bore thoroughly using solvent and fine Scotch-Brite to remove old varnish, rust scale, and oil sludge. *Verify the inner bore is 100% smooth, clean, and free of burrs before proceeding.*
- Position New Bushing & Align Oil Holes: Carefully align the fresh replacement bushing over the entrance chamfer of the gear case bore. *Verify that the lubrication oil feed hole on the new bushing aligns perfectly with the oil passage in the gear housing bore!*
- Mount M20030 Installer & Press to Depth Stop: Position the M20030 guided driver cup over the fresh bushing. Thread the forcing nut onto the central arbor. Turn the forcing nut evenly using a manual wrench to draw the bushing squarely into the housing until the tool shoulder bottoms against the housing face.
- Remove Tool & Inspect Installed Bushing: Unthread and remove the M20030 tool assembly. Inspect the installed bushing 360 degrees to verify it is seated flat, un-distorted, and that oil holes remain perfectly aligned. Slide the accessory drive shaft in to verify smooth, free rotation with proper radial clearance.
PRO-TECH OIL HOLE ALIGNMENT & MANUAL WRENCH MANDATE:
ALWAYS DOUBLE-CHECK OIL HOLE ALIGNMENT before pressing the new bushing! Blocking the oil passage causes immediate shaft starvation and seizure! ALWAYS advance forcing nuts using MANUAL HAND TOOLS; never use pneumatic impact wrenches on forcing arbors!
11 lbs Precision Structural Tool Steel Dual-Function Kit. Protect Cummins NT/NH Overhauls.
Get the M20030 Service Kit Now
overall rating:
my rating:
log in to rate