
Blog
Tech Guide: Cummins 5.9L & 6.7L Front Crankshaft Seal Installation Steps
Precision front-end maintenance guidelines for commercial fleet and pickup truck mechanics.
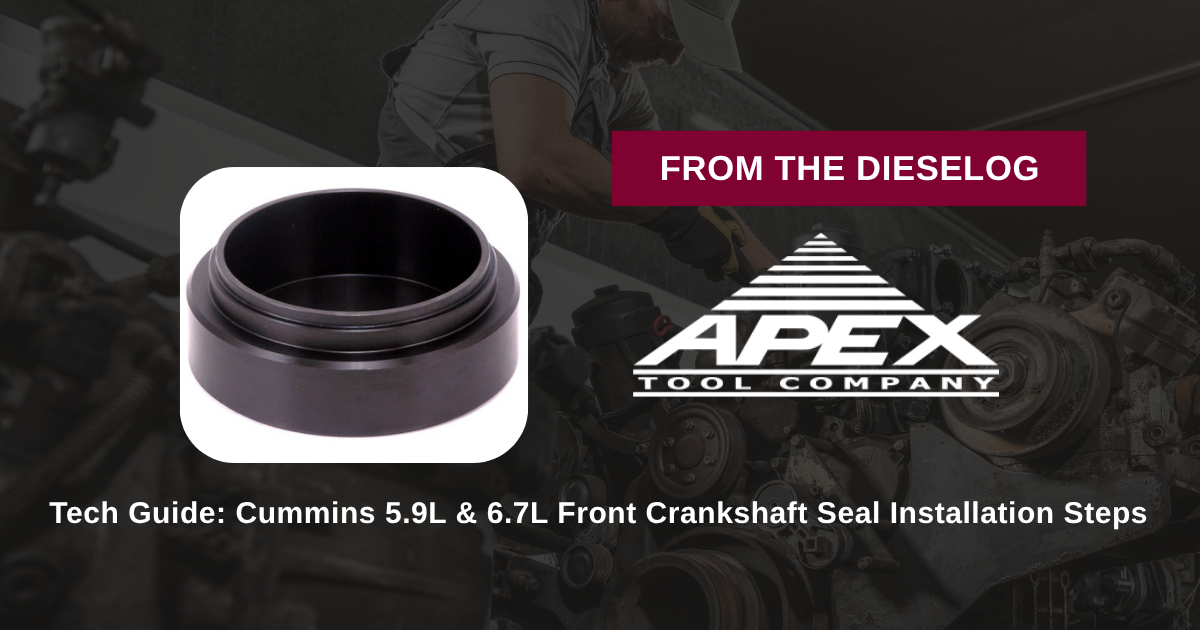
Replacing a leaking front main oil seal or servicing the front gear housing on a Cummins B Series 5.9L or 6.7L engine? Follow this step-by-step professional workshop procedure to prepare the front gear housing bore, set up the M20132 piloted installer, press the seal squarely, and verify exact OEM depth.
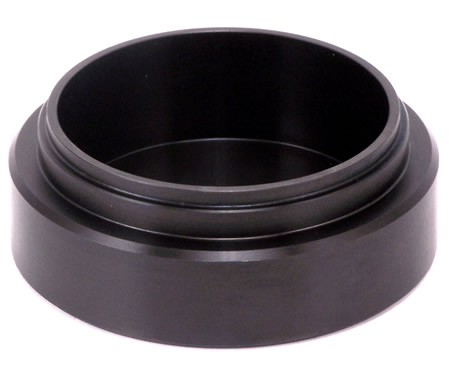
Why Improvised Socket Drivers Cause High Comeback Rates on Cummins B Engines
On Cummins 5.9L and 6.7L engines, front main oil seal service carries one of the highest repeat repair rates when performed without dedicated tooling. The front seal sits deep within the front gear housing cover, requiring perfect parallel force during installation. When technicians attempt to press a seal in using large sockets or flat plates hit with mallets, force is unevenly distributed across the thin metal casing of the seal. Cocking the seal even slightly crushes the metal shell, causing microscopic distortion around the bore perimeter. As a result, the internal garter spring pops loose from its retaining groove and falls into the oil pan. Without garter spring tension, the elastomeric sealing lip cannot maintain radial pressure against the rotating crankshaft damper hub, leading to oil slinging within miles of operation. Utilizing the 3-pound M20132 piloted seal driver completely eliminates these service risks. Threaded directly into the front crankshaft nose, the tool’s outer drive cup aligns 100% concentric with the bore, drawing the seal in smoothly and stopping automatically at exact OEM depth.
The 5-Step Cummins B Series Front Seal Installation Protocol
- Clean & Inspect Gear Housing Bore & Crank Nose: Remove the old front seal and vibration damper. Clean the gear housing bore and crankshaft snout thoroughly using solvent and non-abrasive pads. *Verify the bore is free of rust scale, old sealant, and metal burrs.*
- Position Seal Assembly over Crankshaft Entrance: Carefully align the fresh front main seal over the entrance chamfer of the gear housing bore. *Ensure the integrated dust lip faces outward toward the front of the engine.*
- Mount M20132 Tool Assembly: Position the M20132 drive cup over the seal. Thread the central forcing stud into the crankshaft nose threads until hand-tight to center the tool pilot.
- Press Seal to Factory Depth Stop: Apply clean engine oil to the forcing stud threads. Turn the central forcing nut clockwise using a manual socket wrench. The M20132 drive cup will push the seal evenly into the gear housing bore until the tool shoulder bottoms firmly against the cover face.
- Remove Tool & Inspect Installed Seal: Unthread and remove the M20132 tool assembly. Inspect the installed seal 360 degrees to verify it is seated perfectly flat and square, with the internal garter spring securely in place. Reinstall the harmonic balancer and torque bolts to Cummins OEM manual specifications.
PRO-TECH GARTER SPRING VERIFICATION & MANUAL WRENCH MANDATE:
ALWAYS INSPECT THE INTERNAL GARTER SPRING using a small mirror or flashlight after installation to confirm it did not dislodge! ALWAYS advance forcing nuts using MANUAL HAND TOOLS; never use pneumatic impact wrenches, which can shock-distort seal cases!
3 lbs Precision Structural Tool Steel Service Assembly. Protect Cummins B Series Seals.
Get the M20132 Front Seal Installer Now
overall rating:
my rating:
log in to rate