
Blog
Cummins N14 Accessory Drive Seal & Wear Sleeve Installation Steps
Precision front-end maintenance guidelines for commercial fleet and Class 8 mechanics.
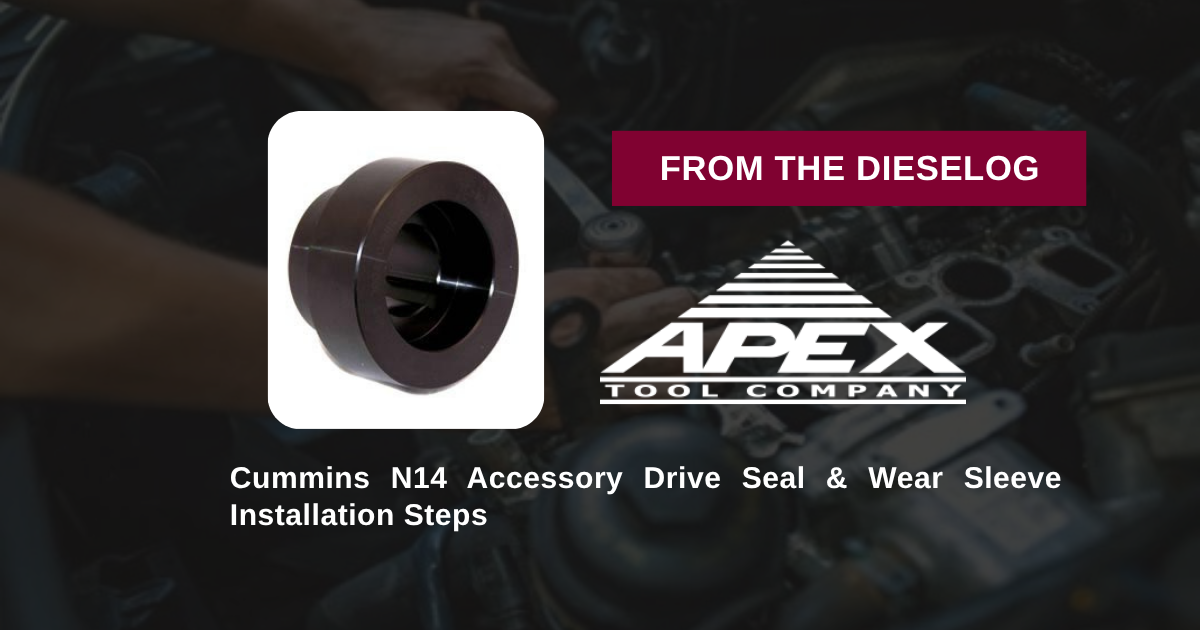
Renewing a grooved accessory drive shaft snout and installing a new oil seal during a front cover service or engine overhaul on a Cummins N14 engine? Follow this step-by-step professional workshop procedure to set up the M20125-A installer tool, apply retaining compound, press components squarely, and seat seals and wear sleeves to exact factory depth.
Why Improvised Driver Methods Cause Front Accessory Drive Oil Leaks
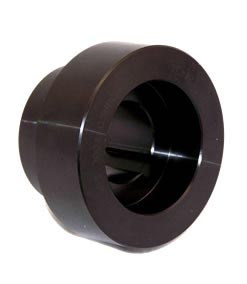
On Cummins N14 14-liter commercial engines, the front accessory drive powers crucial gear-driven auxiliaries. Replacing a leaking accessory drive seal requires renewing the underlying shaft wear sleeve to eliminate grooving. Because both the micro-thin wear sleeve and the outer oil seal require 100% parallel force during installation, driving them on with sockets, brass drifts, or hammers creates severe service traps. Striking the sleeve with off-center impact forces cocks the thin metal ring on the shaft entrance chamfer. Pushing a cocked sleeve stretches the metal wall, creating microscopic waves along the sealing contact zone. When the new oil seal rides over a distorted sleeve, oil immediately scours past the seal lip upon engine startup, slinging crankcase oil across belts and pulleys. Utilizing the 3.50-pound M20125-A driver tool eliminates these installation failures entirely. Designed with a piloted drive cup that centers squarely over the accessory drive shaft, the tool engages both the sleeve and seal simultaneously. Operating the tool with a compatible forcing arbor (such as tool M20020) distributes 360-degree parallel mechanical pressure, pressing components squarely onto the shaft until the tool bottoms firmly against the factory depth stop.
The 5-Step Cummins N14 Accessory Drive Seal & Sleeve Protocol
- Clean & Inspect Shaft Snout & Housing Bore: Remove the accessory drive pulley and old seal assembly. Clean the drive shaft snout and housing bore thoroughly using solvent and fine Scotch-Brite to remove oil sludge, rust scale, and burrs. *Verify the shaft surface is 100% smooth before proceeding.*
- Apply Retaining Compound to Shaft Snout: Apply a light, uniform film of high-temperature anaerobic retaining compound (such as Loctite 609/680) to the accessory drive shaft OD to prevent oil weeping underneath the wear sleeve inner diameter.
- Position Components & Mount M20125-A Driver: Position the fresh wear sleeve and accessory drive oil seal over the shaft entrance. Place the M20125-A driver cup squarely over the components and connect your compatible pulley/forcing tool (e.g., M20020).
- Press Components to Factory Depth Stop: Apply clean engine oil to forcing threads. Advance the forcing nut evenly using a manual socket wrench to draw the wear sleeve and oil seal squarely onto the shaft until the M20125-A tool bottoms out flush against the housing shoulder stop.
- Remove Tool & Inspect Installed Components: Back off and remove the M20125-A tool assembly. Wipe away excess retaining compound. Inspect the installed wear sleeve and seal 360 degrees to verify both are seated perfectly square, flat, and un-distorted with zero lip rollover. Reinstall the accessory pulley and torque per Cummins manual specs.
PRO-TECH RETAINING COMPOUND & MANUAL WRENCH MANDATE:
ALWAYS APPLY ANAEROBIC RETAINING COMPOUND to prevent oil migration underneath the wear sleeve ID! ALWAYS advance installer forcing screws using MANUAL HAND TOOLS; never use pneumatic impact wrenches, which can shock-distort micro-thin wear sleeves!
3.50 lbs Precision Structural Tool Steel Dual-Component Kit. Protect Cummins N14 Overhauls.
Get the M20125-A Service Tool Now
overall rating:
my rating:
log in to rate