Blog
Tech Guide: Cummins ISX Head Bolt Torque-Angle Sequence
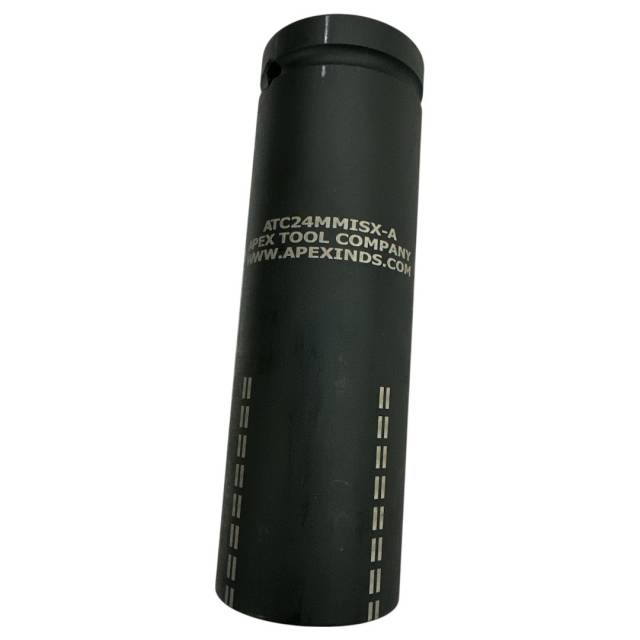
Step-by-step close up layout of an impact grade deep 24mm socket sitting centered inside an engine tool workshop
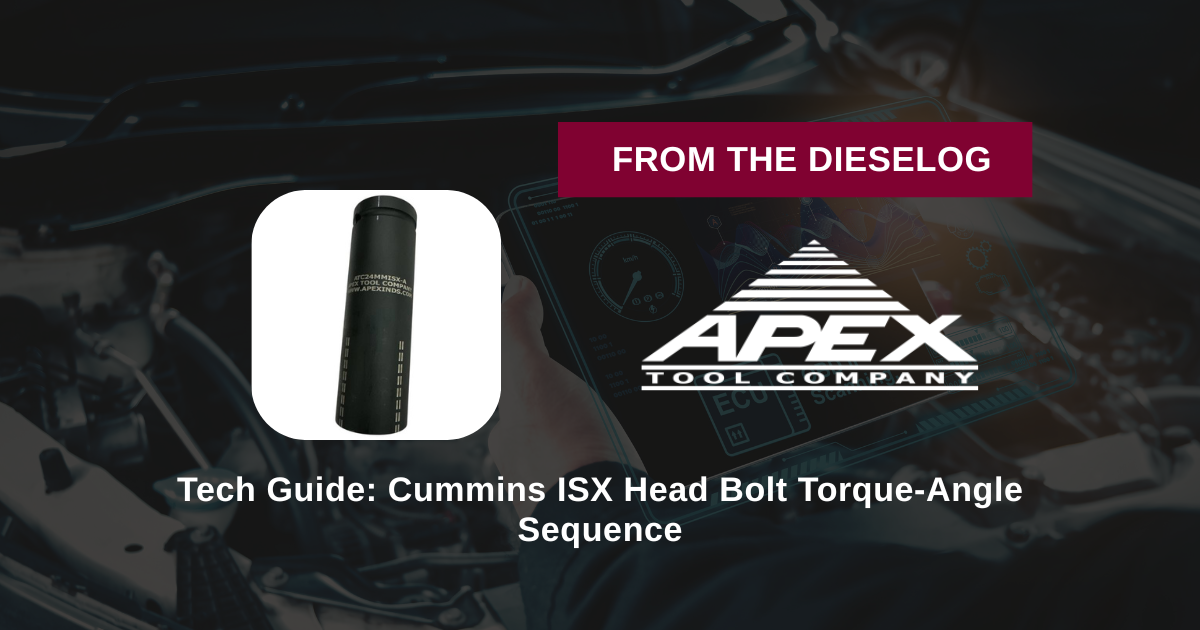
Overhauling a bottom-end or replacing a blown head gasket on an X15 engine? Learn the proper technical sequence to torque and rotate main structural fasteners safely using the ATC24MMISX-A socket.
Why Socket Twist and Gauge Guesswork Triggers Gasket Blowouts
The structural bolts holding a Cummins ISX15 head down demand an exact stretch to establish an airtight combustion seal. When a line mechanic uses a short socket paired with a series of wobble extensions, the tool assembly acts like a torsion spring—twisting and absorbing energy instead of rotating the fastener. When your digital wrench indicates you've hit your target torque-angle mark, a significant percentage of that rotation was simply tool wrap. This leaves the fastener under-torqued and unevenly clamped, guaranteeing a premature head gasket blowout under heavy engine load. Utilizing a dedicated 5-inch solid-wall socket like the ATC24MMISX-A transfers every degree of rotational force directly to the bolt shank, while the permanent laser-etched indices give you a visible, foolproof tracking reference.
The 5-Step Head & Main Fastener Tightening Protocol
- Thread and Block Channel Triage: Ensure the engine block's internal bolt threads are entirely clean, dry, and free of pooled oil, coolant, or old carbon scale. *Note: Standing fluid trapped in a blind bolt hole will cause a hydraulic lock, fracturing the cast-iron engine block casting when torqued down.*
- Lubricate and Hand-Seat Fasteners: Coat the bolt threads and the undersides of the bolt heads lightly with clean engine oil according to factory manuals. Drop the fasteners into place and run them down by hand until they seat flush against the casting deck.
- Execute Initial Torque Stages: Lock your 3/4" drive torque wrench into the ATC24MMISX-A socket. Follow the factory-mandated star pattern sequence to torque all the fasteners down through their initial baseline footprint stages (e.g., 150 ft-lbs, then 300 ft-lbs), establishing an even load profile across the gasket.
- Align the Laser Etched Index Marks: Position the socket over the first bolt in the pattern sequence. Locate the permanently etched 90-degree reference line on the socket's outer wall casing. Use a paint marker or soapstone to trace a matching reference point straight onto the cylinder head surface inline with the socket mark.
- Pull the Final Precise Angle Pass: Using a high-leverage breaker bar or specialized torque multiplier handle, rotate the fastener smoothly in one continuous motion. Watch the etched mark on the socket turn relative to your engine block paint mark until it hits the exact 90-degree target. Repeat this process across the pattern sequence to lock down the build.
PRO-TECH HIGH-TORQUE TOOL DISCLOSURE:
Never use a standard pneumatic air or electric impact gun to run the final angle-tightening passes on head or main bearing cap bolts! High-frequency impact hammering loads create intense friction spikes that can gall threads or over-stretch the metal past its ultimate tensile strength point, snapping the heavy bolt off deep within the engine block. Always pull your final stages smoothly using hand-operated torque tools.
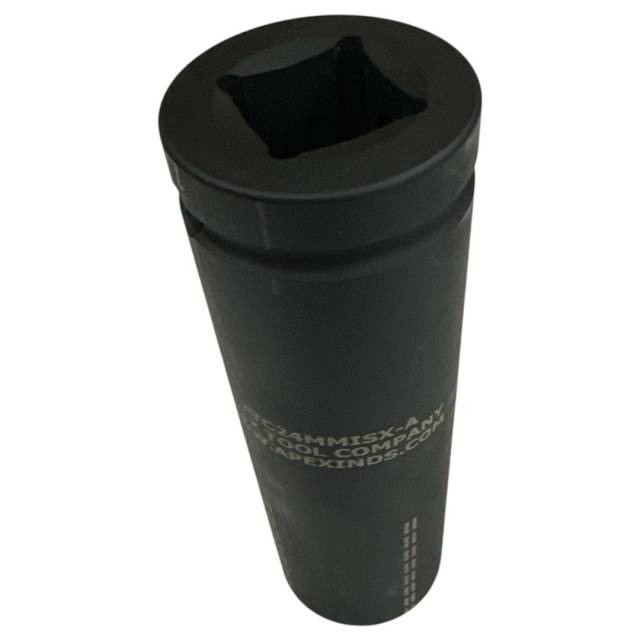
Visual Calibration Layout: Review our product profile images below to see the heavy wall-thickness and precise 6-point inner drive layout that provides zero-slip engagement.
Enterprise Rebuild Precision. Zero Fastener Rounding Hazards.
Get the Cummins 24mm Deep Socket
overall rating:
my rating:
log in to rate