Blog
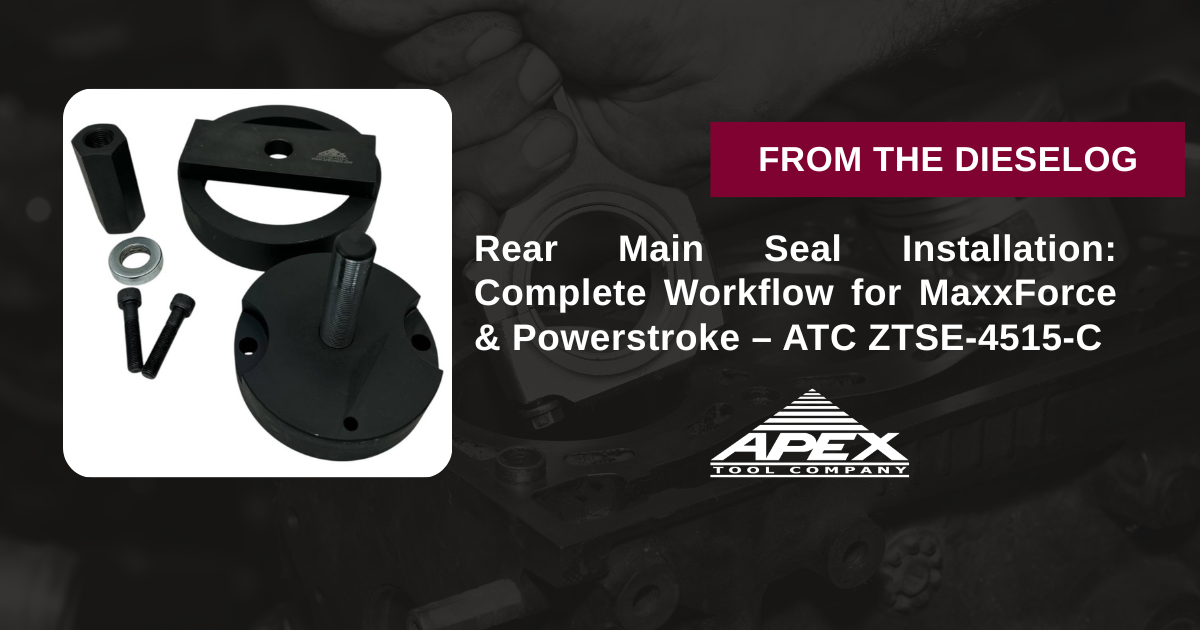
Rear Main Seal Installation: Complete Workflow for MaxxForce & Powerstroke – ATC ZTSE-4515-C
Step-by-step diesel rear seal installation procedure with precision depth verification for International MaxxForce and Ford Powerstroke engines.
Rear Main Seal Installation: Complete Workflow for MaxxForce & Powerstroke – ATC ZTSE-4515-C
Rear main seal installation is simple when you have the right tool. This complete workflow guide covers the ATC ZTSE-4515-C Rear Seal Installer (Ford 303-770 equivalent) for International MaxxForce VT275/VT365/MaxxForce 5/7 and Ford Powerstroke 4.5L, 6.0L, 6.4L engines. From crankshaft flange prep through final depth verification, follow these steps for leak-free results on F-Series Super Duty, E-Series vans, Excursion, and commercial chassis applications.
GET REAR SEAL WORKFLOW TOOL NOW
Complete Installation Coverage • ZTSE-4515-C Replacement
Phase 1: Crankshaft Flange Preparation
- Remove transmission and flywheel – Follow OEM service manual procedure.
- Clean crankshaft flange thoroughly – Use brake cleaner or solvent to remove all oil, debris, and old sealant.
- Inspect flange surface – Check for scoring, grooves, or damage requiring repair.
- Apply 360° bead of Loctite – Use OEM-specified anaerobic sealant around entire flange circumference.
- Verify seal + wear sleeve – Confirm new seal and wear sleeve are mated together (do not separate).
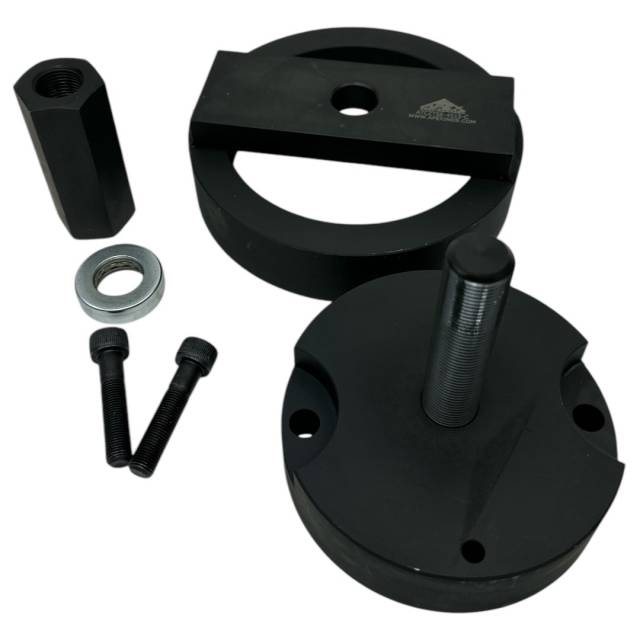
Phase 2: ATC ZTSE-4515-C Installation Setup
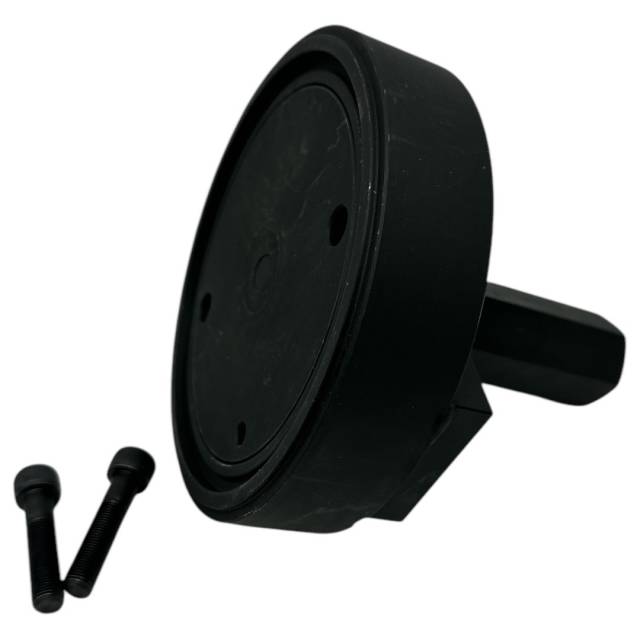
- Install installer base – Position base on crankshaft flange using alignment dowel.
- Place seal + wear sleeve assembly – Position complete assembly on installer hub (critical: keep together).
- Lubricate lightly – Apply 50/50 detergent/water mix only (never oil).
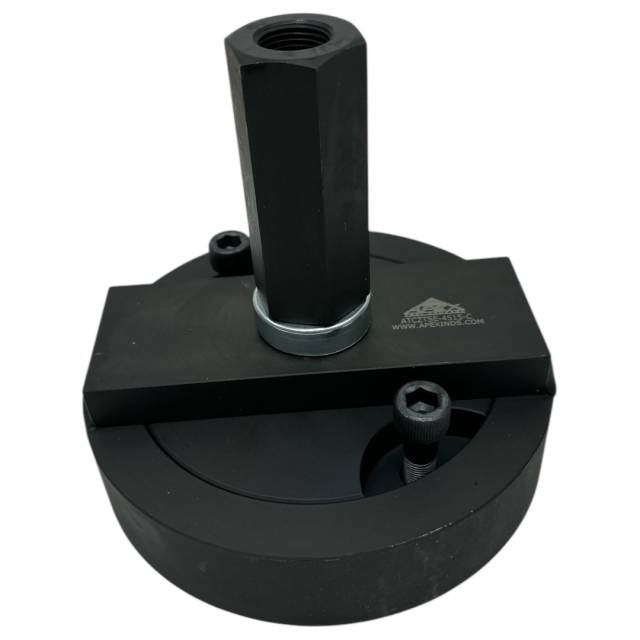
- Install forcing flange – Thread flange onto hub over seal assembly.
- Hand-thread drive nut – Install drive nut finger-tight only at this stage.
Phase 3: Precision Seal Installation
- Tighten drive nut by hand – Rotate nut clockwise until it bottoms out against forcing flange (sets correct depth).
- Verify bottoming – Nut should stop turning with moderate hand pressure—no wrench needed.
- Final torque (if required) – Use torque wrench per service manual spec only after bottoming.
- Remove installer carefully – Unthread in reverse order; do not disturb seal position.
- Inspect seal seating – Verify seal and wear sleeve are fully seated and aligned.
Hand-Tighten Until Bottomed = Perfect Depth Every Time
ORDER ATC ZTSE-4515-C →Phase 4: Final Verification & Reassembly
- Wipe excess Loctite – Clean any sealant squeeze-out from flange.
- Rotate crankshaft by hand – Verify 2 full revolutions; check for seal drag or binding.
- Reinstall flywheel – Torque to OEM specification in correct sequence.
- Install transmission – Follow OEM reassembly procedure.
- Fill with correct oil – Use OEM-spec lubricant; check for leaks after warmup.
- Document service – Record seal installation date and mileage for warranty.
Critical Warnings: Common Installer Mistakes
- ❌ NEVER separate seal from wear sleeve – Destroys seal lip immediately
- ❌ NEVER use oil for lubrication – Causes seal swell and failure
- ❌ NEVER use impact wrench first – Drives seal too deep
- ❌ NEVER skip flange cleaning – Old debris causes leaks
- ❌ NEVER skip Loctite application – Wear sleeve spins and destroys seal
Every Rear Seal Job Needs This Precision Tool
ADD TO CART • ATC ZTSE-4515-CShop Time Savings Comparison
Precision Installation = Zero Leaks
The Rear Seal Workflow Every Shop Needs
BUY ATC ZTSE-4515-C NOW → $275
✅ MaxxForce VT365/5/7 • Powerstroke 4.5L/6.0L/6.4L
✅ Ford 303-770 Equivalent
✅ 50+ Applications • 30-Minute Installs
✅ Ford 303-770 Equivalent
✅ 50+ Applications • 30-Minute Installs
overall rating:
my rating:
log in to rate