
Blog
Cummins 6 in-lb Fuel Injector Preload Adjustment Steps
Precision overhead tune-up guidelines for commercial fleet and Class 8 mechanics.
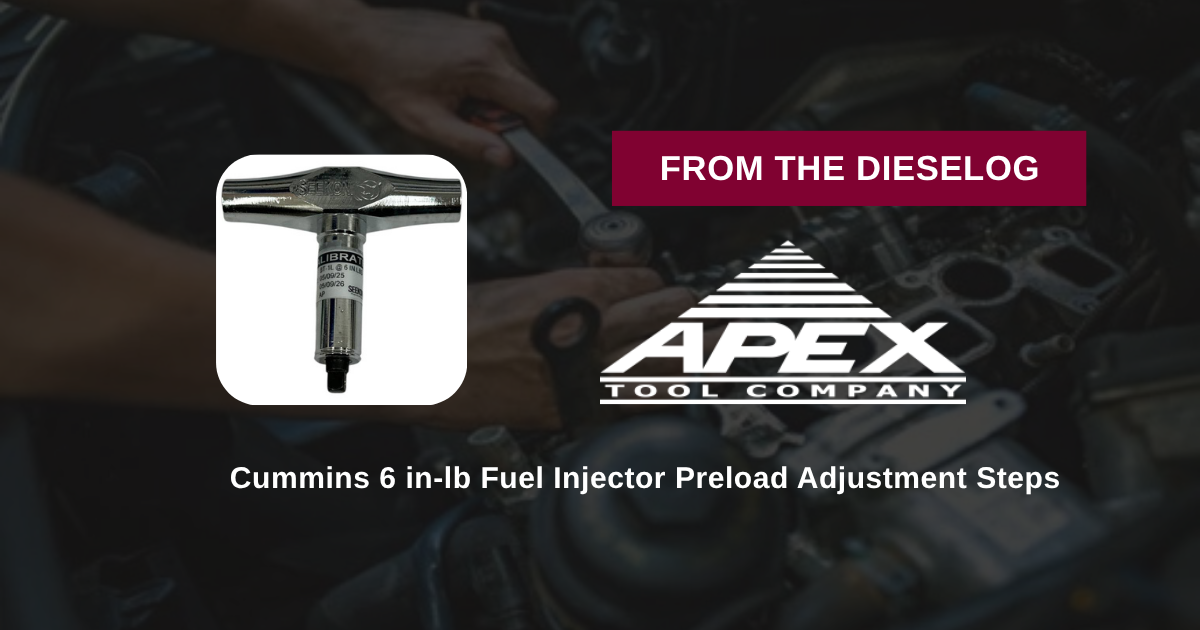
Performing an overhead valve and injector adjustment on a Cummins diesel engine? Follow this step-by-step professional workshop procedure to rotate the engine to engine timing marks, seat the injector rocker lever, apply the ATC20126-A 6 in-lb T-handle torque wrench, and lock down the jam nut without altering preload calibration.
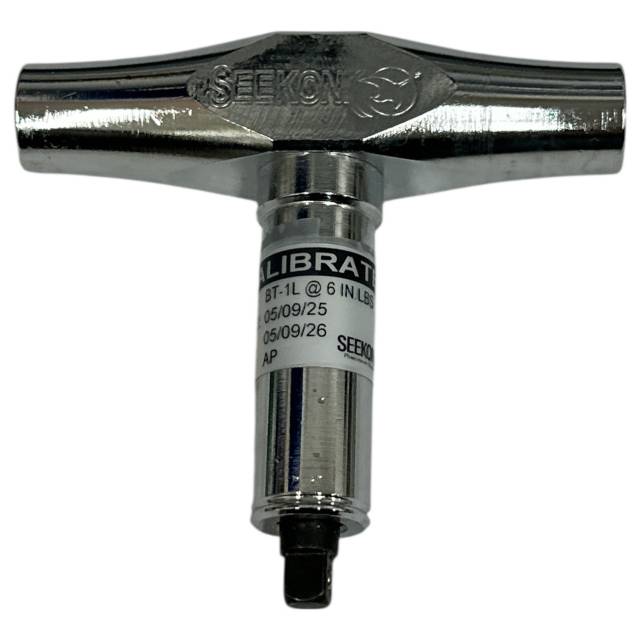
Why Hand-Estimating Injector Lash Destroys Cummins Overhead Valve Trains
On Cummins overhead valve engines, setting fuel injector plunger preload is one of the most critical maintenance steps performed during routine tune-ups or cylinder head overhauls. The adjusting screw on the injector rocker lever controls the exact travel limits of the fuel injector plunger. Because the required setting is a precise 6 inch-pounds, using improper tools or guessing torque by feel introduces major engine hazards. If a technician uses a standard screwdriver or ratchet, it is extremely easy to apply 15 to 20 inch-pounds of torque without realizing it. Over-tightening bottoms out the injector plunger internally. When the engine fires and the camshaft lobe drives the rocker arm, the solid hydraulic column slams the bottomed plunger into the nozzle seat, bending pushrods, cracking rocker shafts, or blowing off injector tips. On the other hand, if the adjusting screw is left too loose, the injector plunger does not travel its full stroke, causing low injection pressure, smoky exhaust, poor fuel economy, and severe cylinder misfires. Utilizing the 1-pound ATC20126-A T-handle torque wrench completely eliminates these adjustment errors. Designed specifically for Cummins part 3376592, its pre-set 6 in-lb breakaway mechanism disengages instantly when target torque is reached, guaranteeing every injector across the engine is calibrated to exact OEM specifications.
The 5-Step Cummins 6 in-lb Injector Setting Protocol
- Bar Engine to Specific Cylinder Timing Mark: Rotate (bar) the engine flywheel in the normal direction of rotation until the timing mark for the target cylinder aligns with the index pointer on the gear cover (ensuring the target cylinder's valves are fully closed).
- Loosen Adjusting Screw Lock Nut: Back off the lock nut on the target injector rocker lever adjusting screw several full turns. Clean oil varnish from adjusting screw threads.
- Apply ATC20126-A Torque Wrench to Adjusting Screw: Place the drive tip of the ATC20126-A 6 in-lb T-handle torque wrench into the socket of the injector adjusting screw. Turn the T-handle clockwise until the screw contacts the injector plunger top.
- Tighten Screw Until T-Handle Breakaway Slips: Continue turning the ATC20126-A T-handle smoothly until the internal clutch clicks/slips at exactly 6 inch-pounds. *Stop turning immediately once the wrench disengages.*
- Hold Adjusting Screw & Torque Lock Nut: Hold the ATC20126-A T-handle wrench completely stationary to prevent the adjusting screw from turning. Use a box wrench to tighten the rocker lever lock nut securely to Cummins OEM foot-pound specifications. Re-check breakaway with the ATC20126-A wrench to confirm the setting did not slip during lock-nut torquing.
PRO-TECH T-HANDLE HOLD & RE-CHECK MANDATE:
Always hold the ATC20126-A T-handle wrench firmly while tightening the lock nut! Tightening the lock nut can pull the adjusting screw downward if it is not held stationary! ALWAYS perform a second 6 in-lb click test after tightening the lock nut to verify final calibration!
1.00 lb Precision Factory-Calibrated T-Handle Tool. Protect Cummins Overhead Adjustments.
Get the ATC20126-A 6 in-lb Wrench Now
overall rating:
my rating:
log in to rate