
Blog
Cummins 8.3L & Marine Diesel Compression Testing Steps
Precision cylinder diagnostic guidelines for commercial fleet and marine mechanics.
Diagnosing a persistent misfire, hard warm starting, or low power issue on a Cummins 8.3L or Yanmar / Volvo Penta marine diesel engine? Follow this step-by-step professional workshop procedure to disable fuel delivery, clean injector wells, thread the ATCL-TU-15-18A adapter, and record cylinder compression values safely.
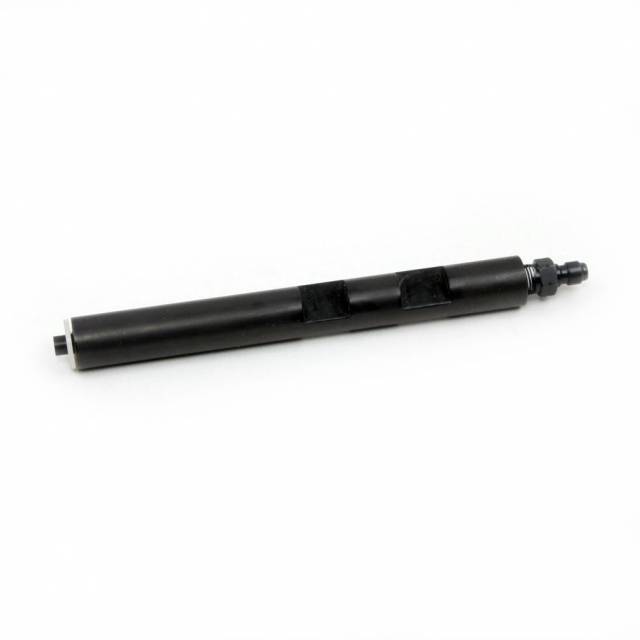
Why Loose Pressure Adapters Produce Dangerous Diagnostic Errors
Compression testing on heavy-duty diesel engines requires an absolute, un-compromised seal at the fuel injector port. When cranking a Cummins 8.3L or Deutz diesel engine, compressed air inside the combustion chamber reaches peak pressures in a fraction of a second. If a line mechanic uses an improperly sealed compression adapter or fails to replace the lower copper sealing washer, air slips past the fitting threads during the compression stroke. This pressure loss results in a falsely low reading on the diagnostic gauge—leading the technician to assume bad piston rings or burnt valves when the engine is actually mechanically sound. Furthermore, cranking an engine with a loose adapter can blow soot and debris past the injector well seal, fouling threads and damaging head surfaces. Utilizing a precision-machined adapter like the ATCL-TU-15-18A with a fresh copper seal locks the diagnostic path completely, guaranteeing 100% accurate PSI recordings across every cylinder tested.
The 5-Step Diesel Compression Testing Protocol
- Safety & Fuel System Disable: Warm the engine up to normal operating temperature if possible. Shut off the engine, disconnect the fuel shutoff solenoid or lock the injection pump rack in the zero-fuel position to prevent fuel spraying during cranking. Clean carbon and debris from around all injector ports.
- Remove Fuel Injector & Clean Well: Carefully unbolt and remove the fuel injector from the target cylinder. Use a brass injector bore brush and shop air to clean carbon deposits off the bottom M17 sealing landing. Ensure the old copper washer is removed.
- Install ATCL-TU-15-18A Adapter: Place a fresh copper crush washer onto the tip of the ATCL-TU-15-18A compression adapter. Thread the adapter into the M17 injector bore by hand to prevent cross-threading, then tighten snugly to manufacturer torque specs to seat the washer.
- Connect Compression Gauge & Crank Engine: Snap the quick-connect fitting of your ATC compression gauge securely onto the top of the ATCL-TU-15-18A adapter. Crank the engine through 4 to 6 compression strokes (or until the gauge needle stops rising) and record the maximum PSI reading.
- Release Pressure & Repeat Test: Use the pressure release valve on the gauge to vent air, disconnect the quick-coupling, and un-thread the adapter. Repeat the procedure across all remaining cylinders, comparing readings against OEM specifications (verify that variation between cylinders is within 10–15%).
- Reinstall Injectors: Once testing is complete, install fresh copper washers on all injectors, reinstall injectors to factory torque, bleed the fuel system, and restart the engine.
PRO-TECH FUEL SHUTOFF MANDATE:
Always verify that the fuel injection system is 100% disabled before cranking the engine during a compression test! High-pressure fuel atomizing into a cylinder containing a compression adapter can cause hydraulic lock or diesel ignition—damaging testing equipment or causing severe personal injury!
Precision Machined M17 Fitting. Accurate Diesel Engine Compression Testing.
Get the ATCL-TU-15-18A Adapter Now
overall rating:
my rating:
log in to rate