
Blog
Cummins Accessory Drive Pulley Installation Steps
Precision front-end reconditioning guidelines for commercial fleet and equipment mechanics.
Replacing an accessory drive housing, servicing front-end drives, or overhauling a Cummins commercial engine? Follow this step-by-step professional workshop procedure to clean drive shafts, align pulley hubs, and press pulleys home smoothly using the M20020 installer.
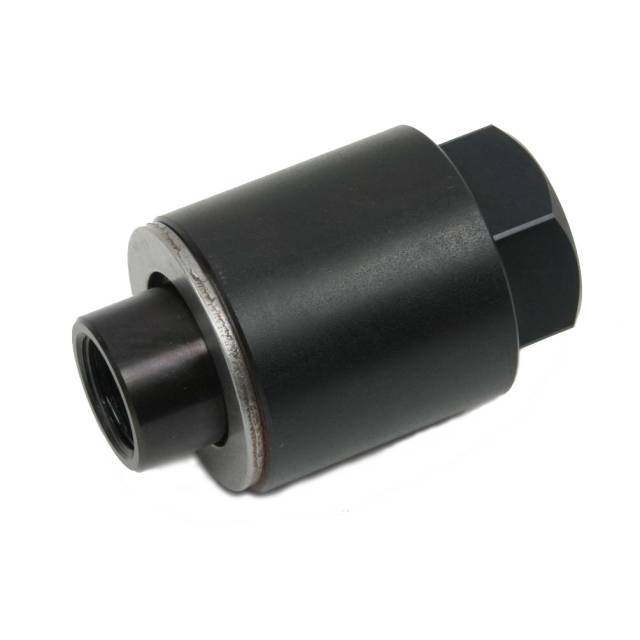
Why Impact Striking Destroys Accessory Drive Bearings
The accessory drive system on heavy Cummins engines transmits high torque to keep auxiliary components running under heavy engine loads. Because drive pulleys utilize tight interference press-fits to lock onto accessory shafts, installing a replacement pulley requires controlled, high-tonnage advancement. A common mistake in repair bays is hammering the pulley onto the shaft using brass drifts or heavy steel mallets. Impact energy travels directly through the steel shaft into the accessory drive internal bearings. This hammering action indents the bearing raceways (a failure mode known as brinelling), leading to noisy bearing operation, overheating, and rapid bearing lockup. Furthermore, striking the pulley rim bends the outer belt grooves, creating a permanent wobble that throws serpentine belts off alignment. Utilizing a threaded press tool like the 2-pound M20102 / M20020 anchors driving force directly against the center shaft threads—drawing the pulley smoothly onto the journal with zero shock load transmitted to internal bearings.
The 5-Step Accessory Pulley Installation Protocol
- Shaft & Hub Surface Preparation: Thoroughly clean old grease, rust scale, and metal burrs off the accessory drive shaft journal and inner pulley hub bore using solvent and a scotch-brite pad. Inspect the shaft for galling or damage.
- Stage Pulley & Thread M20020 Tool Shaft: Set the fresh drive pulley squarely over the entrance chamfer of the accessory drive shaft. Thread the central forcing shaft of the M20020 tool securely into the internal threads of the accessory shaft until fully seated.
- Position Driver Plate & Bearings: Slide the M20020 installer plate and thrust washer assembly over the central forcing shaft until it rests flat against the face of the pulley hub.
- Execute Smooth Threaded Advancement: Using hand wrenches, turn the forcing nut clockwise to advance the driver plate against the pulley hub. Continue turning smoothly to press the pulley down the shaft journal until it reaches exact OEM depth alignment.
- Verify Belt Alignment & Reassemble: Back off the forcing nut and remove the M20020 installer tool. Use a straight edge or laser belt alignment tool to verify that the newly installed pulley grooves line up 100% true with adjacent drive pulleys. Reinstall serpentine belts and tensioners to complete service.
PRO-TECH HAND WRENCH OPERATION MANDATE:
Always lube the central forcing threads of the M20020 tool with clean engine oil or anti-seize before pressing pulleys! Advance the tool forcing nut using manual hand wrenches only. Never use high-speed pneumatic impact guns, as rapid friction can gall tool threads or cock the pulley hub during insertion!
Precision Machined Tool Steel Installer. Protect Cummins Front Accessory Drives.
Get the M20020 Pulley Installer Now
overall rating:
my rating:
log in to rate