
Blog
Cummins ISB 6.7 Seal Carrier Alignment Procedure
Precision seal cover installation guidelines for commercial truck maintenance fleets.
Installing a replacement seal carrier on a Cummins ISB 6.7 engine during a rear main service or engine rebuild? Follow this step-by-step procedure to center the housing, torque fasteners accurately, and prevent future oil leaks using the M20196 tool.
Why Off-Center Cover Installation Ruins Fresh Main Seals
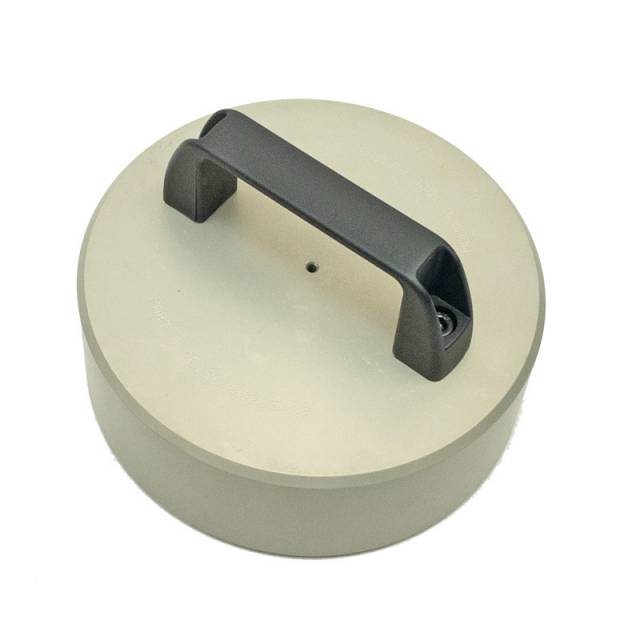
The bolt holes in Cummins ISB seal carrier housings are purposely oversized to allow positioning adjustments during engine assembly. However, if a technician simply threads in the housing bolts and tightens them without an alignment guide, the housing will settle unevenly based on bolt slack or gravity. When a new crankshaft oil seal is driven into an unaligned housing, the lip seal is forced to stretch unevenly around the shaft. As the engine runs, the eccentric rotation causes friction heat to build up on the compressed side of the seal, hardening the rubber and wearing a groove into the metal shaft journal. Meanwhile, the relaxed side leaks oil freely. Using a solid, precision-ground alignment sleeve like the 4-pound M20196 holds the carrier housing perfectly centered with the crankshaft axis, ensuring equal radial lip pressure across 360 degrees.
The 5-Step Seal Carrier Alignment Protocol
- Mating Surface Triage & Cleaning: Thoroughly clean the engine block deck face and crankshaft journal using quick-drying solvent. Scrape away old gasket material or RTV sealant down to bright, smooth metal, ensuring no debris is trapped behind the housing.
- Position the Seal Carrier Loose on the Block: Apply the recommended bead of RTV sealant or fresh gasket to the seal carrier housing. Set the carrier housing loosely against the engine block deck, and hand-thread all mounting bolts without tightening them down.
- Slide On the M20196 Centering Guide: Slide the M20196 tool directly over the crankshaft snout journal and into the seal carrier housing bore. The precision-machined pilot shoulders of the guide tool will locate squarely against both the crankshaft journal and the housing bore, automatically pulling the carrier into dead-center alignment.
- Torque Housing Fasteners to Factory Specs: With the M20196 centering guide held firmly in position, torque all housing mounting bolts in a crisscross pattern to factory torque specifications. This locks the carrier housing permanently in concentric alignment with the crankshaft axis.
- Extract Tool & Proceed to Seal Installation: Carefully slide the M20196 guide tool off the crankshaft snout. Inspect the housing bore to verify a clean, centered recess, then proceed with pressing the fresh oil seal home to exact depth limits using the appropriate seal installer tool.
PRO-TECH TORQUING SAFETY DIRECTIVE:
Always torque all carrier housing bolts completely BEFORE removing the M20196 guide tool! If the tool is removed prior to final torquing, bolt torque drag can shift the housing off-center. Always perform final bolt torquing smoothly with manual hand tools while the centering guide is fully engaged.
4 lbs of Machined Structural Steel Precision. Eliminate Cover Alignment Leaks.
Get the Cummins M20196 Guide Tool Now
overall rating:
my rating:
log in to rate