
Blog
Cummins ISB, ISL & QSB Rear Main Seal Installation Steps
Precision rear-end maintenance guidelines for commercial fleet and vocational truck mechanics.
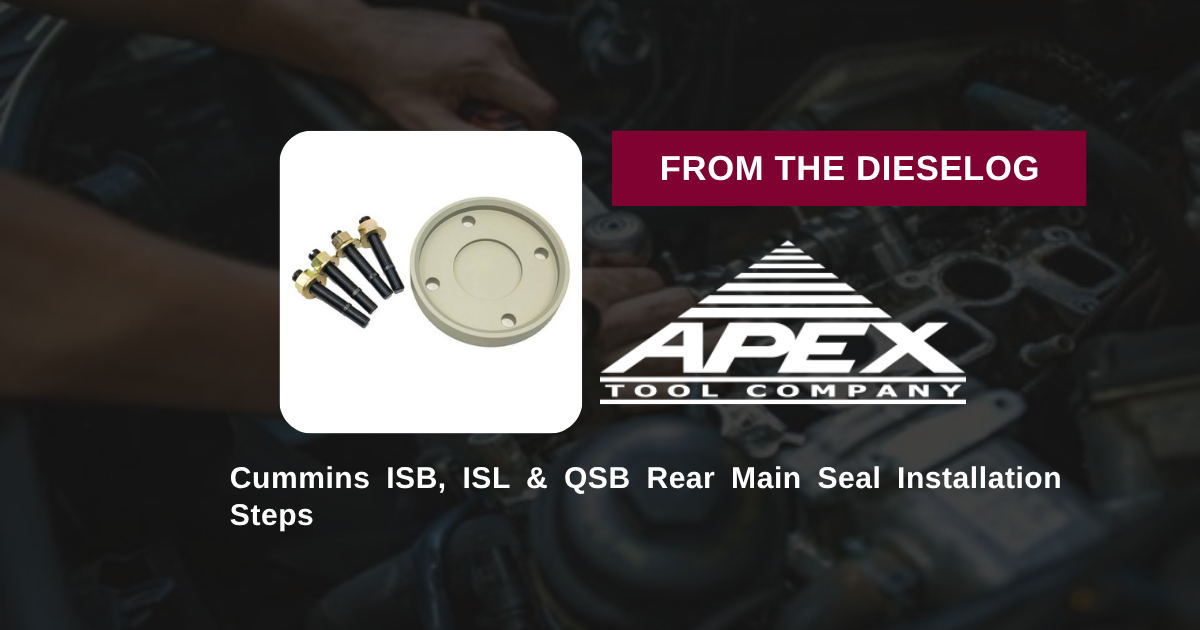
Replacing the rear main oil seal on a Cummins ISB 6.7, ISB 5.9, or ISL 8.9L engine during a clutch job or in-frame overhaul? Follow this step-by-step professional workshop procedure to clean the rear cover bore, mount the M20198 pilot plate, press seal #5405392 to factory depth, and verify 100% leak-free performance.

Why Improvised Drift Punches Destroy Unitized Rear Main Seals
Modern Cummins mid-range commercial engines utilize unitized PTFE or multi-lip rear main oil seals designed to operate dry against the rotating crankshaft flange. Because these seals feature a thin metal outer shell and delicate internal lip geometry, driving them into the rear flywheel housing bore requires perfectly parallel perimeter force. Mechanics who attempt installation using brass drifts, hammers, or old seal casings face severe physical alignment failures. Striking the outer lip of seal #5405392 cocks the outer casing inside the housing bore. As the seal enters cocked, the thin outer metal shell deforms, distorting the rubber sealing lip and damaging the PTFE sealing surface. A cocked or damaged rear main seal allows high-pressure crankcase oil to bypass the seal within miles of service. Fixing a leaking rear main seal requires pulling the transmission, clutch assembly, and heavy flywheel a second time—wasting billable shop hours and destroying repair margins. Utilizing the 3-pound M20198 installer tool completely eliminates these service failures. By mounting the base plate directly to the rear crankshaft flange bolt threads, the tool establishes a true 90-degree pushing axis. Turning the central forcing nut draws the seal driver cup smoothly over the crankshaft, pressing seal #5405392 evenly across 360 degrees until it stops automatically at exact factory depth.
The 5-Step Cummins Rear Main Seal Installation Protocol
- Clean & Inspect Rear Housing Bore & Flange: Remove the old rear main seal and flywheel. Thoroughly clean the rear housing bore and crankshaft flange landing using solvent and shop towels. *Inspect the crankshaft sealing surface for deep grooves or burrs; polish smooth with fine emery cloth if necessary.*
- Position New Unitized Rear Main Seal: Position the new Cummins rear main seal (#5405392) squarely over the rear crankshaft flange and against the entrance of the housing bore. *Note: Modern PTFE seals must be installed 100% DRY—do NOT apply grease or oil to the sealing lip unless specified by Cummins service instructions!*
- Mount M20198 Pilot Base Plate: Place the M20198 pilot plate against the rear crankshaft flange. Thread the mounting bolts through the tool plate directly into the flywheel mounting bolt holes on the crankshaft nose until hand-tight.
- Press Seal to Exact OEM Depth Stop: Position the M20198 driver press cup over the central arbor. Thread the forcing nut onto the arbor threads and advance it smoothly using a manual socket wrench. The tool will press seal #5405392 squarely into the housing bore until the driver cup bottoms flat against the shoulder stop.
- Remove Tool & Inspect Installed Seal: Unthread the forcing nut and remove the M20198 tool assembly. Inspect the installed seal 360 degrees to verify it is seated perfectly square, flush, and un-warped without lip distortion. Reinstall the flywheel and clutch assembly per factory torque specs.
PRO-TECH DRY PTFE INSTALLATION & MANUAL WRENCH MANDATE:
ALWAYS VERIFY IF THE SEAL IS PTFE! Modern Cummins PTFE rear main seals must be installed completely dry without oil or grease to allow proper material transfer to the crankshaft! ALWAYS advance forcing nuts using MANUAL HAND TOOLS; never use pneumatic impact wrenches on installer arbors!
3 lbs Precision Structural Tool Steel Service Assembly. Protect Cummins Rear Main Seals.
Get the M20198 Rear Seal Installer Now
overall rating:
my rating:
log in to rate