
Blog
Cummins ISX & QSX Cylinder Liner Installation Steps
Precision short-block assembly guidelines for commercial fleet and Class 8 mechanics.
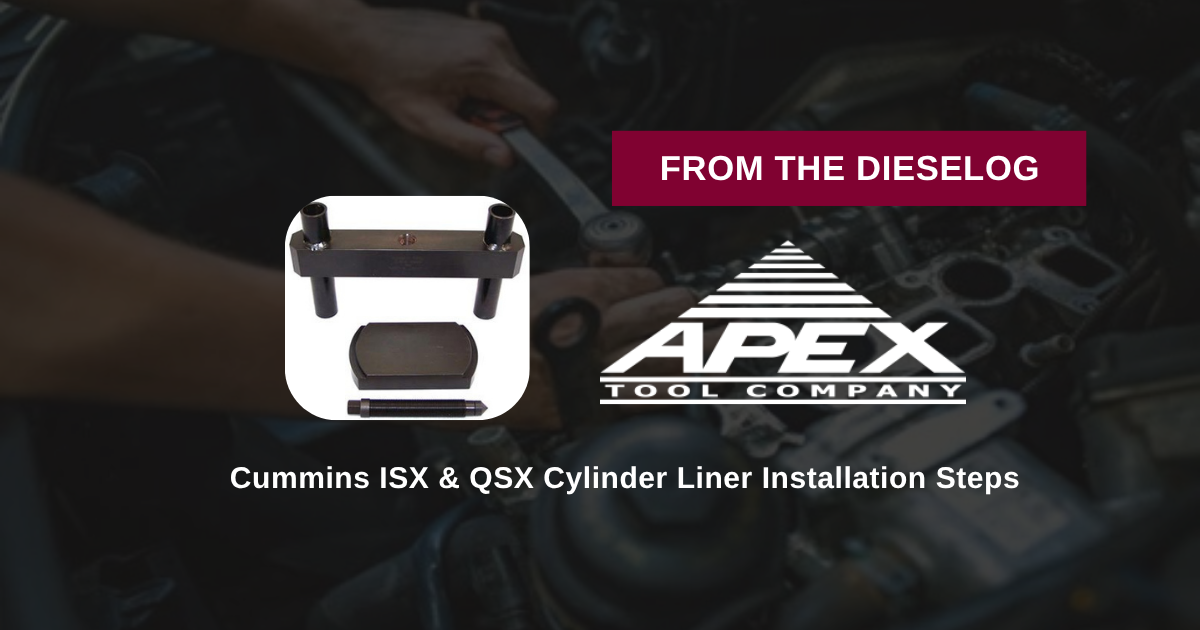
Installing wet cylinder liners during an in-chassis overhaul or bench rebuild on a Cummins ISX or QSX engine? Follow this step-by-step professional workshop procedure to clean block counterbores, lubricate seals, mount the M20167-A press fixture, and seat liners squarely to achieve accurate protrusion readings.
Why Mechanical Pressing is Mandatory for Cummins ISX Deck Integrity
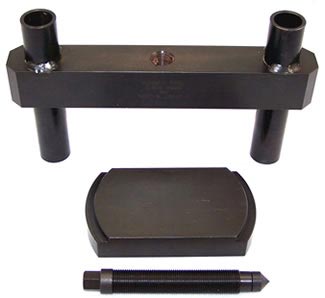
On Cummins ISX15 and QSX15 commercial diesel engines, wet cylinder liners feature lower elastomeric D-rings and crevice seals that isolate engine coolant passages from the oil pan. Additionally, the upper liner flange seats onto a precision counterbore landing cut into the top deck of the cast-iron cylinder block. During short-block reassembly, pushing a liner down through fresh, dry O-rings requires substantial, perfectly distributed force. Mechanics who try to tap liners into place using mallets or pry bars encounter severe friction. Tapping causes the liner to tilt slightly as it enters the bore. A tilted liner pinches the lower O-rings against the sharp entry chamfer of the block, cutting or rolling the rubber seal. Furthermore, impacts from mallets can micro-fracture the thin upper flange edge on grooved-top APR liners. When the engine is brought up to operating temperature, a pinched O-ring allows coolant to wash into the crankcase oil, destroying rod and main bearings. Utilizing the 16-pound M20167-A liner press completely eliminates these reassembly failures. Anchored directly into adjacent head bolt threads, the press plate holds the drive screw dead-center over the liner axis. As the drive screw advances, it pushes the adapter plate down uniformly across the liner flange, compressing lower O-rings smoothly and seating the flange flush against the counterbore for precise dial-indicator protrusion verification.
The 5-Step Cummins ISX Liner Press Installation Protocol
- Clean Block Counterbore & Bore Landings: Scrub the engine block upper counterbores and lower sealing bores thoroughly using solvent and non-abrasive pads. *Inspect counterbores for pitting, fretting, or uneven wear before installing shims or liners.*
- Install Seals & Lubricate Components: Install new Cummins lower O-rings and crevice seals into the liner seal grooves (or block grooves, depending on engine serial number). Apply approved vegetable-based seal lubricant or clean engine oil to lower seals and bore chamfers.
- Position Liner & Select M20167-A Adapter Plate: Carefully lower the liner into the cylinder bore by hand until it contacts lower seal resistance. Select the matching M20167-A press adapter plate (flat-top or grooved-top) and place it flat on the upper liner flange.
- Anchor M20167-A Press Bridge to Deck: Align the heavy-duty M20167-A bridge frame over the liner and thread its mounting bolts securely into adjacent cylinder head bolt holes in the block deck.
- Drive Forcing Screw to Seat Liner & Measure Protrusion: Lube the forcing screw threads with heavy oil. Turn the central forcing screw clockwise using a manual wrench to press the liner straight down until it bottoms firmly on the counterbore. Remove the tool, install liner hold-down clamps, and verify protrusion across four points using a dial depth gauge per Cummins factory specifications.
PRO-TECH MANUAL DRIVE & PROTRUSION CHECK MANDATE:
Always advance the central forcing screw of the M20167-A press using manual hand tools or breaker bars! Never use high-speed pneumatic impact wrenches, which can pinch O-rings or crack liner flanges! Always measure liner protrusion with hold-down torque applied before final head gasket installation!
16 lbs Precision Structural Tool Steel Press Kit. Protect Cummins ISX/QSX Engine Overhauls.
Get the M20167-A Liner Press Kit Now
overall rating:
my rating:
log in to rate