
Blog
Tech Guide: Cummins ISX & X15 Head Bolt & Main Cap Torque Sequence Steps
Precision short-block assembly guidelines for commercial fleet and Class 8 mechanics.
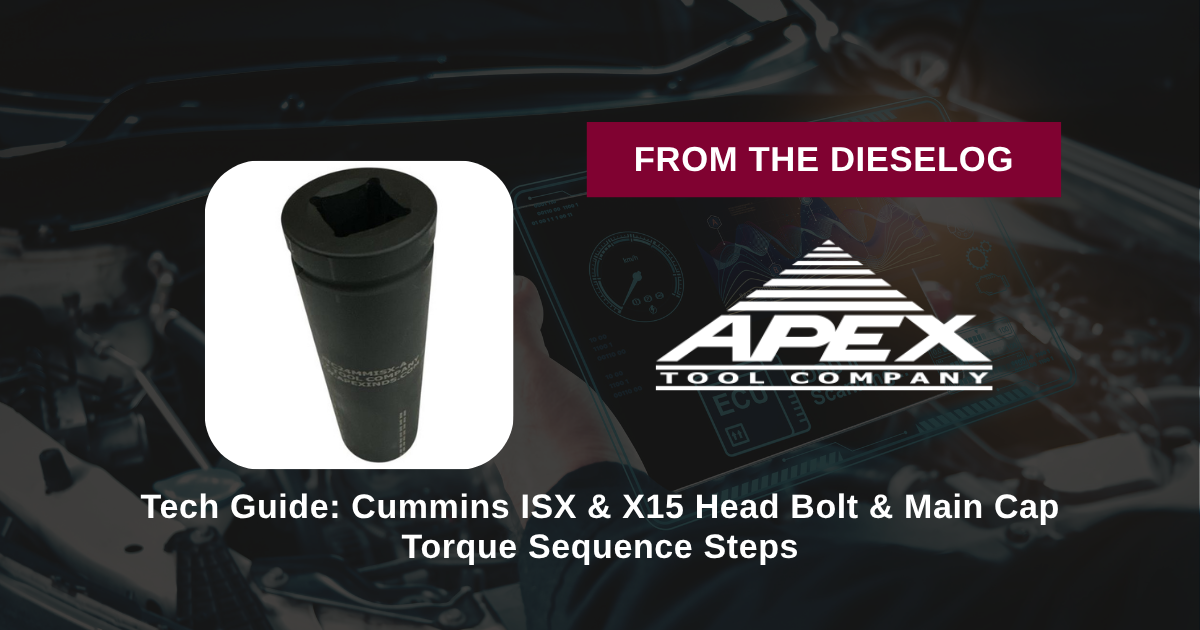
Installing cylinder head bolts or main bearing cap fasteners during an overhaul on a Cummins ISX or X15 engine? Follow this step-by-step professional workshop procedure to clean threads, apply lubricant, set initial torque, and utilize the etched 90-degree index marks on the ATC24MMISX-A socket for exact angular rotation sequences.
Why Flex-Free Heavy-Wall Sockets are Essential for Torque-To-Yield Precision
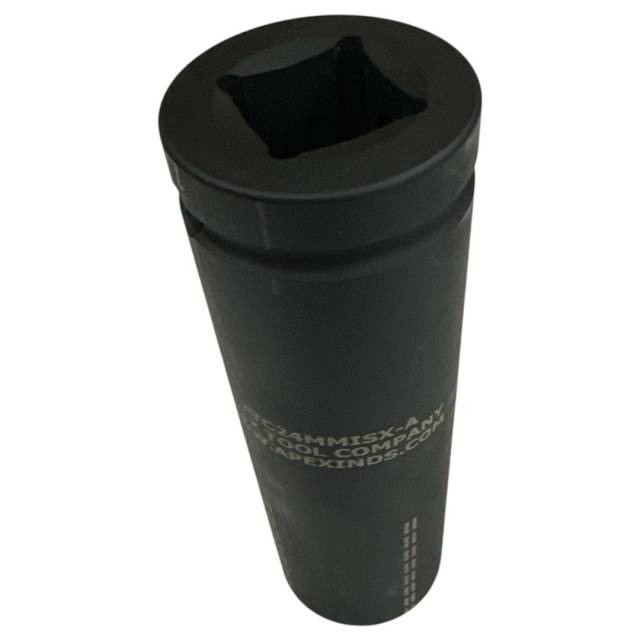
On Cummins ISX15 and X15 commercial diesel engines, achieving uniform clamp load across all cylinder head bolts and main cap bolts is vital to engine longevity. Cummins specifies strict multi-pass torque plus angle rotation procedures. Because these 24mm fasteners reach near-yield tension during final rotation steps, using improper tooling introduces significant errors. Shallow standard sockets or thin-wall chrome sockets flex under heavy rotational torque. This spring-like flex creates "socket wind-up," absorbing rotational movement before it reaches the bolt thread. Consequently, when a technician turns a breaker bar 90 degrees according to an external gauge, socket wind-up can cause the bolt itself to turn only 82 degrees. Across a 36-bolt head sequence, inconsistent rotation results in uneven clamp load across the engine block deck face. Uneven clamp force leads to distorted cylinder bores, blown head gaskets, and fretted main bearing saddles. Utilizing the 2-pound, 5-inch heavy-wall ATC24MMISX-A socket completely eliminates socket wind-up. Connecting directly to a 3/4-inch drive breaker bar or torque wrench, its rigid construction transfers 100% of applied movement to the bolt head. Furthermore, the laser-etched 90-degree quadrant lines around the socket perimeter provide clear visual reference points against the engine block deck, ensuring every bolt is rotated to its exact specified angle without error.
The 5-Step Cummins ISX Head & Main Bolt Torque-Angle Protocol
- Clean Fasteners & Threaded Deck Bores: Clean all cylinder head or main cap bolt threads and tapped block holes thoroughly using thread-chasing taps and brake cleaner. *Verify tapped holes are 100% dry and free of standing oil or coolant to prevent hydraulic block cracking.*
- Lubricate Fastener Threads & Under-Head Flanges: Apply clean engine oil or specified Cummins thread lubricant lightly to bolt threads and under the fastener heads per OEM service manual instructions.
- Execute Baseline Torque Passes in Sequence: Place the ATC24MMISX-A 24mm socket onto a 3/4-inch drive torque wrench. Following the official Cummins crisscross torque pattern, tighten all bolts in specified baseline stages (e.g., Step 1: 150 lb-ft; Step 2: 300 lb-ft).
- Align Laser-Etched 90° Index Lines: Before beginning final angle rotation passes, note the position of the laser-etched 90-degree quadrant lines on the ATC24MMISX-A socket body relative to a fixed reference mark on the engine head or block.
- Perform Angular Rotation Pass: Connect a 3/4-inch drive breaker bar to the socket. Rotate the fastener smoothly in one continuous motion until the etched index line aligns with the target angle mark (e.g., exactly 90 degrees or 180 degrees). Repeat across all bolts in sequence.
PRO-TECH 3/4" DRIVE & CONTINUOUS ROTATION MANDATE:
Always perform final angular rotation passes in ONE CONTINUOUS, SMOOTH MOTION! Stopping mid-turn increases static friction, leading to inaccurate bolt stretch! Never use 1/2" drive adapters or flexible extensions—always drive the ATC24MMISX-A socket with rigid 3/4" drive tools!
2 lbs Precision Heavy-Wall Steel Socket. Protect Cummins ISX/X15 Rebuilds.
Get the ATC24MMISX-A 24mm Socket Now
overall rating:
my rating:
log in to rate