
Blog
Tech Guide: Cummins M11, L10 & ISM Piston Ring Compression & Installation Steps
Precision short-block assembly guidelines for commercial fleet and Class 8 mechanics.
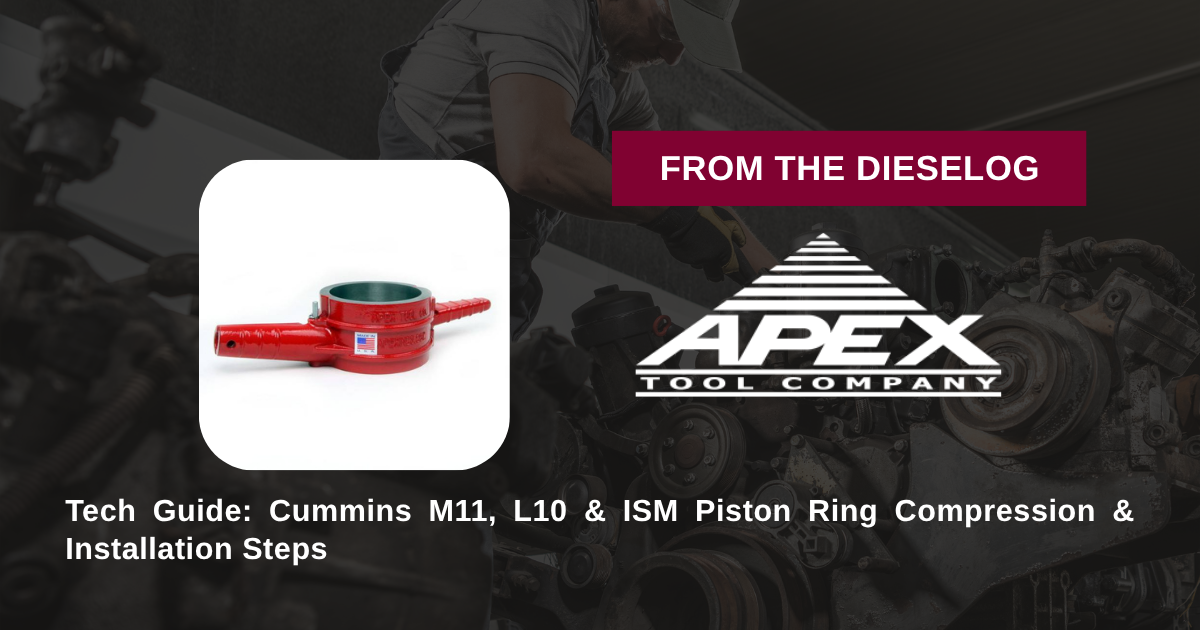
Installing piston and connecting rod assemblies during short-block reassembly on a Cummins M11, L10, or ISM engine? Follow this step-by-step professional workshop procedure to stagger ring end-gaps, lubricate skirts, seat the ATC-7013 4.92″ sleeve tool, and guide pistons into cylinder liners smoothly.

Why Adjustable Band Compressors Cause Catastrophic Ring Failure
On Cummins 10.8-liter commercial engines (M11, L10, ISM), installing pistons into wet cylinder liners requires absolute mechanical precision. Piston rings are made of hardened cast iron or steel with special molybdenum coatings designed to seal high cylinder combustion pressures. During engine assembly, these rings must be compressed fully into their respective piston grooves before entering the 4.92″ liner bore. Technicians often attempt to use universal adjustable band compressors tightened with a ratchet key. Because band tools rely on thin, overlapping steel sheets, they deform under high radial ring pressure. The band seam flares, creating a small gap where the ring edge can catch. As the technician taps the piston down using a hammer handle, the caught ring edge snaps under impact or gouges the top chamfer of the cylinder liner. Installing a piston with a broken ring or scratched liner leads to immediate engine blow-by, oil burning, and costly teardowns. Utilizing the dedicated 10-pound ATC-7013 solid tapered compressor completely eliminates these assembly risks. Engineered specifically for 4.92″ (125 mm) bores, its seamless internal taper compresses all rings evenly 360 degrees around the piston circumference, allowing the piston assembly to slide into the cylinder smoothly with minimal force.
The 5-Step Cummins 4.92″ Piston Installation Protocol
- Stagger Piston Ring End-Gaps: Verify piston ring side clearance and end-gaps per Cummins service specs. Stagger top compression, second compression, and oil ring expander gaps 120 degrees apart around the piston skirt, ensuring no gap aligns with the piston pin axis.
- Lubricate Piston, Rings & Compressor Sleeve: Apply clean engine assembly lube or heavy motor oil generously to the piston skirt, ring grooves, and internal bore taper of the ATC-7013 4.92″ ring compressor.
- Position ATC-7013 Sleeve over Cylinder Liner: Clean the top flange face of the target cylinder liner. Place the ATC-7013 ring compressor tool flat and square directly over the 4.92″ liner bore opening.
- Insert Piston Assembly into Compressor Taper: Carefully lower the connecting rod and piston skirt down through the ATC-7013 compressor sleeve, ensuring the piston timing arrow or front mark points toward the front of the engine block. Guide the rod past the crankshaft journal.
- Tap Piston Smoothly into Cylinder Bore: Hold the ATC-7013 ring compressor firmly down against the liner deck face. Using the wooden handle of a dead-blow hammer, tap the center of the piston crown smoothly and steadily. The piston will slide down through the tapered sleeve into the cylinder liner cleanly. Repeat across remaining cylinders.
PRO-TECH FLAT DECK HOLD & WOODEN HANDLE MANDATE:
ALWAYS HOLD THE ATC-7013 TOOL FIRMLY FLAT against the cylinder deck face while tapping pistons down! Never allow the tool to lift off the liner deck face during insertion! ALWAYS tap pistons down using a wooden or soft plastic mallet handle; NEVER strike piston crowns with metal hammers or steel bars!
10 lbs USA-Made Heavy Alloy Steel Tool. Protect Cummins M11 / ISM Overhauls.
Get the ATC-7013 Ring Compressor Now
overall rating:
my rating:
log in to rate