
Blog
Cummins Celect EUI Removal and Seating Sequence
Precision electronic fuel component reconditioning guidelines for freight fleets.
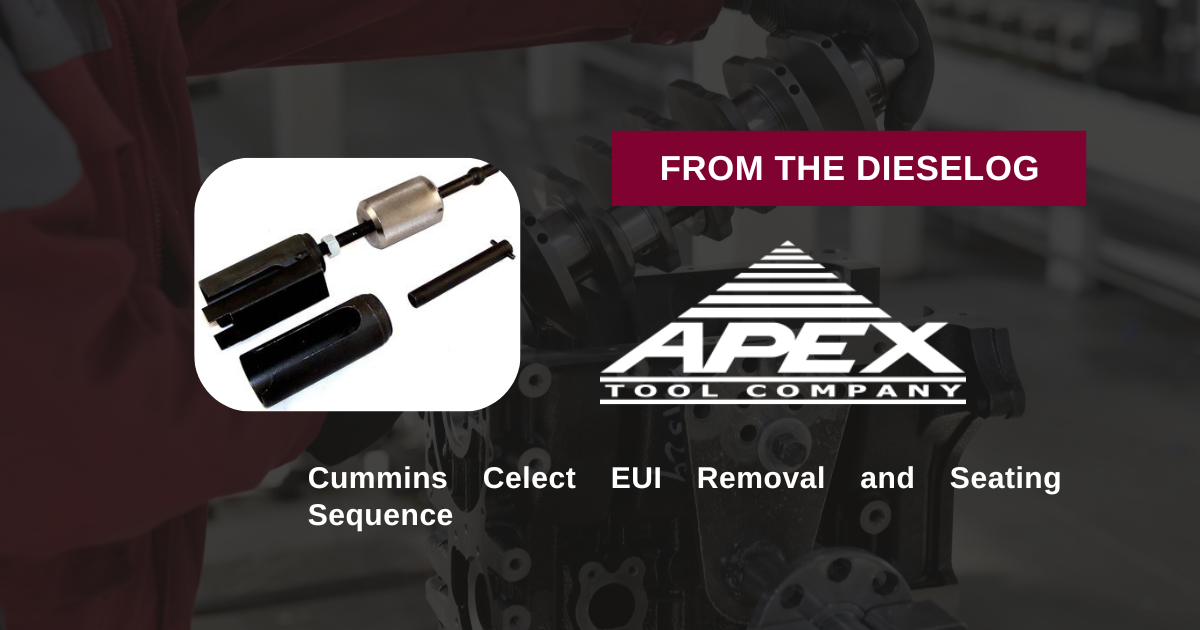
Performing a top-end EUI update or overhauling the fuel rail crossover tracks on a classic N14 electronic block? Learn the proper technical sequence to draw and drive assemblies safely using the M20130 bridge fixture.

Why Asymmetrical Freehand Prying Shatters Electronic Solenoid Casings
The recessed electronic unit injector cavities on a Cummins N14 engine block require completely straight parallel tool tracking. When a line mechanic attempts to extract a carbon-baked EUI using raw heel hooks, pry bars, or unguided jaw slide hammers, the mechanical pull force strikes unevenly. This asymmetrical shifting jams the round injector body sideways inside its tight cylinder channel, scoring the copper receiver sleeve wall. These deep gouges form instant bypass paths that let engine lube oil blend right into your fuel supply loops. Even worse, off-axis tool contact easily snaps off the fragile plastic solenoid casing or cracks the internal fine-wire terminal connection rings. Utilizing a centered draw-bridge plate tool like the 8-pound M20130 maintains a dead-square mechanical axis line, drawing or pressing the injector safely with completely parallel depth control.
The 5-Step Celect EUI Renovation Sequence
- 场地Isolate Valvetrain Blocks and Deep Clean Cover Banks: Isolate the vehicle master electrical bus and battery links. Remove the valve cover plates. Wire-brush the injector rocker area aggressively with solvent to strip away hard carbon scale, sludge film, and varnish crust before breaking fuel loops.
- Bolt down the M20130 Extraction Bridge: Disconnect the EUI electrical terminal nuts. Position the heavy M20130 alignment bridge flat across the target cylinder head structural deck lands. Connect the tool puller jaws securely into the designated injector shoulder holding grooves.
- Draw the Stuck Injector Coaxially Upward: Thread the central high-torque forcing bolt into the bridge block by hand. Apply steady clockwise horizontal leverage using a manual hand wrench or breaker bar. The unyielding mechanical draw will smoothly pop the calcified carbon bond, drawing the injector straight out of its cylinder well.
- Scrub and Dress the Casing Bore Track: Extract the old injector stack. Use wire chaser brushes and clean towels to clear all remaining caked carbon, scaling debris, and old seal grease from the copper sleeve landing track down to bright, smooth metal.
- Drive the New EUI and Lock to Depth Stop: Generously lube the fresh viton O-rings on your replacement injector with clean engine oil. Set the injector straight into the cleaned well. Re-mount your M20130 tool in its installation driver layout, and smoothly turn down the forcing mandrel until the injector seats dead-square to exact factory depth limits. Re-torque the injector hold-down clamp to wrap the pass.
PRO-TECH ELECTRONIC UNIT INJECTOR IMPACT BAN:
Never use high-speed pneumatic air or electric impact wrenches to spin the forcing bolts on your M20130 tool during removal or installation cycles! High-frequency hammering vibrations spike localized stresses, which can instantly shatter the fragile internal EUI electromagnetic coil windings, strip out fine puller threads, or fracture the injector casing snout. Pull all final stages smoothly using manual hand tools.
2-in-1 Parallel Extraction Control. Protect Delicate Celect Electronics.
Get the Cummins M20130 Master Tool Now
overall rating:
my rating:
log in to rate