
Blog
Detroit Series 50 & 60 Piston & Ring Installation Steps
Precision lower-block engine reconditioning guidelines for commercial fleet mechanics.
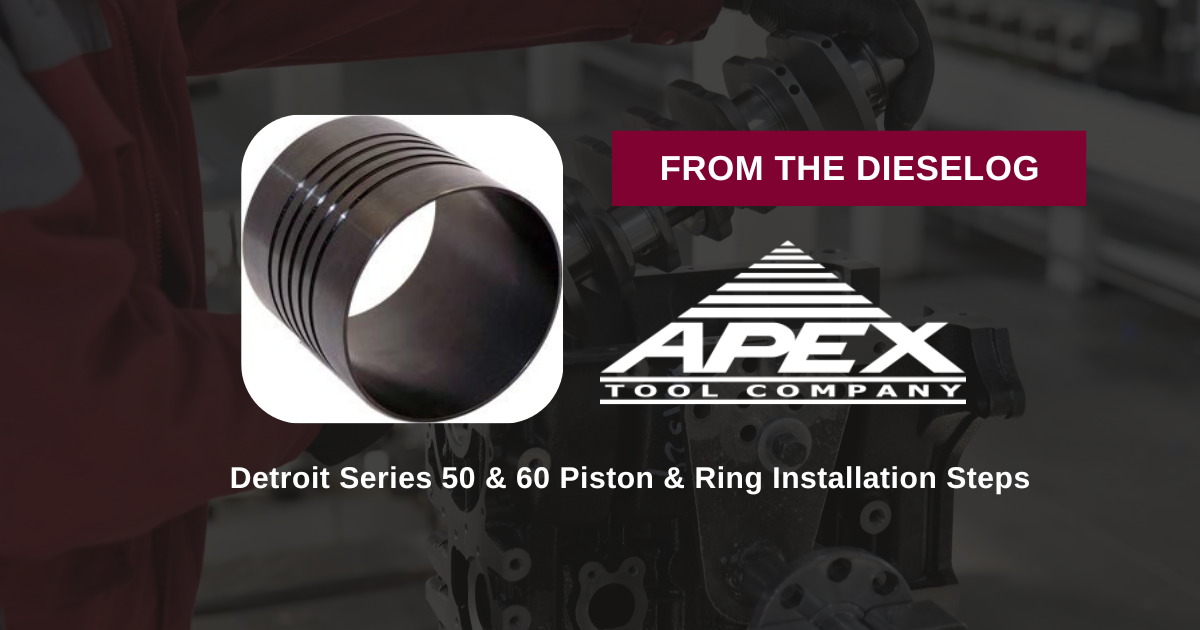
Prepping a classic Detroit 60 Series block for fresh pistons during an in-frame overhaul? Learn the proper professional technical sequence to compress rings and drive piston assemblies into cylinder liners safely using the M30123 tool.

Why Loose Band Compressors Break Rings & Scratch Cylinder Sleeves
Installing pistons into wet cylinder liners requires continuous, perfectly uniform ring containment right up to the moment the ring land passes the upper liner chamfer. When a technician uses adjustable band compressors or flexible sheet-metal clamps, the tool often gaps slightly at the seam or tilts against the top deck of the block. As the technician strikes the piston crown with a brass drift or wood driver handle, a compressed ring edge pops outward into the gap between the tool base and the liner top. The downward driver strike instantly snaps the brittle cast-iron ring or drives the razor-sharp broken ring end down the honed cylinder wall, leaving a deep scratch in the liner sleeve. A scratched liner causes high oil consumption, excessive blow-by, and loss of cylinder compression, forcing a complete disassembly. Utilizing a solid, precision-ground tapered ring sleeve like the 6-pound M30123 holds all rings trapped dead-flat inside a rigid steel wall until they glide smoothly into the liner bore.
The 5-Step Piston & Ring Installation Protocol
- Liner & Ring Land Preparation: Verify that the cylinder liner is installed, torqued, and thoroughly cleaned with solvent. Generously lube the internal cylinder liner sleeve bore with clean engine assembly oil. Stagger all piston ring end gaps according to Detroit Diesel factory service manual specifications (e.g., 120° apart, avoiding pin locations).
- Lubricate and Position the M30123 Tool: Coat the internal tapered bore of the M30123 compressor tool thoroughly with engine assembly oil. Place the wide entrance taper face of the tool facing upward over the piston assembly, and slide the compressor sleeve down over the rings until they are fully contained inside the tool body.
- Set the Assembly Flat Over the Cylinder Deck: Lower the connecting rod carefully down through the open cylinder liner bore, guiding it clear of the crankshaft journal. Set the flat bottom base of the M30123 ring compressor flush and square against the top deck face of the cylinder liner.
- Execute Controlled Driver Taps: Firmly press and hold the M30123 ring compressor body flat against the liner rim with one hand to prevent tool lifting. Using a wooden hammer handle or brass drift, apply firm, steady, light downward taps to the center of the piston crown. *CRITICAL: If you feel sudden solid mechanical resistance, STOP immediately! Never force a piston down. Re-verify tool seat and ring alignment before continuing.*
- Journal Engagement & Rod Cap Torquing: Continue tapping until all rings clear the compressor sleeve and enter the liner. Guide the connecting rod big end squarely onto the lubricated crankshaft journal. Install the rod cap with fresh bearings, and torque the rod bolts in sequence to strict OEM specs.
PRO-TECH ASSEMBLY HAMMER SAFETY MANDATE:
Never use steel hammers, heavy shop mallets, or metal sledges directly against a piston crown during installation! Impact strikes from metal tools can crack composite or aluminum piston domes, deform oil squirt jet nozzles, or shatter internal piston pin bushings. Always use a clean wooden driver handle, brass drift, or specialized dead-blow driver while keeping firm downward hand pressure on the M30123 tool body.
6 lbs of Solid Machined Tool Steel. Zero Snagged Piston Rings.
Get the Detroit M30123 Compressor Tool Now
overall rating:
my rating:
log in to rate