
Blog
Tech Guide: Eaton Fuller 210 Series Countershaft Bearing Removal Steps
Precision gearbox teardown guidelines for commercial fleet and Class 8 mechanics.
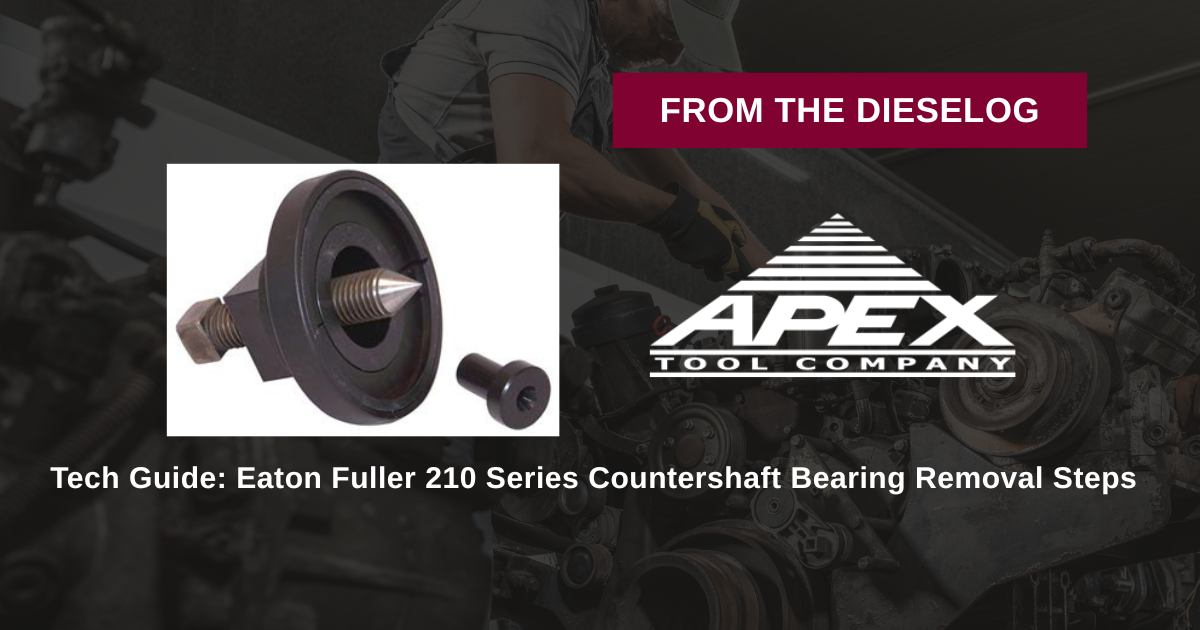
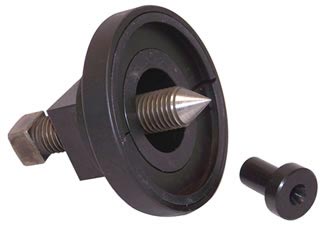
Rebuilding an Eaton Fuller 210 Series gearbox or replacing worn rear countershaft bearings? Follow this step-by-step professional workshop procedure to set up the M40110 puller, lock the collet jaws, advance the forcing screw smoothly, and extract bearings cleanly without galling shafts.
Why Open-Flame Torches & Jaw Pullers Destroy Fuller Gearboxes
Countershaft bearings on Eaton Fuller twin-countershaft gearboxes are pressed onto their journals with high interference fits to prevent inner race spinning under heavy torque loads. When teardown time comes, impatient mechanics often resort to heating bearing races with oxy-acetylene torches or hammering wedge chisels between the bearing race and the countershaft gear face. Applying direct torch heat changes the metallurgy of the hardened alloy steel countershaft, creating soft spots that lead to shaft snapping under heavy vehicle acceleration. Furthermore, driving chisels behind the bearing gouges the gear shoulder face, introducing micro-cracks that cause catastrophic gear tooth failure under load. Utilizing a dedicated 3-pound puller like the M40110 engages the bearing race securely via precision-matched collet lips. By anchoring the tool against the shaft center and advancing the forcing screw with a hand wrench, thousands of pounds of linear pull force are generated. The bearing glides off the journal down a 100% straight axis—keeping shafts cool, gears un-marred, and housings fully intact.
The 5-Step Countershaft Bearing Removal Protocol
- Teardown Access & Cleaning: Remove the rear auxiliary housing or rear bearing cover plate on the Eaton Fuller 210 Series transmission. Clean oil sludge and metallic debris around the target countershaft rear bearing using brake cleaner.
- Position M40110 Collet Halves: Place the two split collet jaws of the M40110 puller around the target 210 Series countershaft bearing, ensuring the inner locking lips register firmly into the bearing race groove.
- Secure Retaining Sleeve & Bridge: Slide the outer retaining collar over the collet halves to lock them solidly against the bearing. Position the upper puller bridge plate squarely over the center forcing screw.
- Lube Forcing Screw & Execute Extraction: Apply clean grease or anti-seize to the heavy-duty threads of the central forcing screw. Thread the forcing screw down until its center point seats firmly into the countershaft center bore hole.
- Advance Screw with Hand Wrench: Turn the forcing screw clockwise using a manual hand wrench or socket. Apply steady, continuous pressure to draw the bearing smoothly off the shaft journal. Remove the free bearing, inspect the journal surface for wear, and clean the shaft landing for fresh bearing installation.
PRO-TECH FORCING SCREW LUBRICATION MANDATE:
Always lubricate the central forcing screw threads of the M40110 puller before every extraction! Running forcing screws dry under high pull loads will gall tool threads and drastically reduce puller service life! Always use manual hand tools rather than impact guns to maintain total control during extraction.
Precision Forged Tool Steel Extraction. Protect Fuller 210 Overhauls.
Get the M40110 Countershaft Puller Now
overall rating:
my rating:
log in to rate