
Blog
Tech Guide: Eaton UltraShift Plus Input Shaft Bearing Removal Steps
Precision transmission overhaul guidelines for commercial fleet and Class 8 mechanics.

Extracting press-fit input shaft bearings during transmission service on an Eaton UltraShift Plus unit (Shaft #4308011)? Follow this step-by-step professional workshop procedure to set up the M40127 collet puller, engage the bearing race, turn the forcing screw smoothly, and pull the bearing without shaft galling.
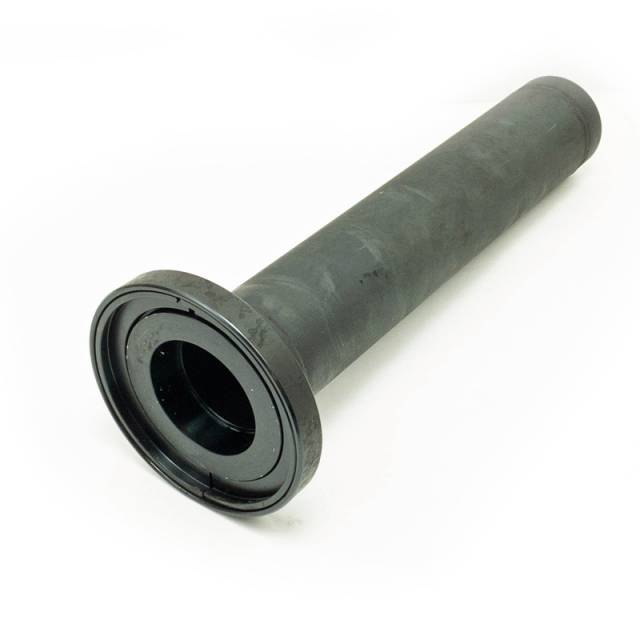
Why Universal Jaw Pullers Destroy Eaton Input Shaft Journals
Eaton UltraShift Plus automated manual transmissions utilize precision-ground input shafts engineered to transmit massive torque while maintaining tight gear mesh tolerances. During bench overhaul or front bearing replacement, removing the press-fit input shaft bearing from shaft #4308011 requires controlled, even tension. Mechanics often attempt removal using universal two-jaw or three-jaw pullers. Because the gap behind the bearing race is tight, standard puller jaws contact only tiny points on the race edge. Under heavy forcing-screw torque, point-loading causes the puller feet to slip, cocking the inner bearing race sideways on the shaft. As the cocked race is dragged forcedly across the shaft, it carves deep gouges into the ground journal landing and damages the oil seal surface. A gouged input shaft can no longer hold proper press-fit tolerances, leading to loose bearing inner races, severe oil leaks, and costly shaft replacement. Utilizing the dedicated 9-pound M40127 puller completely eliminates these repair hazards. By clamping a 360-degree split-ring collet squarely behind the bearing race, the tool distributes pulling force evenly across the entire bearing perimeter. Aligning the central forcing screw with the shaft center point pulls the bearing straight off shaft #4308011 cleanly, leaving all shaft journal surfaces smooth and ready for fresh bearing installation.
The 5-Step Input Shaft Bearing Extraction Protocol
- Clean & Inspect Input Shaft Assembly: Wipe away gear oil, road grime, and metal debris from Eaton input shaft #4308011 and the target bearing. Remove any retaining snap rings or lock collars per Eaton service manual guidelines.
- Position M40127 Split-Ring Collet: Fit the two halves of the M40127 split-ring collet collar around the input shaft directly behind the inner race of the bearing. Ensure the inner lip seats fully into the clearance groove behind the bearing.
- Install Puller Frame & Secure Retaining Sleeve: Slide the outer retaining sleeve of the M40127 puller over the split-ring collar to lock the collet halves firmly in place. Thread the puller crossbar or bridge assembly onto the collet housing.
- Align Central Forcing Screw on Shaft Nose: Thread the central forcing screw into the puller crossbar until its drive point seats squarely into the center dimple on the nose of input shaft #4308011. Verify the entire tool is standing 100% aligned with the shaft centerline.
- Turn Forcing Screw to Extract Bearing: Apply heavy motor oil or thread lube to the forcing screw threads. Turn the central forcing screw clockwise using a manual wrench or socket. Continue turning until the press-fit bearing slides completely off shaft #4308011. Lift away the bearing and inspect the shaft journal for reassembly.
PRO-TECH MANUAL WRENCH & SHAFT CENTER MANDATE:
Always advance the central forcing screw of the M40127 puller using manual hand tools! Never use high-speed pneumatic impact wrenches, which can shock-load and burr the shaft nose center! Always ensure the split collet is fully locked in the retaining sleeve before applying heavy torque!
9 lbs Precision Steel Collet Tool. Protect Eaton UltraShift Plus Transmissions.
Get the M40127 Input Shaft Bearing Puller Now
overall rating:
my rating:
log in to rate