Blog
Tech Guide: Forced DPF Regen Using NEXIQ eTechnician
Precision bi-directional testing for Detroit and Cummins engines.
Why Bi-Directional Diagnostics are Vital
Reading codes is easy; fixing them is the challenge. The NEXIQ eTechnician software allows for bi-directional testing, meaning you can command the vehicle's ECM to perform specific tasks. For aftertreatment issues, this is the difference between a simple software-triggered cleaning and an expensive filter replacement.
The 5-Step Diagnostic Workflow
- Scan: Connect your USB Link adapter and perform a full module scan to identify active aftertreatment fault codes.
- RepairConnect™: Within eTechnician, click RepairConnect to view the wiring diagrams and sensor locations for the DPF system.
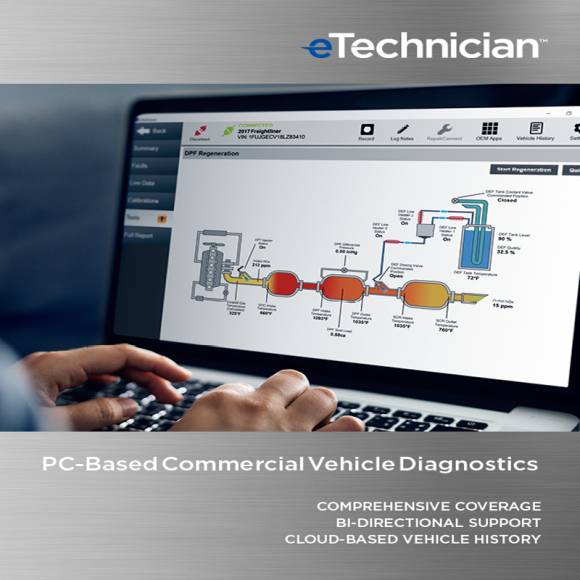
- Pre-Check: Use real-time parameters to verify exhaust temperatures and soot load levels are within the safe range for a forced regeneration.
- Command: Navigate to the Bi-Directional tests and select "DPF Forced Regeneration." Follow the on-screen safety prompts (parking brake, neutral, coolant temp).
- Verification: Monitor the live graphs during the process. Once complete, clear the inactive codes and save the diagnostic report to the cloud-based vehicle history.
PRO-TIP:
eTechnician saves your "Recordings" to the cloud automatically. If you encounter an intermittent sensor issue during the regen, you can playback the live data stream later to find the exact millisecond the sensor dropped out.
Professional Diagnostics. Zero Guesswork.
Shop NEXIQ eTechnician
overall rating:
my rating:
log in to rate