
Blog
Heavy Duty Thermostat Seal Installation Steps
Precision cooling system reconditioning guidelines for commercial fleet and Class 8 mechanics.

Servicing a cooling system or replacing water regulators on a Cummins ISX15, Caterpillar C15, or Detroit DD15 engine? Follow this step-by-step professional workshop procedure to clean housing bores, stage seals, and drive thermostat seals squarely using the M20102 installer tool.
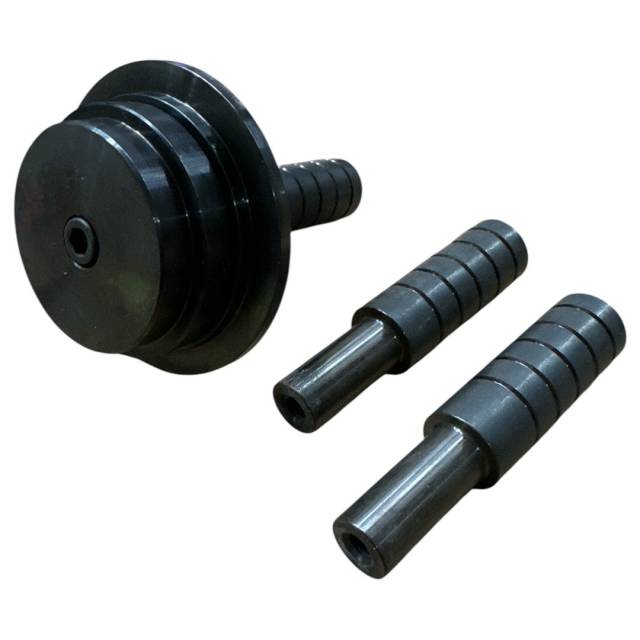
Why Off-Angle Seal Driver Striking Causes Over-Cooling & Leaks
Heavy-duty diesel thermostats regulate engine coolant flow within tight temperature bands to optimize combustion efficiency and emission controls. When replacing the thermostat regulator, fitting a new thermostat seal inside the housing is mandatory. However, these seals sit recessed within cast housing wells. When line mechanics attempt to tap seals in using improvised tools like large sockets or flat drifts, force is applied unevenly across the circumference. The thin metal seal casing cocks in the bore, buckling the metal shell or cocking the rubber lip. When the engine is reassembled and refilled with coolant, the distorted seal permits coolant to bypass the thermostat valve, causing slow engine warm-up, reduced cab heater output, DPF regeneration issues, or active external leaks under pressure. Utilizing a dedicated driver mandrel like the 2-pound M20102 anchors force evenly across the seal shoulder, sliding it down a 100% parallel axis to set exact OEM depth without damaging delicate seal components.
The 5-Step Thermostat Seal Installation Protocol
- Housing Disassembly & Bore Prep: Drain the cooling system and unbolt the thermostat housing cover. Remove the old water regulator and pry out the old thermostat seal. Thoroughly clean scale, corrosion, and old gasket residue off the housing bore wall using solvent and a brass wire brush. Wipe the bore dry.
- Inspect & Stage Thermostat Seal: Inspect the new replacement thermostat seal for manufacturing defects or damaged rubber lips. Position the seal squarely over the entrance chamfer of the thermostat housing bore, ensuring correct orientation (sealing lip facing the direction specified by OEM service manual).
- Position M20102 Installer Tool: Place the stepped driver face of the M20102 tool flat against the outer shoulder of the thermostat seal. Verify that the tool rests 100% flush across the seal surface.
- Execute Controlled Mechanical Driving: Using a dead-blow mallet or brass shop hammer, apply smooth, centered, parallel strikes to the top handle face of the M20102 tool. Drive the seal steadily down the housing bore until the tool shoulder bottoms out solidly against the housing face depth stop.
- Verify Seating & Reassemble Cooling System: Withdraw the M20102 tool and visually inspect the installed seal. Confirm 360-degree flat seating, zero casing buckling, and un-distorted rubber lips. Install the fresh thermostat regulator, replace housing O-rings/gaskets, torque housing bolts to factory specs, refill with approved coolant, and pressure-test the system.
PRO-TECH DEAD-BLOW MALLET MANDATE:
Always use a dead-blow or brass mallet against the strike handle of the M20102 tool! Never strike the tool with heavy steel shop sledges. Steel-on-steel impact can mushroom the tool handle top or transmit harsh shock loads that crush delicate thermostat seal casings inside aluminum housings!
Precision Machined Tool Steel Driver. Protect Heavy Duty Thermostat Housings.
Get the M20102 Seal Installer Now
overall rating:
my rating:
log in to rate