
Blog
Tech Guide: International DT466/DT360 Mechanical Injector Sleeve Replacement Steps
Precision top-end maintenance guidelines for agricultural tractor and commercial fleet mechanics.
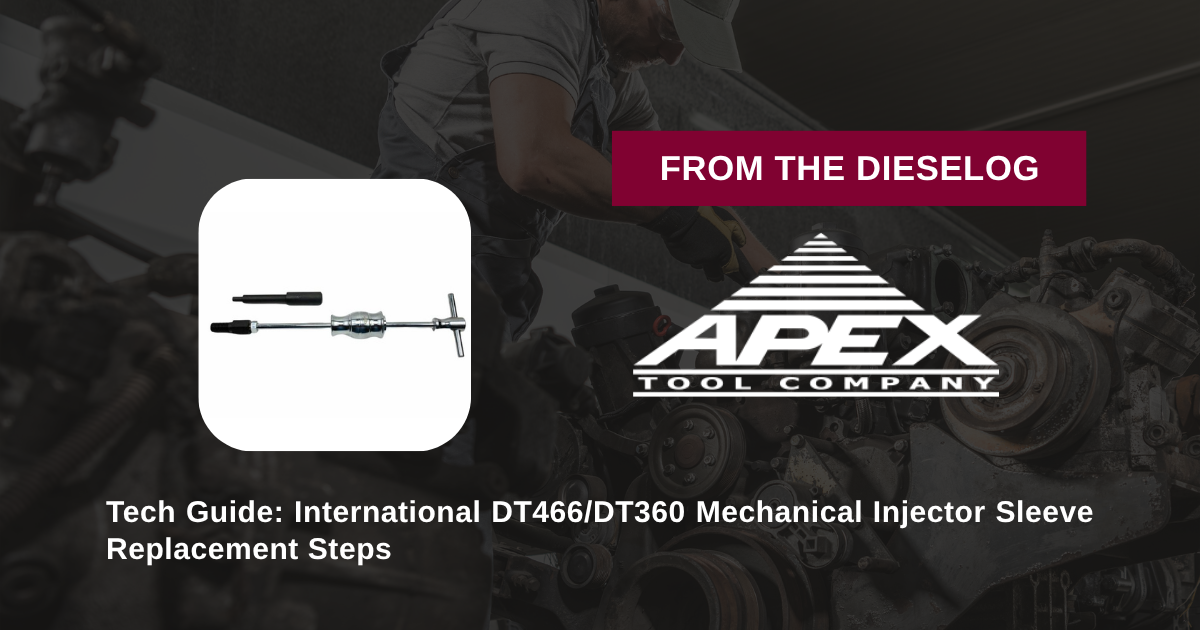
Replacing brass fuel injector sleeves or copper cups during cylinder head overhaul on a mechanical 12-valve International DT466, DT360, or DT530 engine? Follow this step-by-step professional workshop procedure to set up the ATC ZTSE2587C tap puller, clean head landings, apply retaining sealant, and driver-seat fresh brass sleeves to exact factory depth.

Why Improvised Extraction & Flat Punches Cause Permanent Head Leaks
On classic 12-valve mechanical International Harvester diesel engines, brass injector sleeves isolate cooling water passages from the fuel injector bore and combustion chamber. Because these sleeves are pressed into place and sealed with retaining compound, removing old, carbon-sealed sleeves during top-end reconditioning presents major risks. Mechanics often attempt to drive cold chisels down the side of the sleeve to collapse it. This improvised method is extremely dangerous: the hardened steel chisel tip easily gouges through soft brass and carves deep channels into the cast-iron cylinder head landing. When a replacement sleeve is installed, coolant leaks past the gouged landing directly into the engine oil pan or fuel system. Furthermore, using flat drift punches to install replacement sleeves crushes the upper brass flange unevenly, flaring the mouth and preventing mechanical injectors from seating at correct projection depth. Utilizing the dedicated 5-pound ATC ZTSE2587C kit eliminates these service hazards. The kit’s specialized puller mandrel threads securely into the inner diameter of the old sleeve, allowing an axial forcing arbor to draw the sleeve straight out without touching head bore walls. During installation, the piloted driver tool expands and seats the new brass cup (such as Navistar 675442C1) evenly 360 degrees, guaranteeing a watertight seal and proper injector alignment.
The 5-Step Mechanical Injector Sleeve Replacement Protocol
- Injector Removal & Well Cleaning: Remove mechanical fuel injectors and drain engine coolant below cylinder head level. Clean carbon deposits from the upper sleeve bore using solvent and a brass wire brush.
- Thread & Lock ZTSE2534A Remover Mandrel: Thread the coarse-tap remover mandrel from the ATC ZTSE2587C kit into the interior of the old brass sleeve until it bites firmly. Assemble the bridge arbor and turn the forcing nut clockwise to draw the worn sleeve straight out of the cylinder head.
- Scrub & Inspect Cylinder Head Landings: Clean the upper and lower counterbore landings of the cylinder head thoroughly using a non-abrasive brush and solvent. *CRITICAL: Inspect landings with a flashlight to ensure zero scale, burrs, or old sealant remain.*
- Apply Retaining Compound & Position Fresh Sleeve: Apply a thin, uniform bead of high-temperature anaerobic sleeve retaining compound (such as Loctite 620) to the outer mating bands of a fresh brass sleeve (Navistar #675442C1 or equivalent). Insert the sleeve into the head bore by hand.
- Drive & Swage Sleeve with ZTSE2587A Driver: Insert the piloted ZTSE2587A driver tool from the ATC ZTSE2587C kit into the fresh sleeve. Tap the top of the driver shaft smoothly using a dead-blow hammer until the tool bottoms firmly, seating and swaging the lower sleeve lip squarely into the head landing. Allow sealant to cure per manufacturer specs before reinstalling injectors.
PRO-TECH ENGINE PLATFORM & DEAD-BLOW MANDATE:
VERIFY PLATFORM FIRST! This ZTSE2587C tool kit is strictly for 12-VALVE MECHANICAL INJECTION engines! (Do NOT use on 12V electronic engines—use ST-182; do NOT use on 24V electronic engines—use ST-252!). Always drive replacement sleeves using smooth dead-blow hammers; never use steel sledges or pneumatic air hammers!
5 lbs Heavy-Duty Tool Steel Master Kit. Protect International 12V Engines.
Get the ATC ZTSE2587C Tool Kit Now
overall rating:
my rating:
log in to rate